In modern app development, creating an engaging and intuitive user interface is vital to the success of your application. One of the essential components of an effective user interface is a dialogs page, which can be used to present alerts, confirmations, and other interactive elements to users. In SwiftUI, building a dialogs page is an easy and straightforward process that allows you to create a visually appealing and user-friendly interface for your app.
In an earlier series of tutorials we covered some of the basic first stages of using SwiftUI to create a user interface with a basic login page. In the next few tutorials we will show you how to build a dialog page for a chat application. The dialogs screen in a mobile chat app is the screen that displays all the conversations that the current user has. In the guide below, we will show you the first basic step of how to fetch dialogs from the QuickBlox server.
You can download the finished project of this part from this link.
And don’t forget to consult our official documentation.
QuickBlox SwiftUI tutorial Series:
Let’s Get Started !
To access the chat functionality, you first need to log in to QuickBlox and get the dialogs from the QuickBlox server.
If you haven’t yet created your QuickBlox account, you can find out how to here. You can also learn how to create a new application in your admin panel from our earlier blog.
We will now fetch our dialogs from the QuickBlox server using QuickBlox Server API. We recommend that you read the Dialogs section in the official QuickBlox documentation before proceeding further.
Since we have not yet implemented the functionality of creating dialogs we cannot yet download anything. But we can create test dialogs directly from our admin panel.
Step 1: Create Test Dialogs
To do this, go to your QuickBlox account and the application you created, and find the credentials which you used in the IOS application.
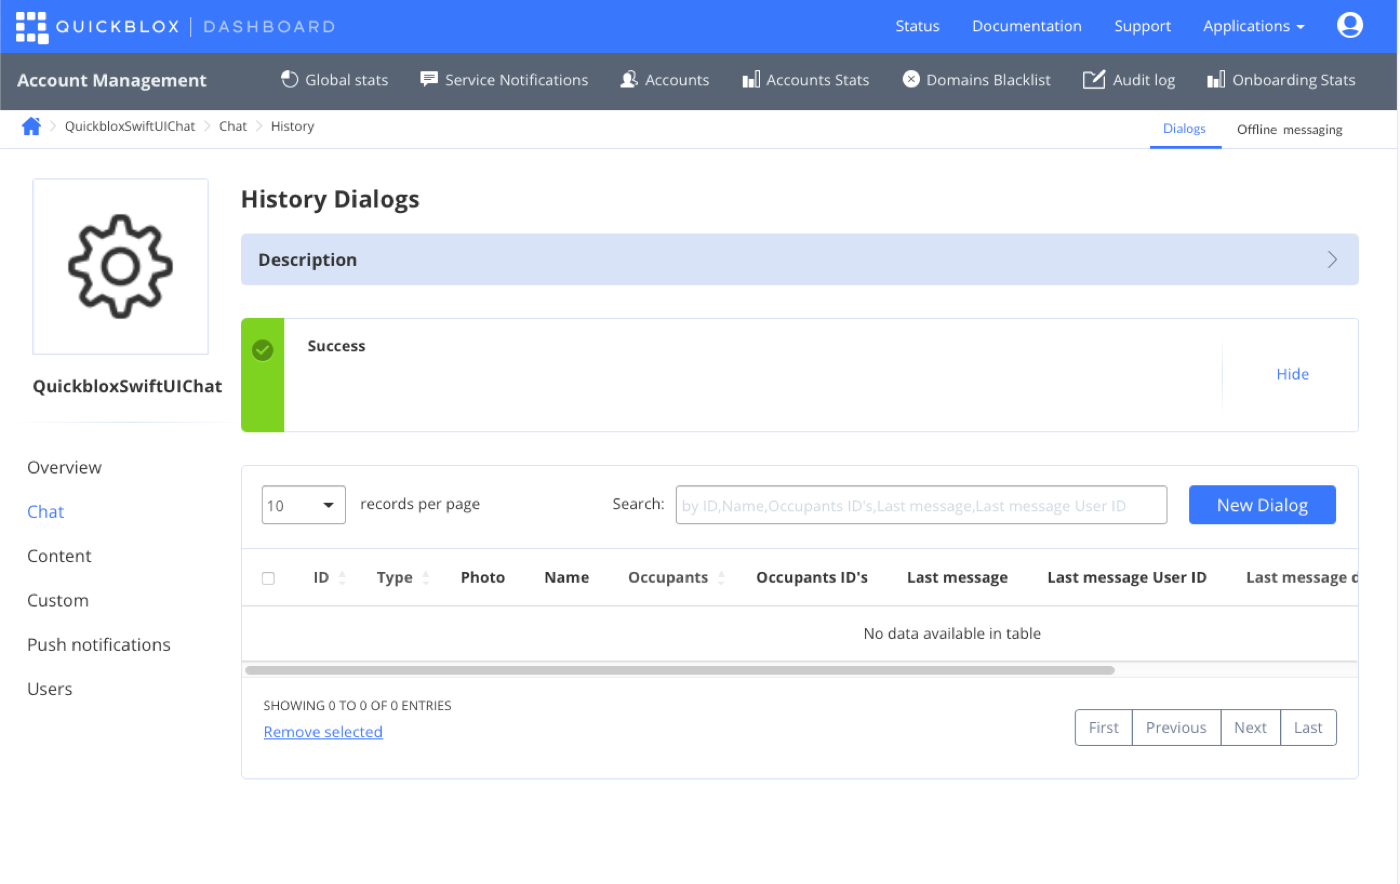
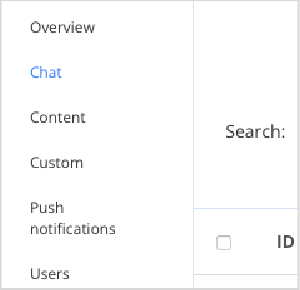
Select “Chat” from the menu on the left.
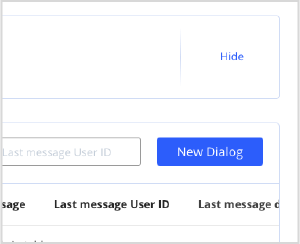
A page with your dialogs will open. It may be empty, but we’ll soon fix this 🙂
To create a new dialog from the admin panel, click the “New Dialog” button.
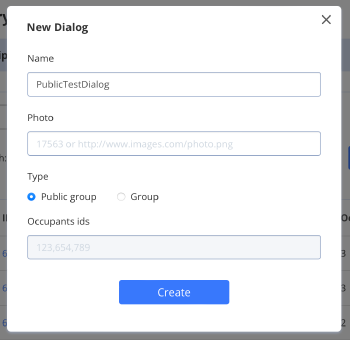
A template will open for entering the necessary data to create a dialog.

With the QuickBlox SDK, you can create three flavors of chat:
- private dialog – a dialog between 2 users.
- group dialog – a dialog between the specified list of users.
- public dialog – an open dialog. Any user from your app can be joined to it.
You can learn more about dialog types in the documentation.
If you create a Public dialog, then it is enough to enter only the name of the dialog.
In order to create a Group dialog, you must enter the IDs of the participants in the dialog. New users can also be created from the admin panel and for this you need to go to the menu item “Users”.

In this step, we will create a Public Dialog.
In the “Name” text box, enter a name for your dialog, then select the “Public Group” dialog type and click “Create”.
That’s all, the dialog is created and it is displayed in the list of dialogs.

Wonderful!
Step 2. Get Dialogs
Now we can make a request to the QuickBlox server to get this dialog.
Let’s create a new QuickBloxServerAPI.swift file in which we will implement methods for interacting with the QuickBlox Server API.
First, let’s implement a request to the server to get a list of dialogs that have our user’s ID. Note that, Public Dialogs do not contain IDs and all users in this application receive them.
import Foundation
import Quickblox


enum QuickBloxServerError: Error {
    case someError
}


typealias DialogsFetchCompletion = (Result<[QBChatDialog]?, Error>) -> Void


class QuickBloxServerAPI {

    //MARK: - Public Methods
    //MARK: - Dialogs
    func fetchDialogs(withCompletion completion: @escaping DialogsFetchCompletion) {
        let extendedParameters = ["sort_desc": "last_message_date_sent"]
        let responsePage = QBResponsePage(limit: 100)
        QBRequest.dialogs(for: responsePage,
                          extendedRequest: extendedParameters,
                          successBlock: { response,
            dialogs, dialogsUsersIDs, page in

            completion(.success(dialogs))
        }, errorBlock: { response in
            let error = response.error?.error ?? QuickBloxServerError.someError
            completion(.failure(error))
        })
    }
}
In this method, we call the QuickBlox API to get dialogs and pass the necessary parameters to it:
let extendedParameters = ["sort_desc": "last_message_date_sent"]
We indicate that we want to get dialogs sorted in descending order by the date of the last message.
let responsePage = QBResponsePage(limit: 100).
We indicate that we want to receive dialogs in batches of 100 dialogs.
Let’s prepare a Dialogs Screen to display the resulting dialogs:
import SwiftUI
import Quickblox
import UIKit


struct DialogsView: View {

    @Environment(\.presentationMode) var presentationMode
    @State var dialogs: [QBChatDialog] = []
    let quickBloxServerAPI = QuickBloxServerAPI()

    var body: some View {
        ZStack {
            Color.white.edgesIgnoringSafeArea(.all)
            Color.clear
                .overlay(
                    List {
                        ForEach(dialogs, id: \.self) { dialog in
                            Text(dialog.name ?? "TestDialog" )
                        }
                    }
                        .listStyle(PlainListStyle())
                        .onAppear() {
                            self.fetchDialogs()
                        }
                )}
        .navigationBarTitle("Chats", displayMode: .inline)
    }

    func fetchDialogs() {
        quickBloxServerAPI.fetchDialogs { result in
            switch result {
            case .success(let dialogs):
                guard let dialogs = dialogs else { return }
                DispatchQueue.main.async {
                    self.dialogs = dialogs
                }
            case .failure(let error):
                debugPrint("[DialogsView] \(#function) error: \(error.localizedDescription)")
            }
        }
    }
}


struct DialogsView_Previews: PreviewProvider {
    static var previews: some View {
        DialogsView()
    }
}
Now everything is ready to make a request to receive dialogs from the server. Let’s do that!
Let’s run the application and pay attention to the logs that QuickBlox iOS SDK displays.
Below are XCode logs that show a request to the server to get a dialog.
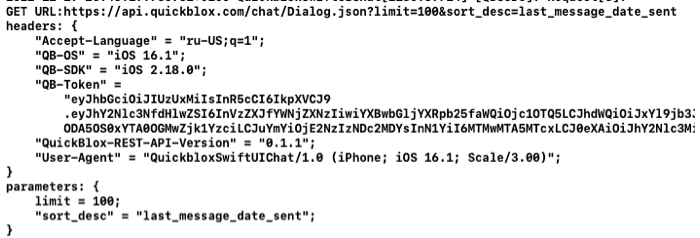
This is what our request looks like with the given parameters.
And this is what the resulting dialog model looks like:
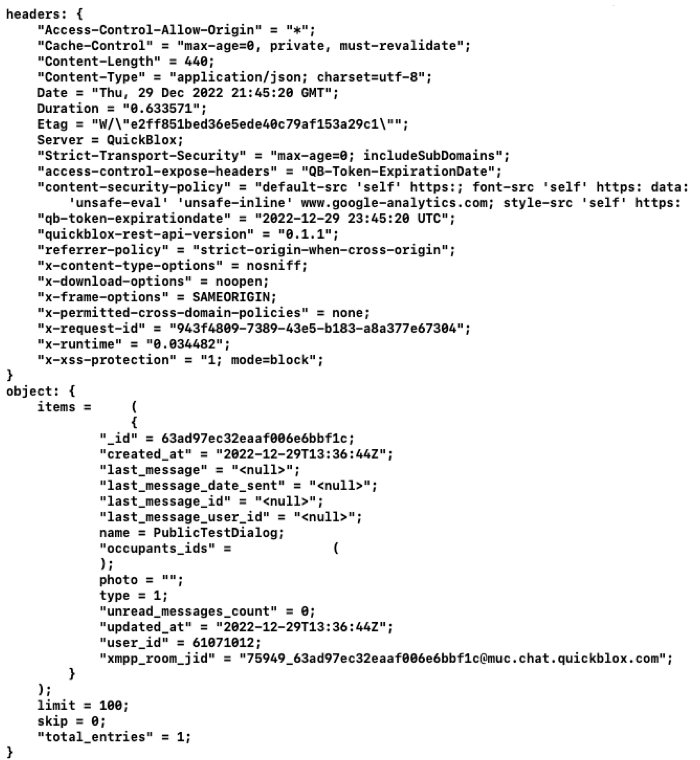
We have successfully received the previously created dialog from the server!
On the Dialog Screen we should see the following:

Great!!!
In this part, we implemented receiving dialogs from the QuickBlox Server and got acquainted with how you can create a dialog in the admin panel.
In the next part, we will create a DialogView to correctly and more fully display the received dialogs!
Have Questions? Need Support?
Join the QuickBlox Developer Discord Community, where you can share ideas, learn about our software, & get support.
Join QuickBlox Discord
 AI Agent — automate conversations and workflows. Now available on Free plan