Welcome to QuickBlox! So you’ve decided to sign up for a free account and start building a chat app with our ready-to-use SDKs, Rest APIs, and code samples. To ensure your success we provide detailed documentation, several how-to tutorials and an FAQ section on our help pages.
To get you started we outline below a step-by-step guide covering some of the basics of QuickBlox. Follow our instructions to learn how to create an application in your QuickBlox account and learn about the main features of the QuickBlox admin dashboard.
1. Getting Started
In order to start using QuickBlox features like REST APIs, SDKs, and code samples, you first need to create an application in your QuickBlox account. Register for a QuickBlox account if you don’t have one already.
If you do have a QuickBlox account go to the sign-in page and login using your credentials.
Once signed in you will see the page with your applications (if any):
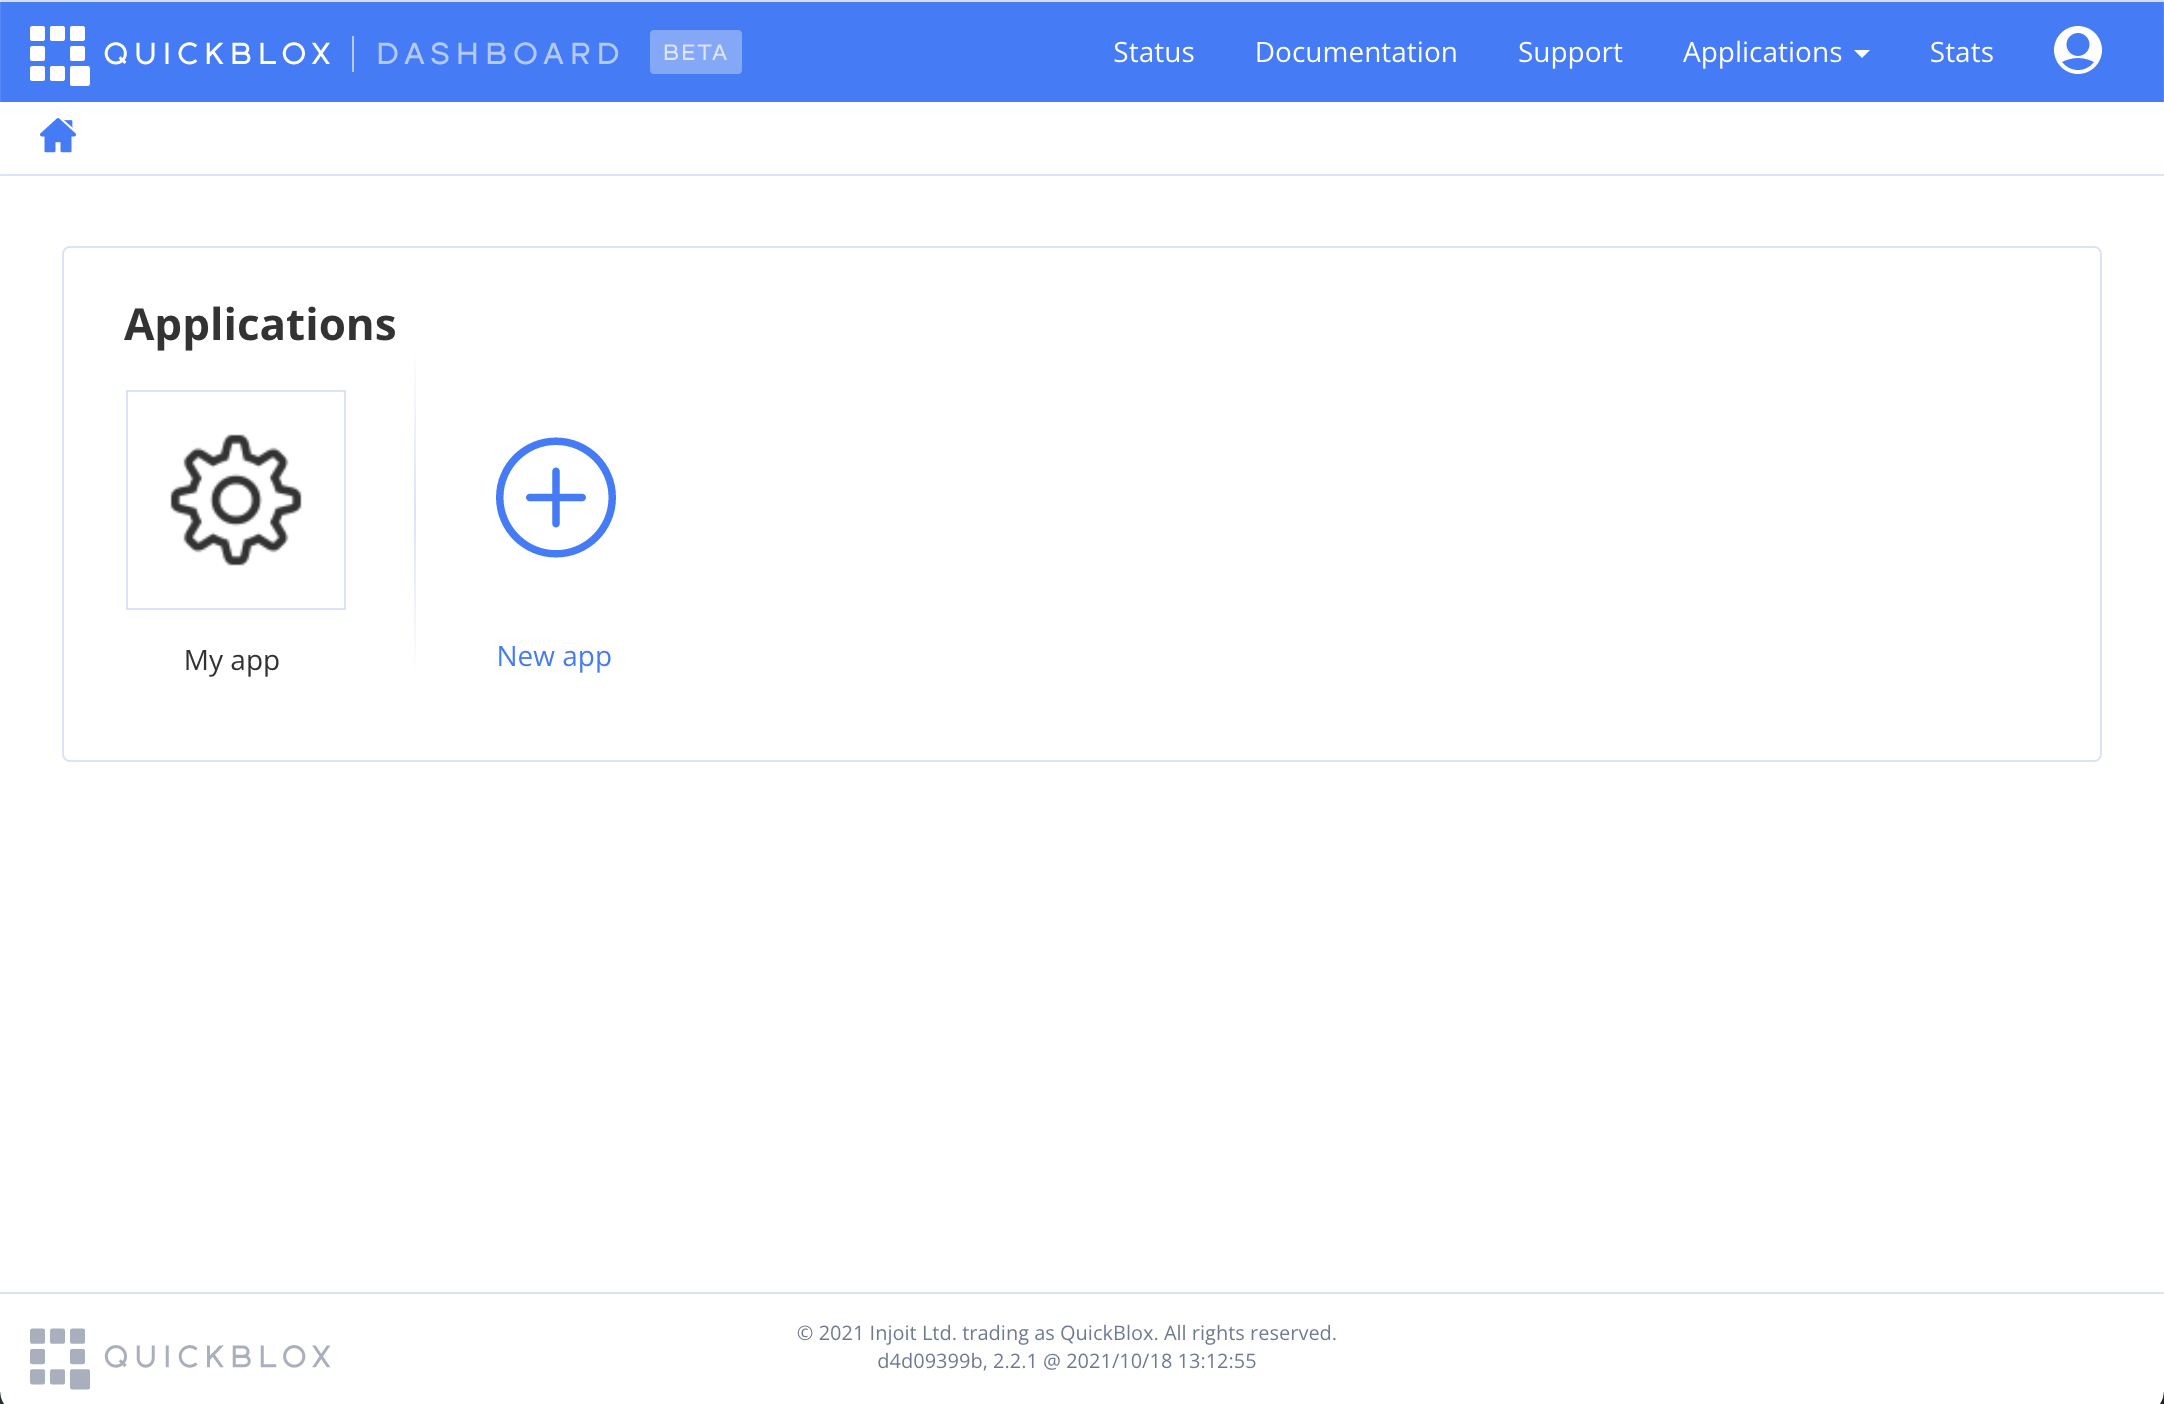
The navigation bar at the top of the page contains several links. Let’s move across each of them and look at what functionality they provide.
Status
The “Status” page displays information about the performance of the server and its features.
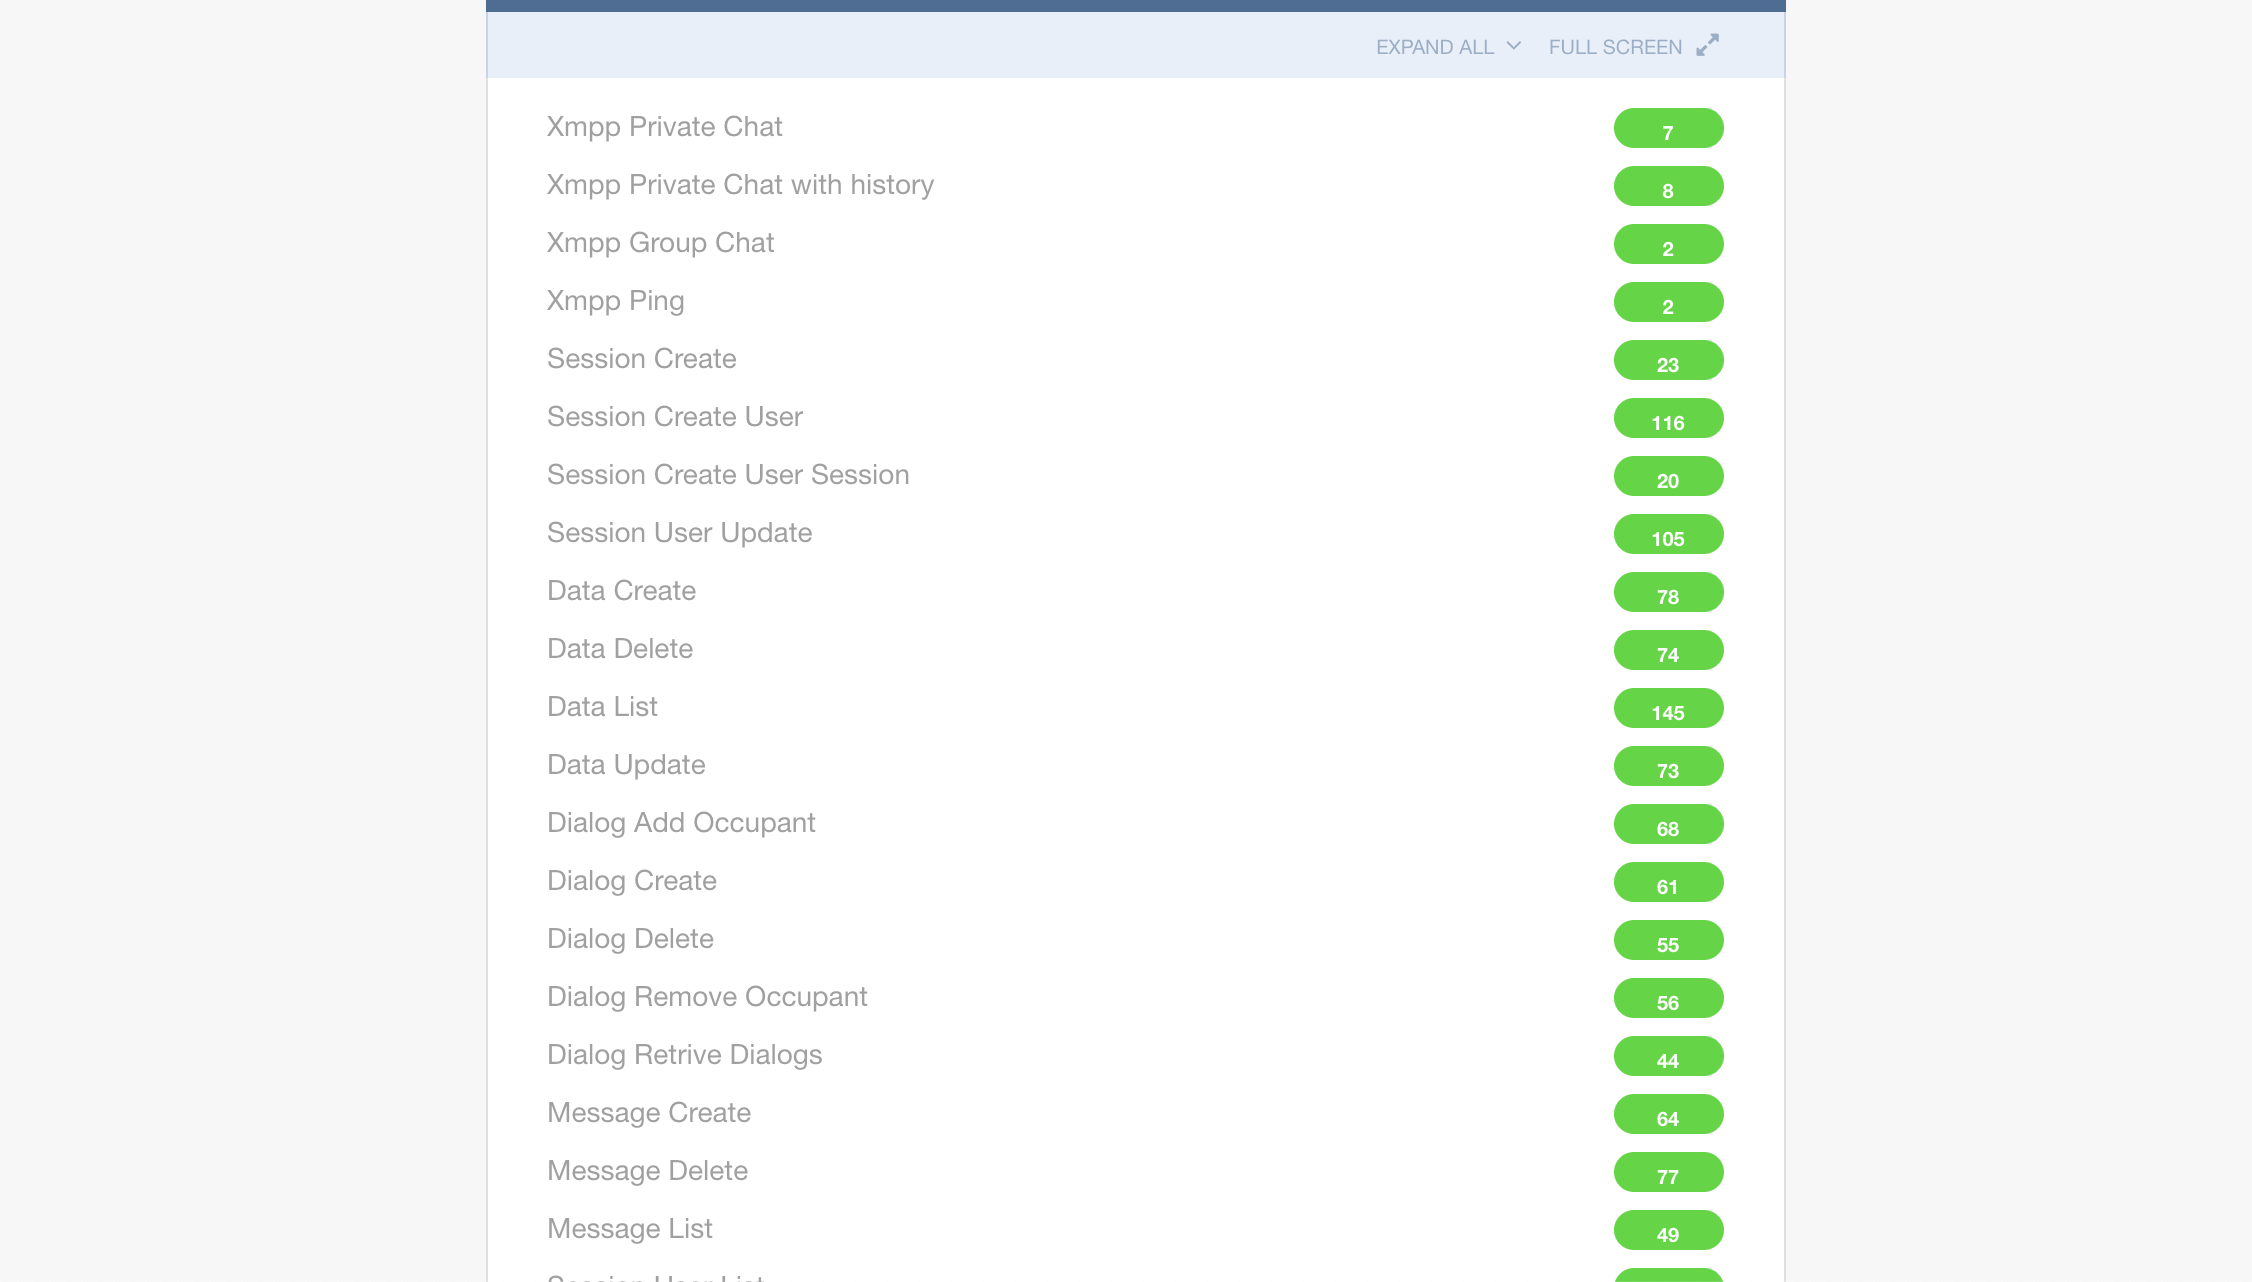
Numbers with a green background show how fast tests for specific features passed in milliseconds.
Information is updated periodically to display actual information. Information for every feature can be expanded to see performance on a timeline.
Documentation
This tab redirects you to the documentation portal where you can find information about how to use our client-side SDKs to implement features into your application.
Support
This tab redirects to the support portal where you can ask for help, request account information, review our FAQs and more.
Applications
This is the page where all your applications are displayed, and where you can add, remove, or change application(s).
Let’s explore in more detail about creating and managing applications.
2. Managing Applications
If you don’t have any application yet, press on the “New App” button.

Fill in the App name and App type and press the “create app” button.
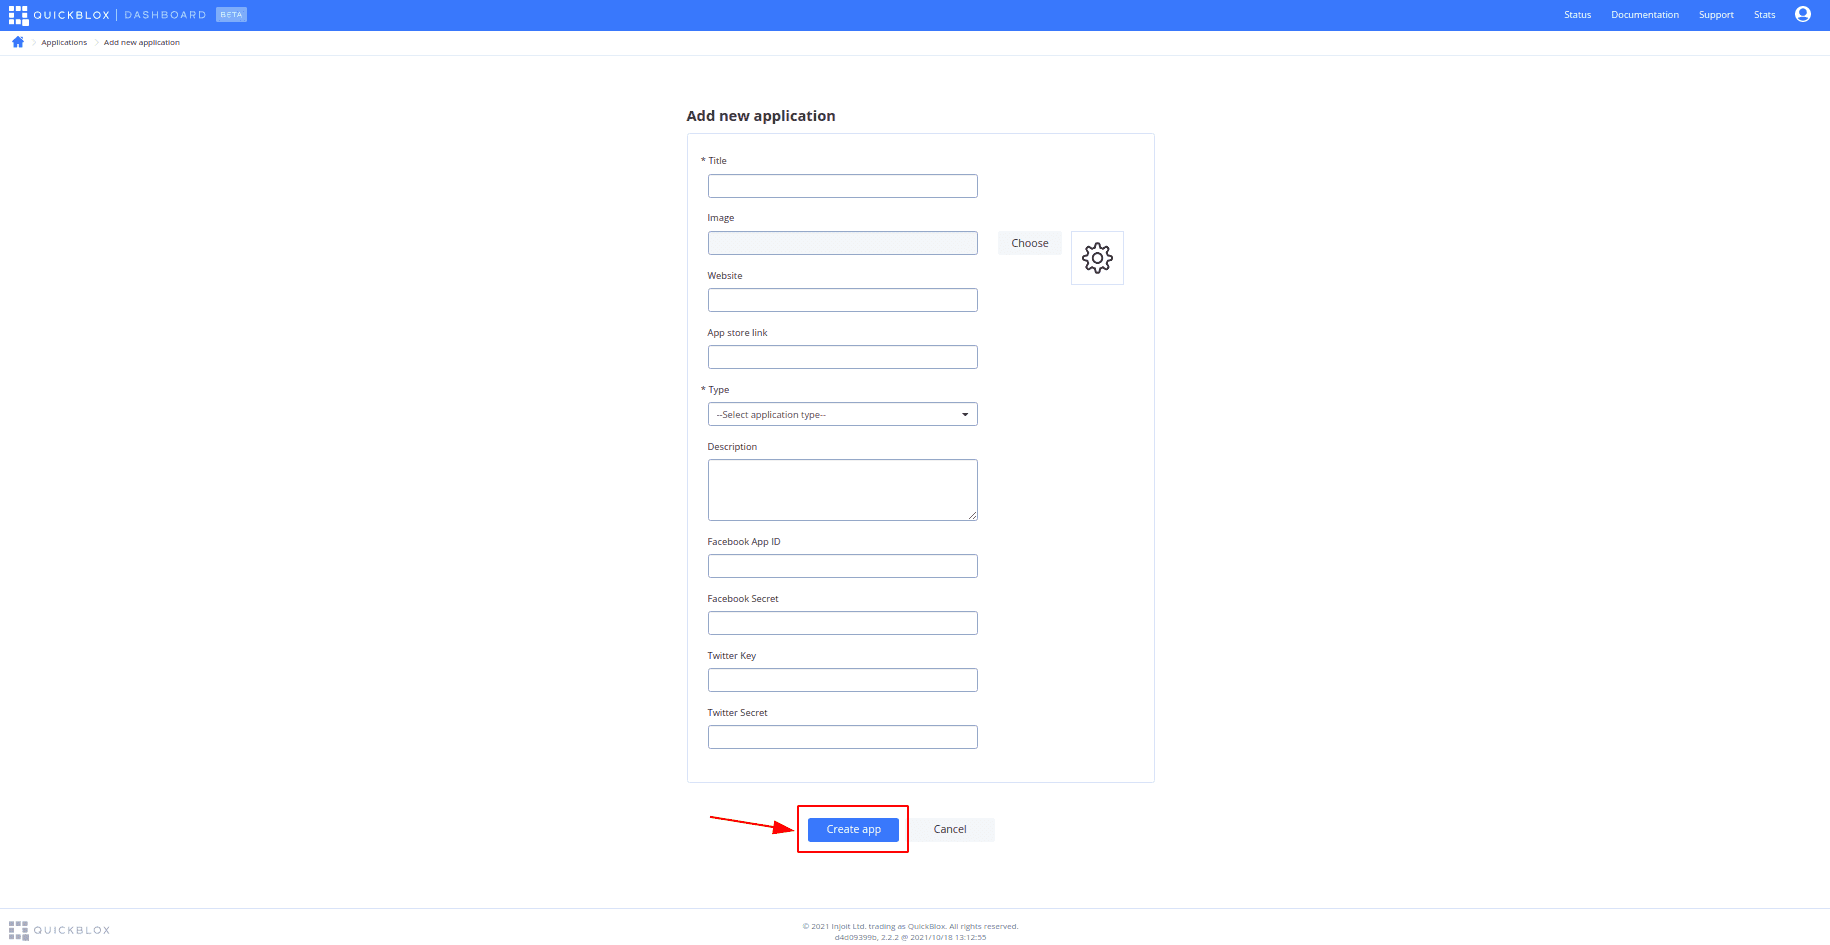
That’s it! You now have an application that can be used. 🎉
Let’s walk through the side menu bar available in the application
Overview
In order to use an application you should have an Application ID (appId), Authorization key (authKey), Authorization secret (authSecret), and Account key (accountKey). These are displayed on the “Overview” page of your application.
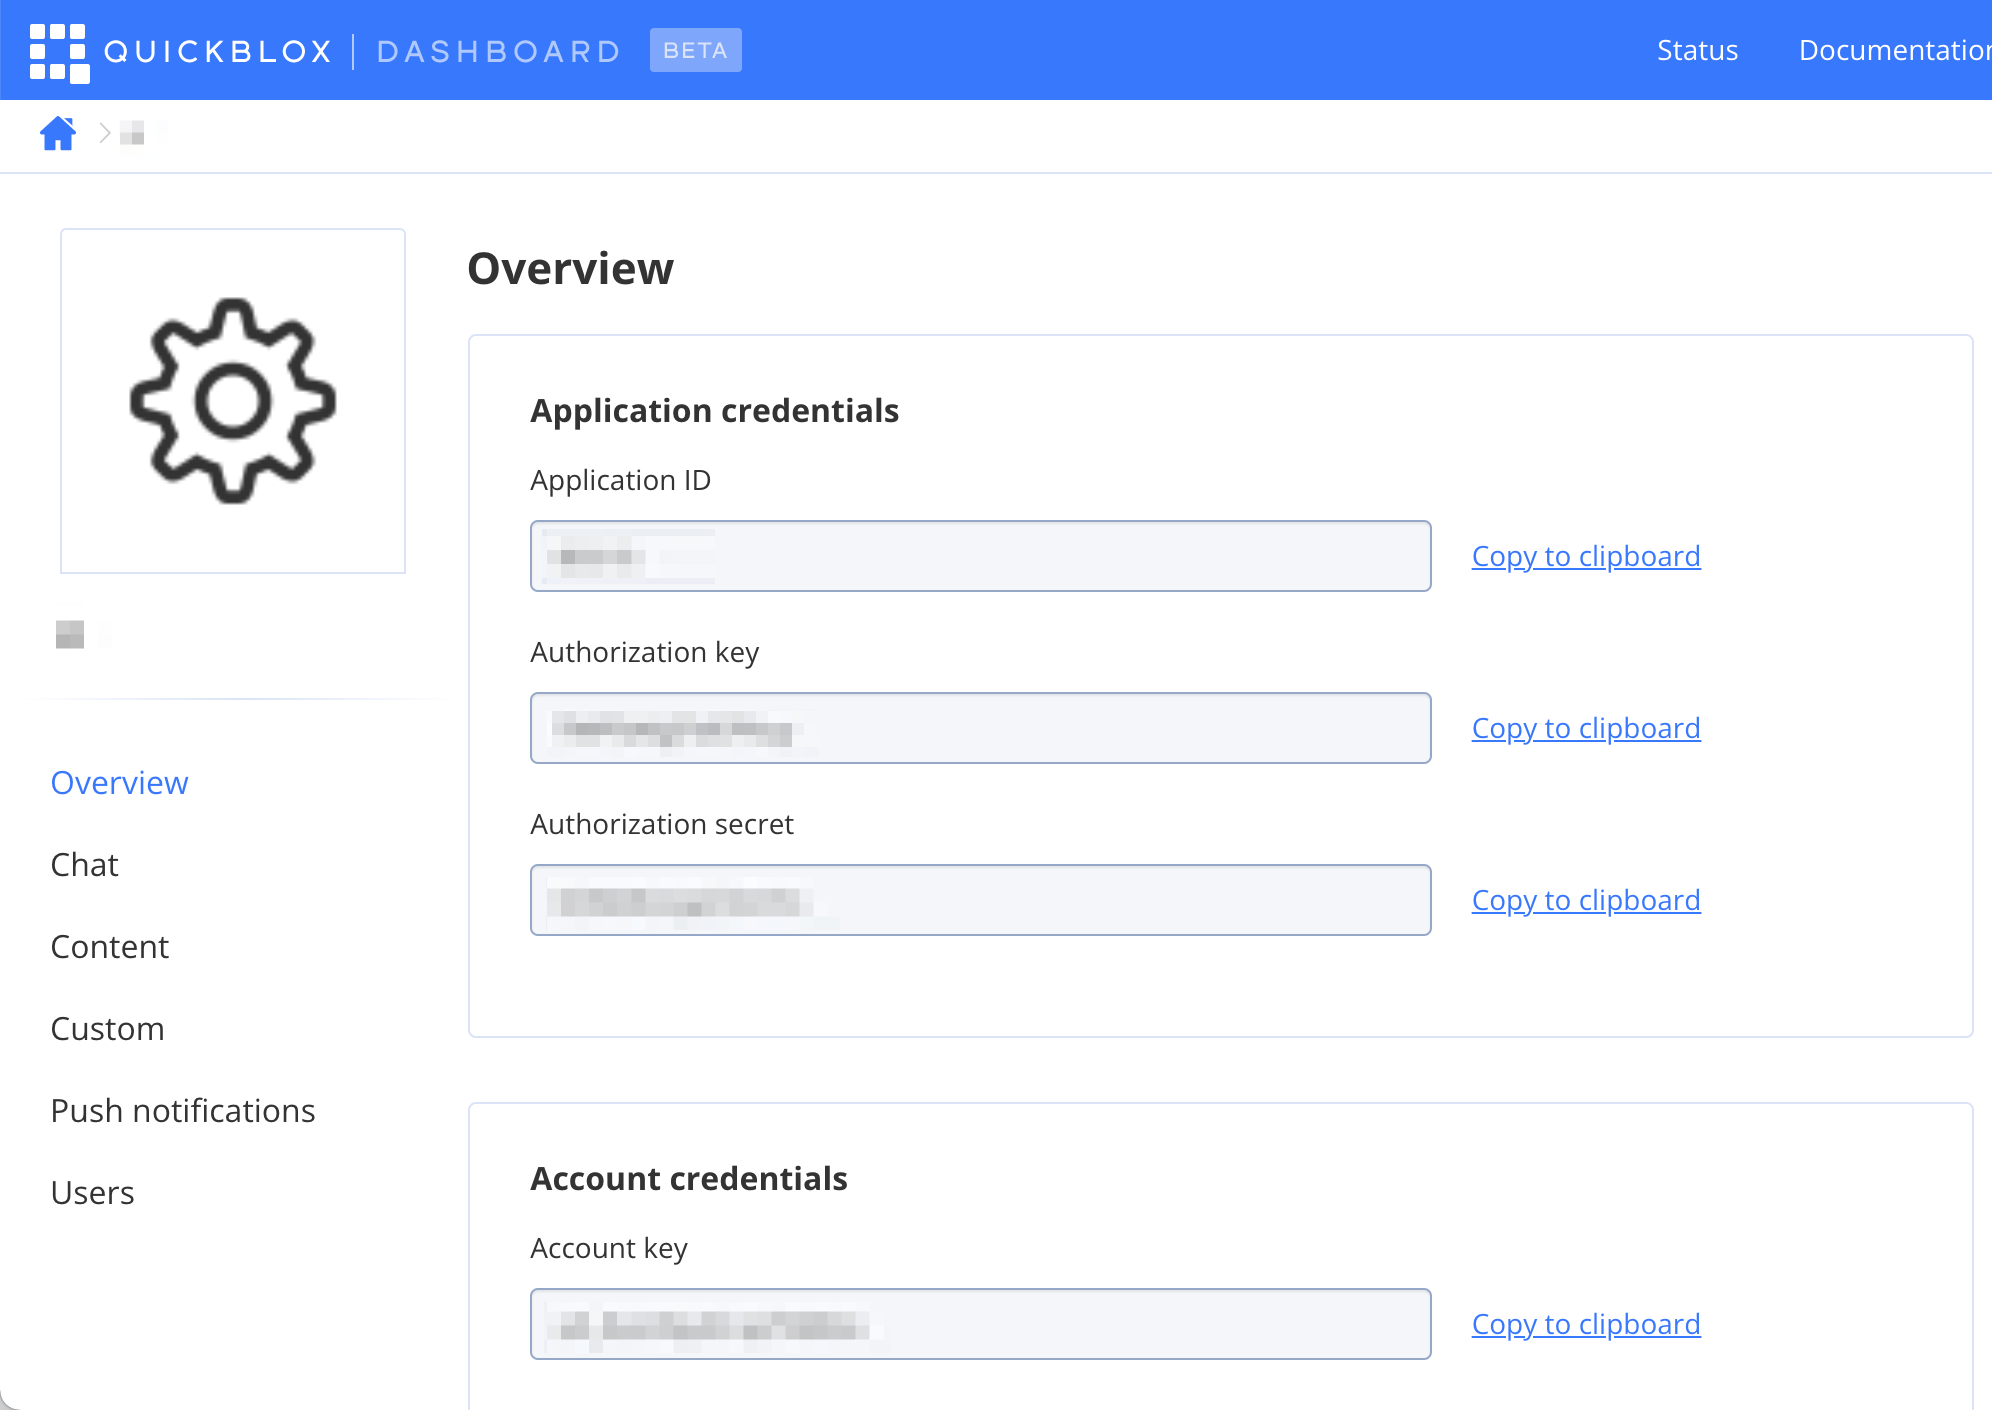
On the “Overview” screen you can upload an image for your app to visually identify it, change the application title, website, and add / modify other information.
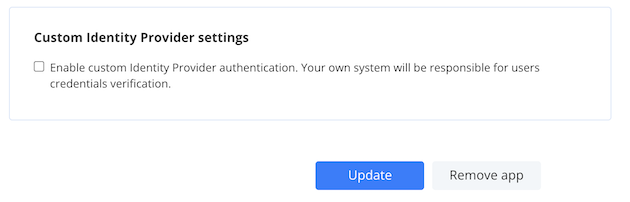
At the time of creating the app or on the “Overview” screen at the bottom of the page you can turn on “Custom Identity Provider” – read the docs at Custom Identity Provider to find out what this is.
Chat
When you you are on the Chat page, there are two tabs displayed – “Dialogs” and “Offline messaging”.
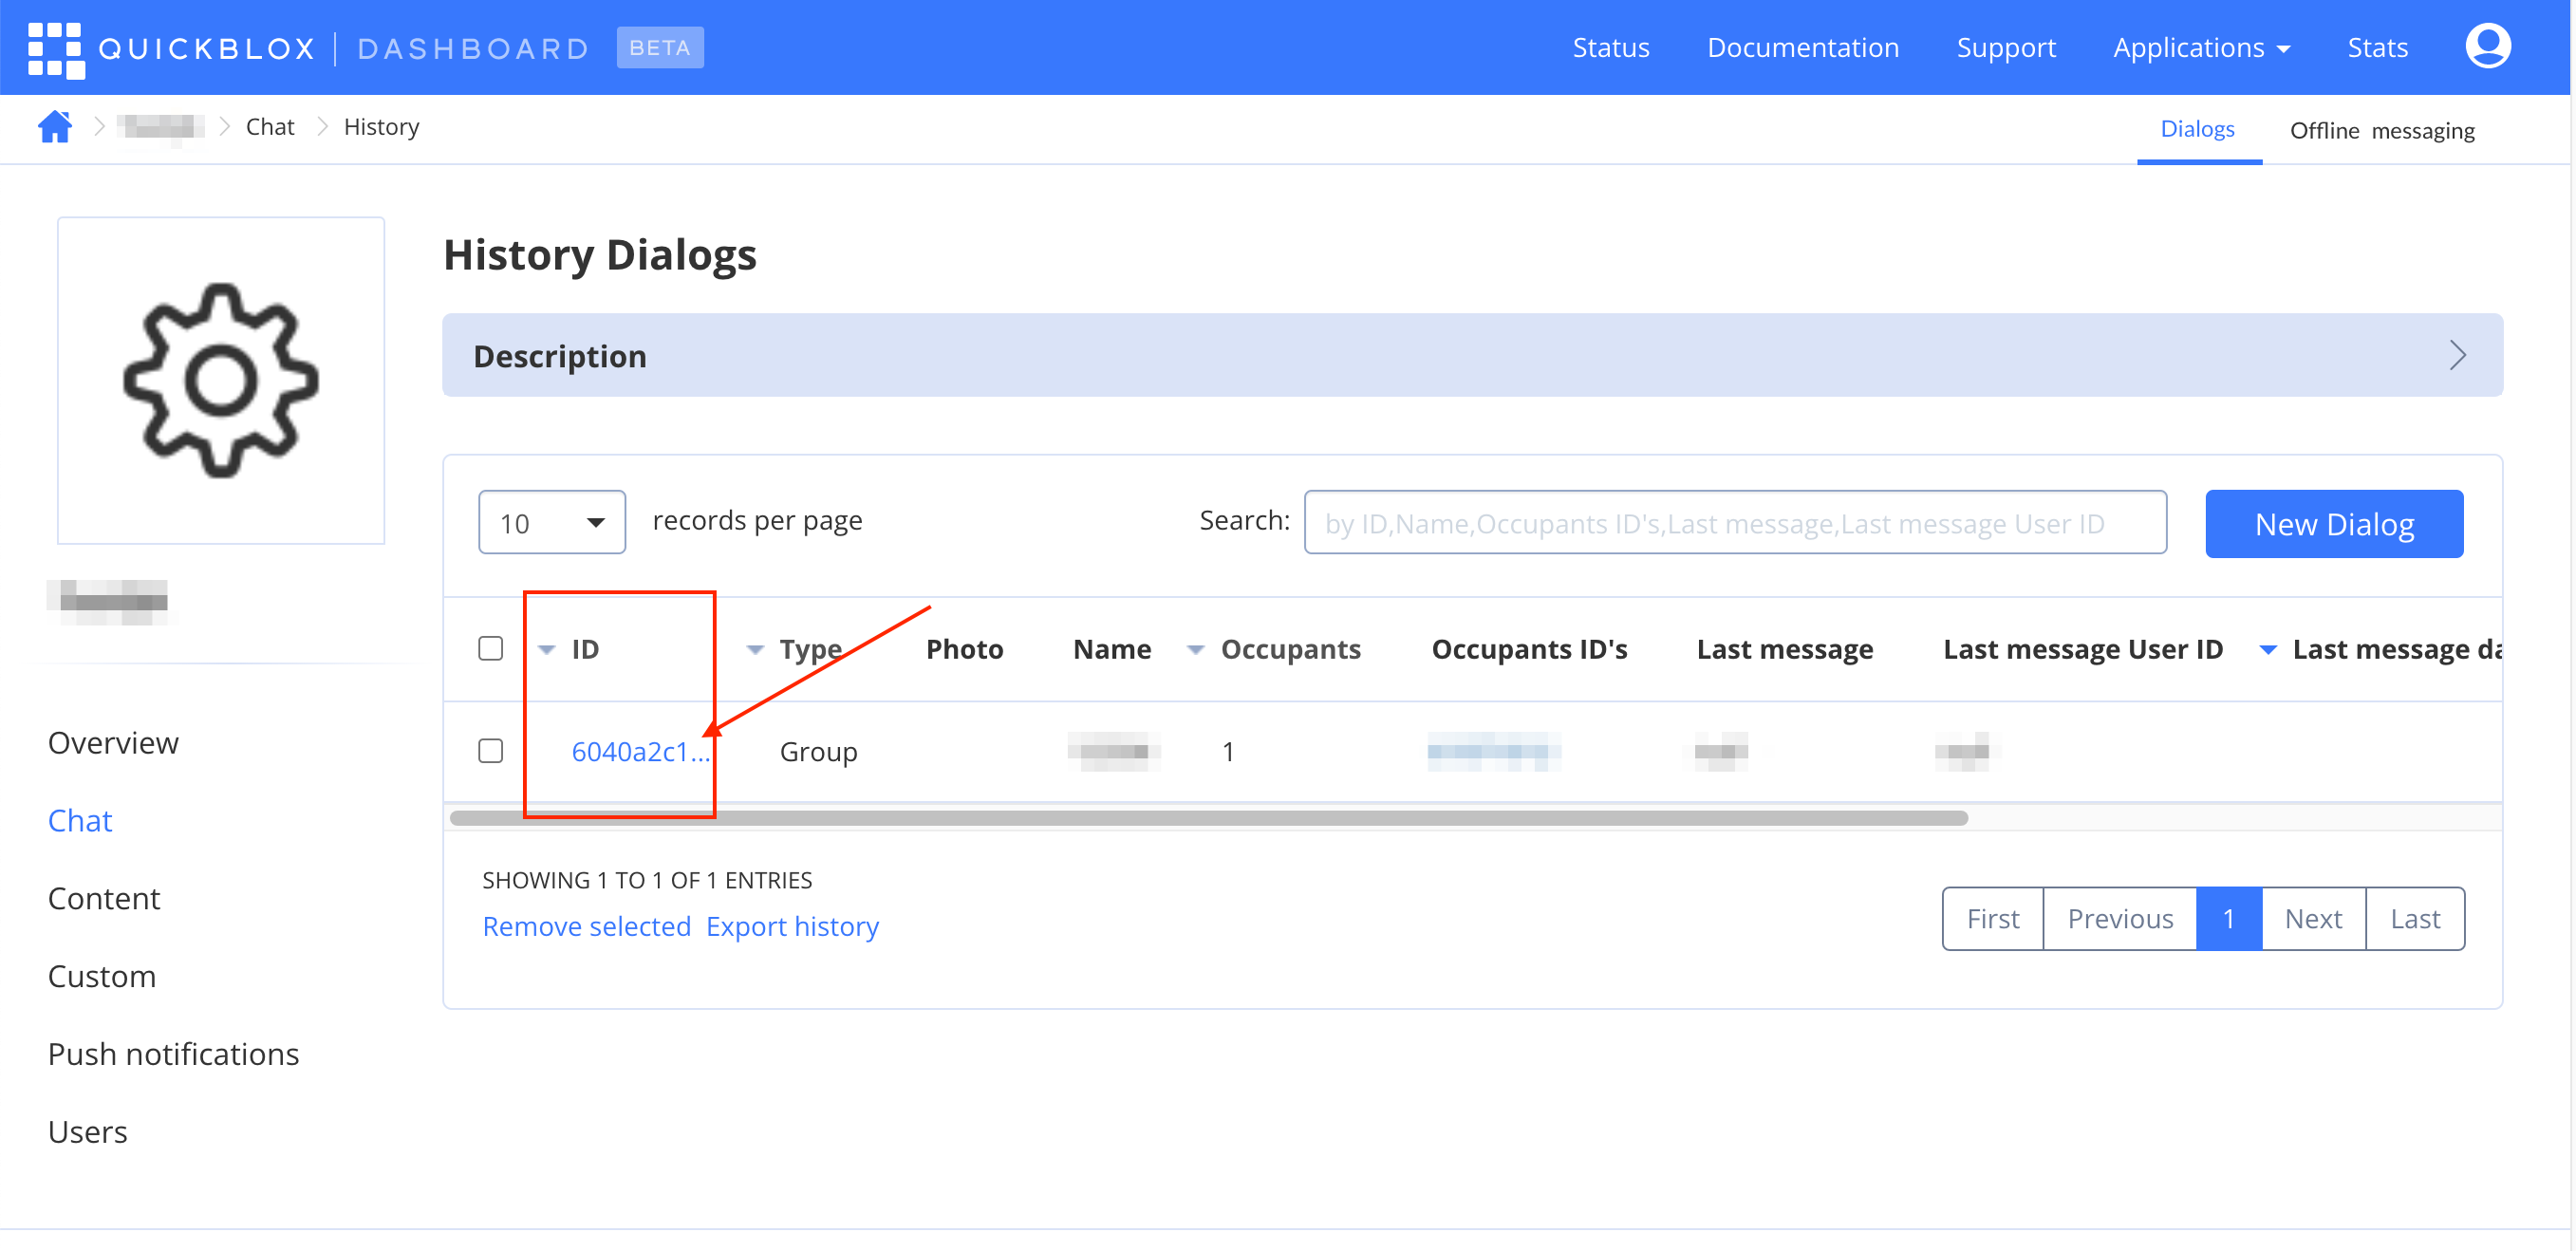
Dialogs
At the “Dialogs” tab you can find all the chat dialogs, view chat information, and view chat history (messages of a particular dialog).
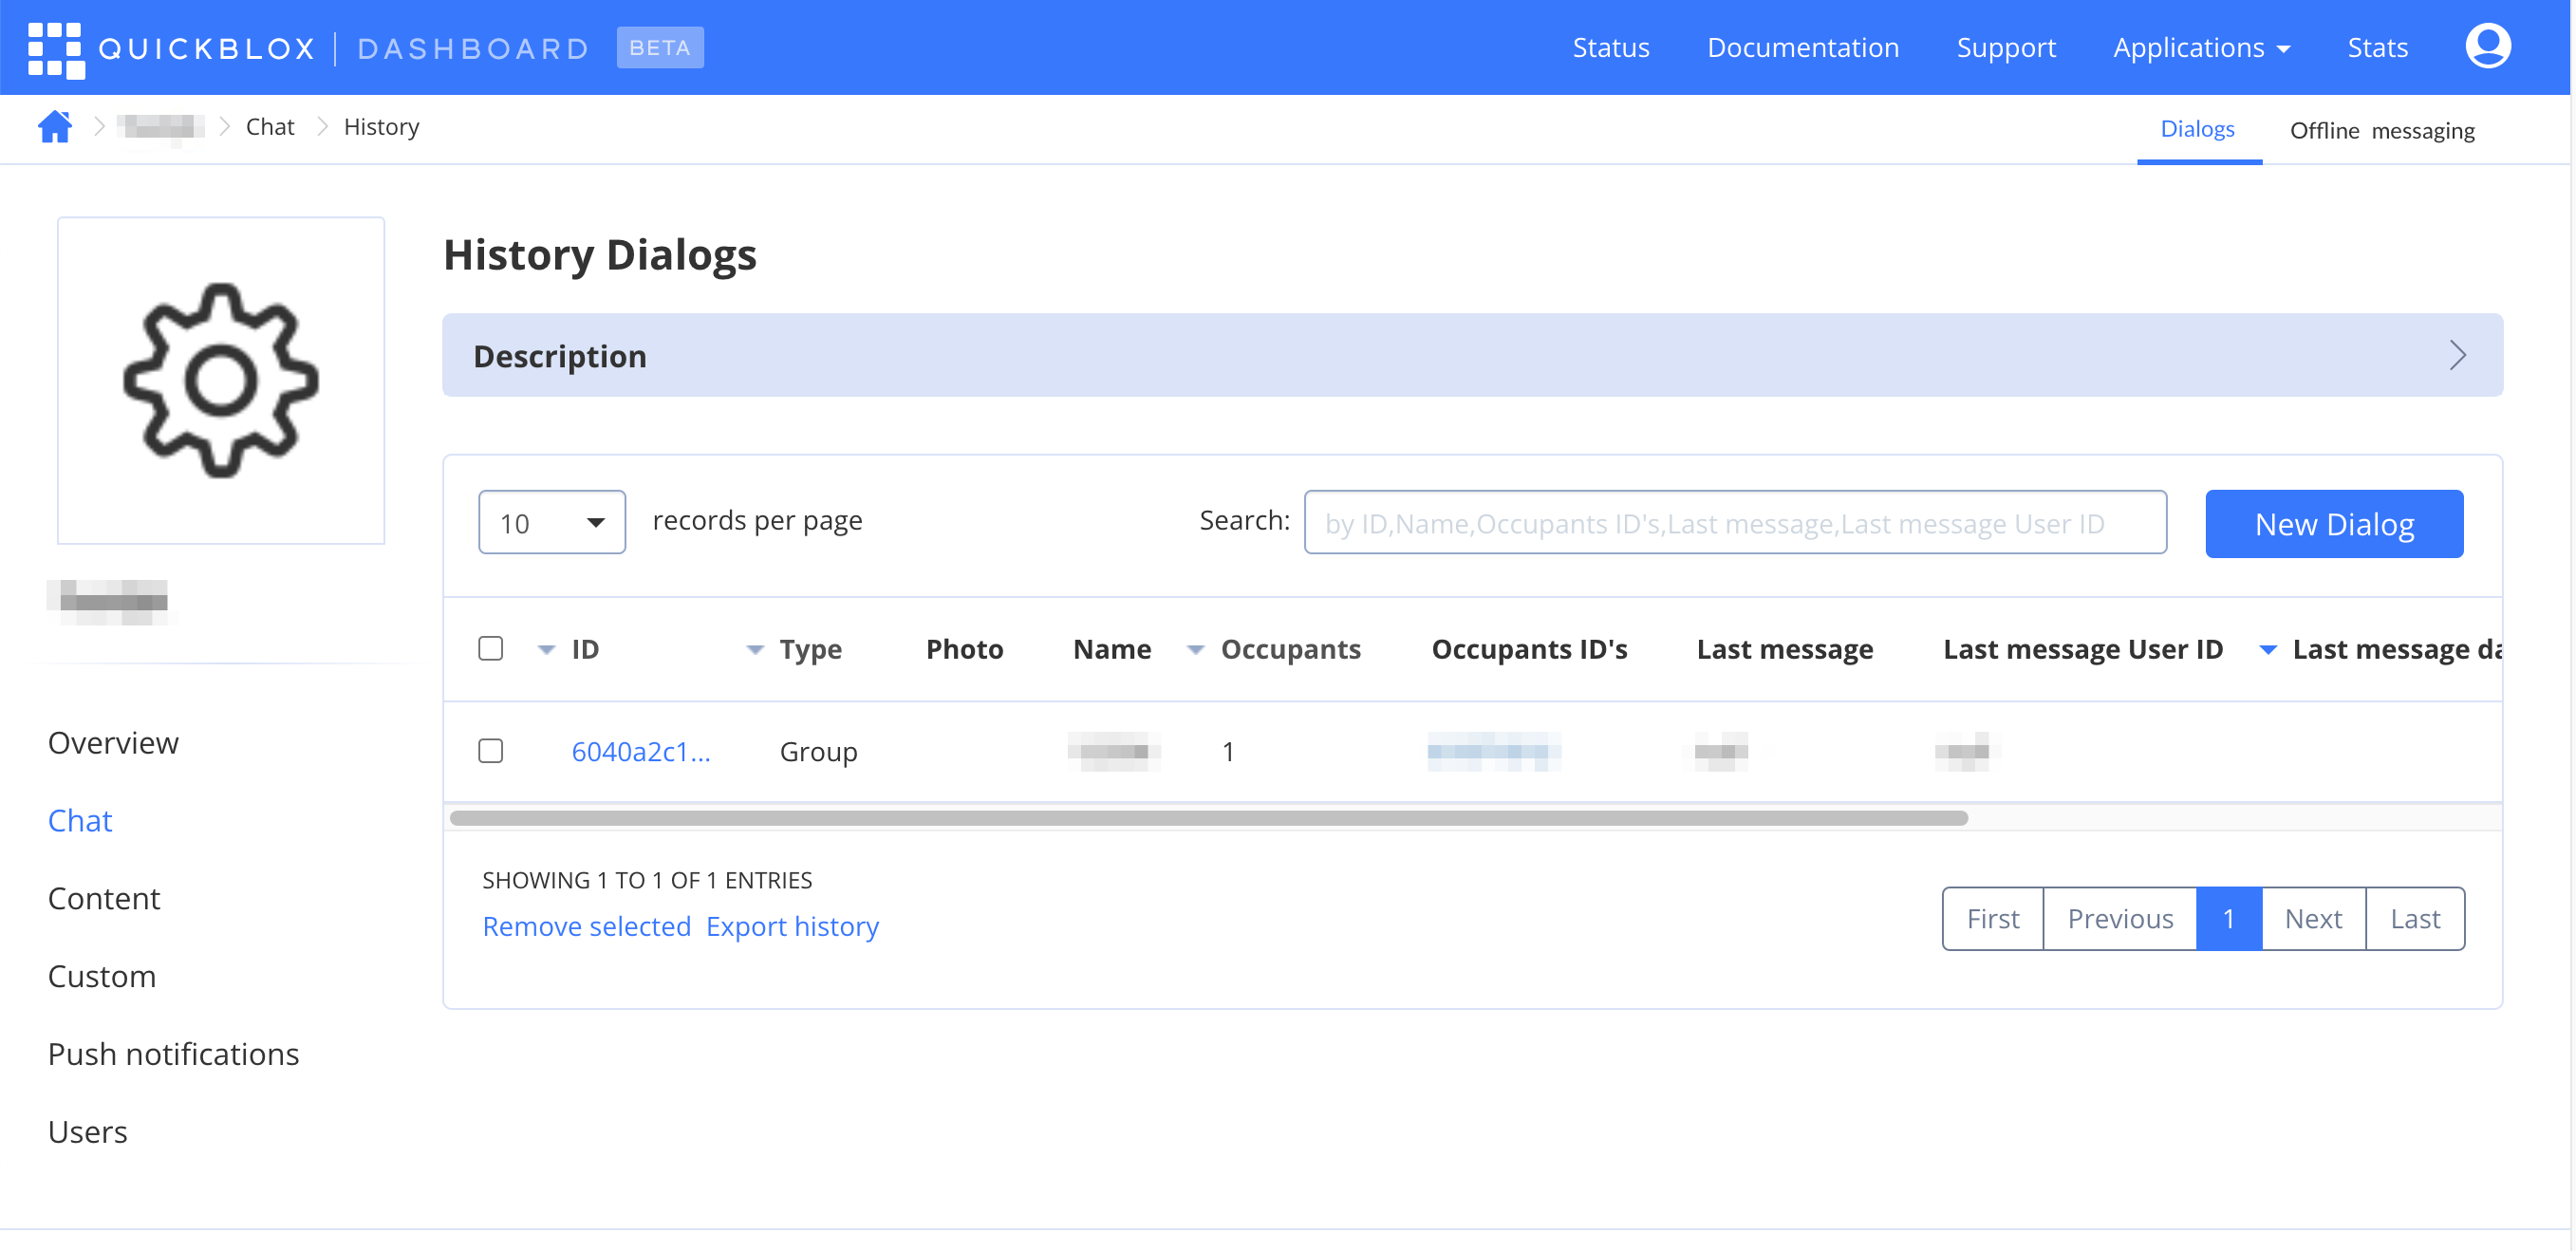
Also, you can create a new Group or Public chat dialog from this screen by pressing the “New Dialog” button.

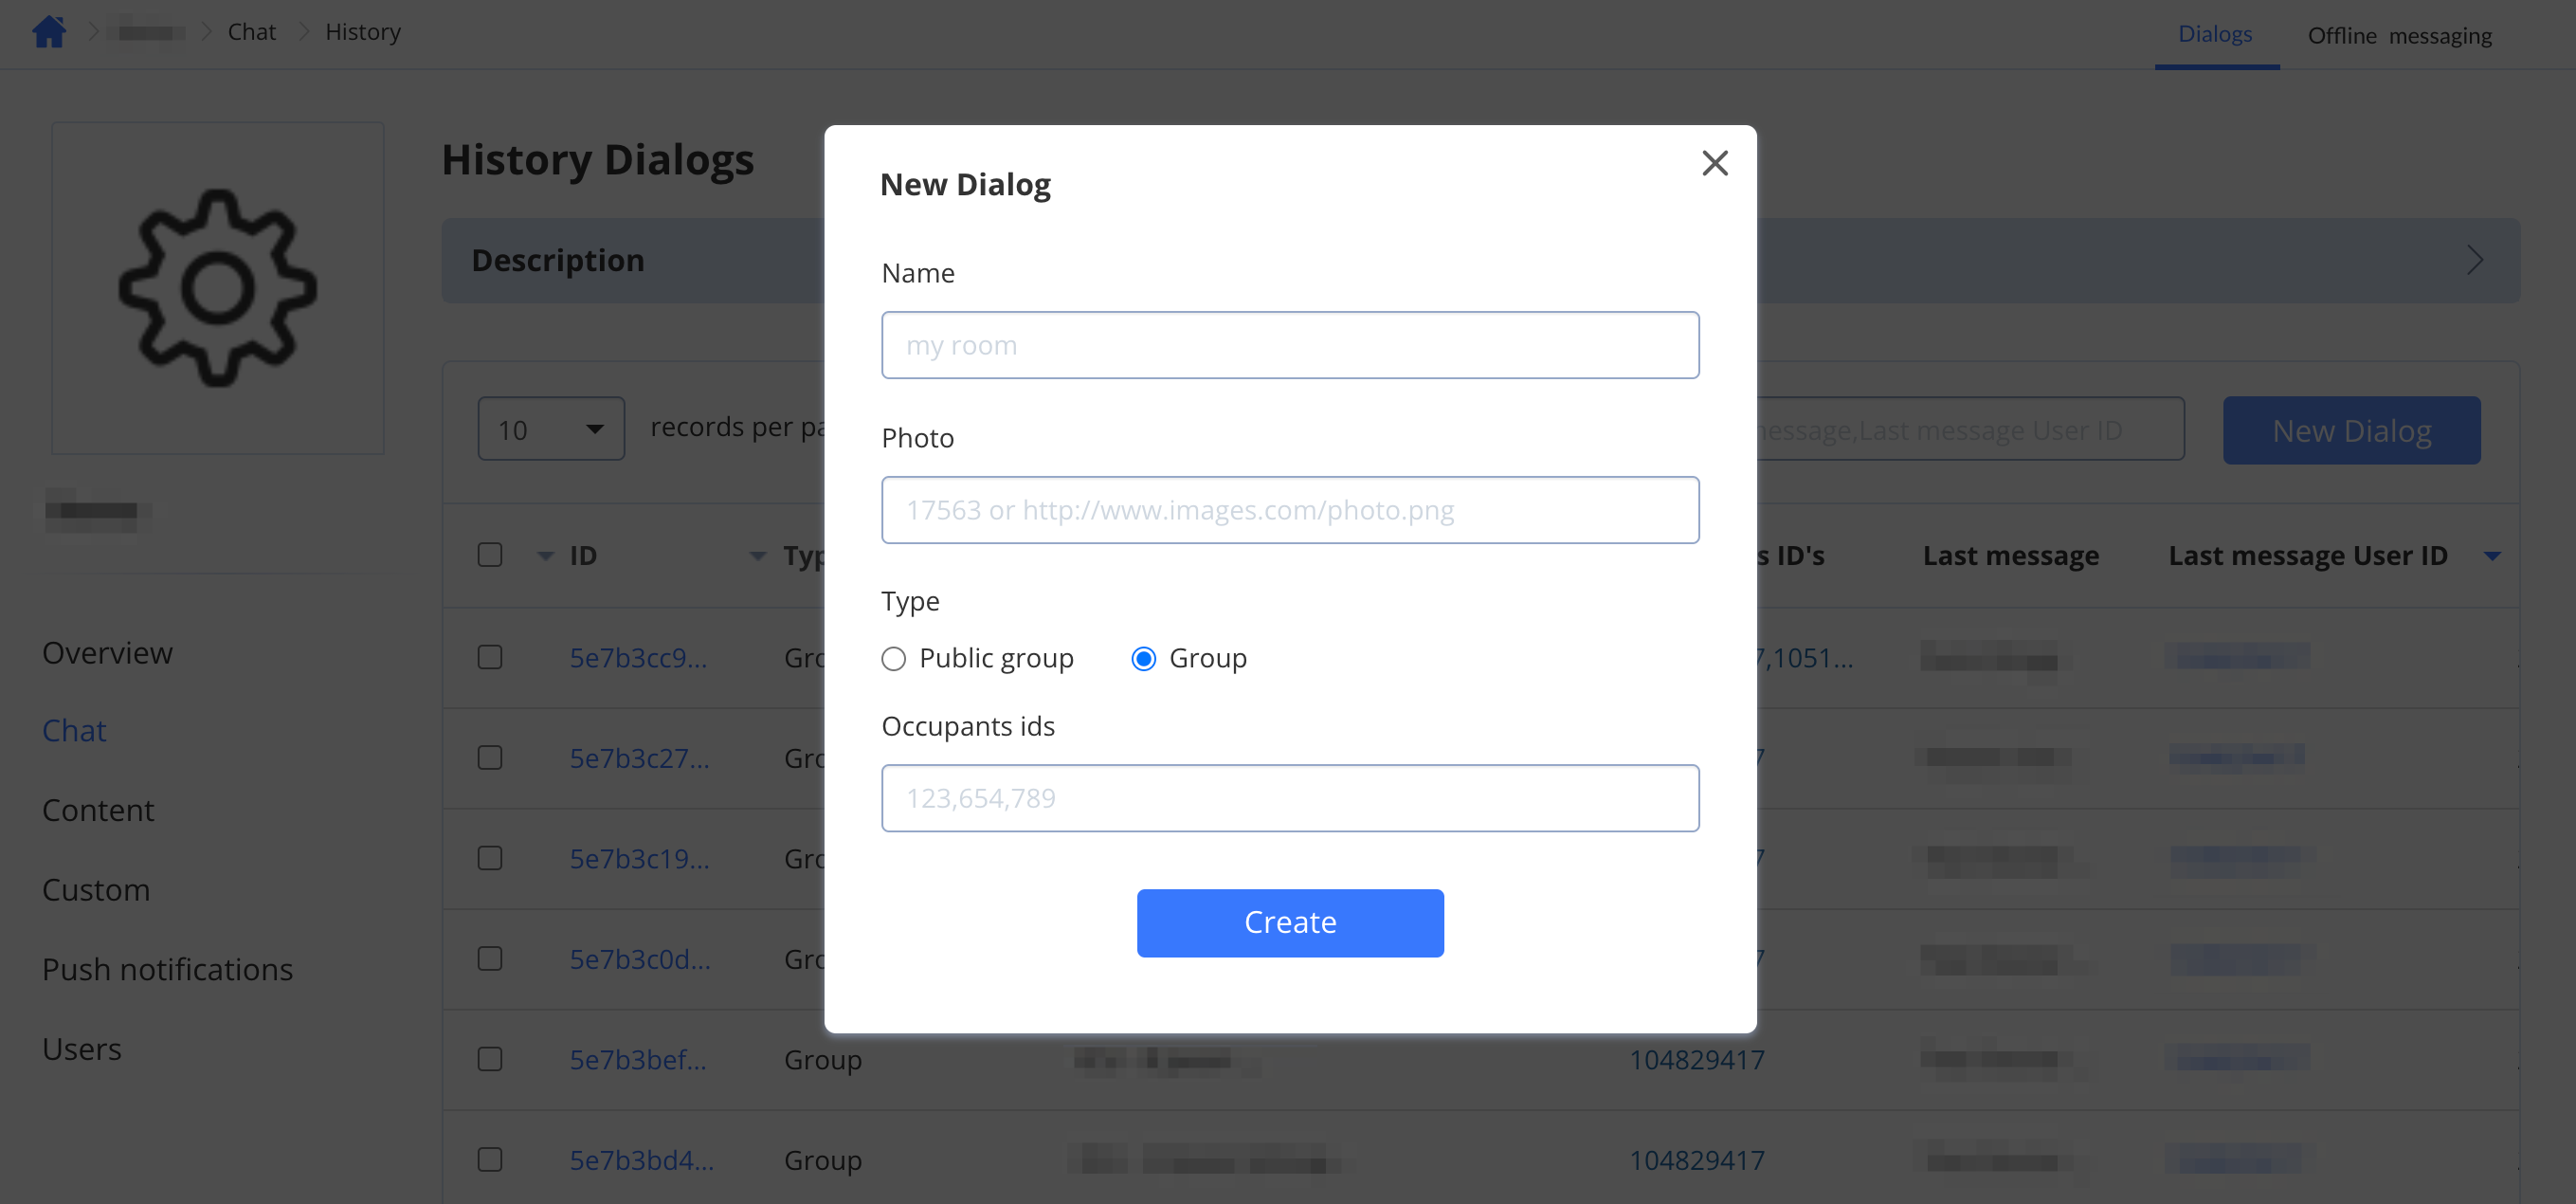
Select and press a dialog ID in the ID column to open the “Chat dialog edit” page so that you can update some of the dialog’s fields.
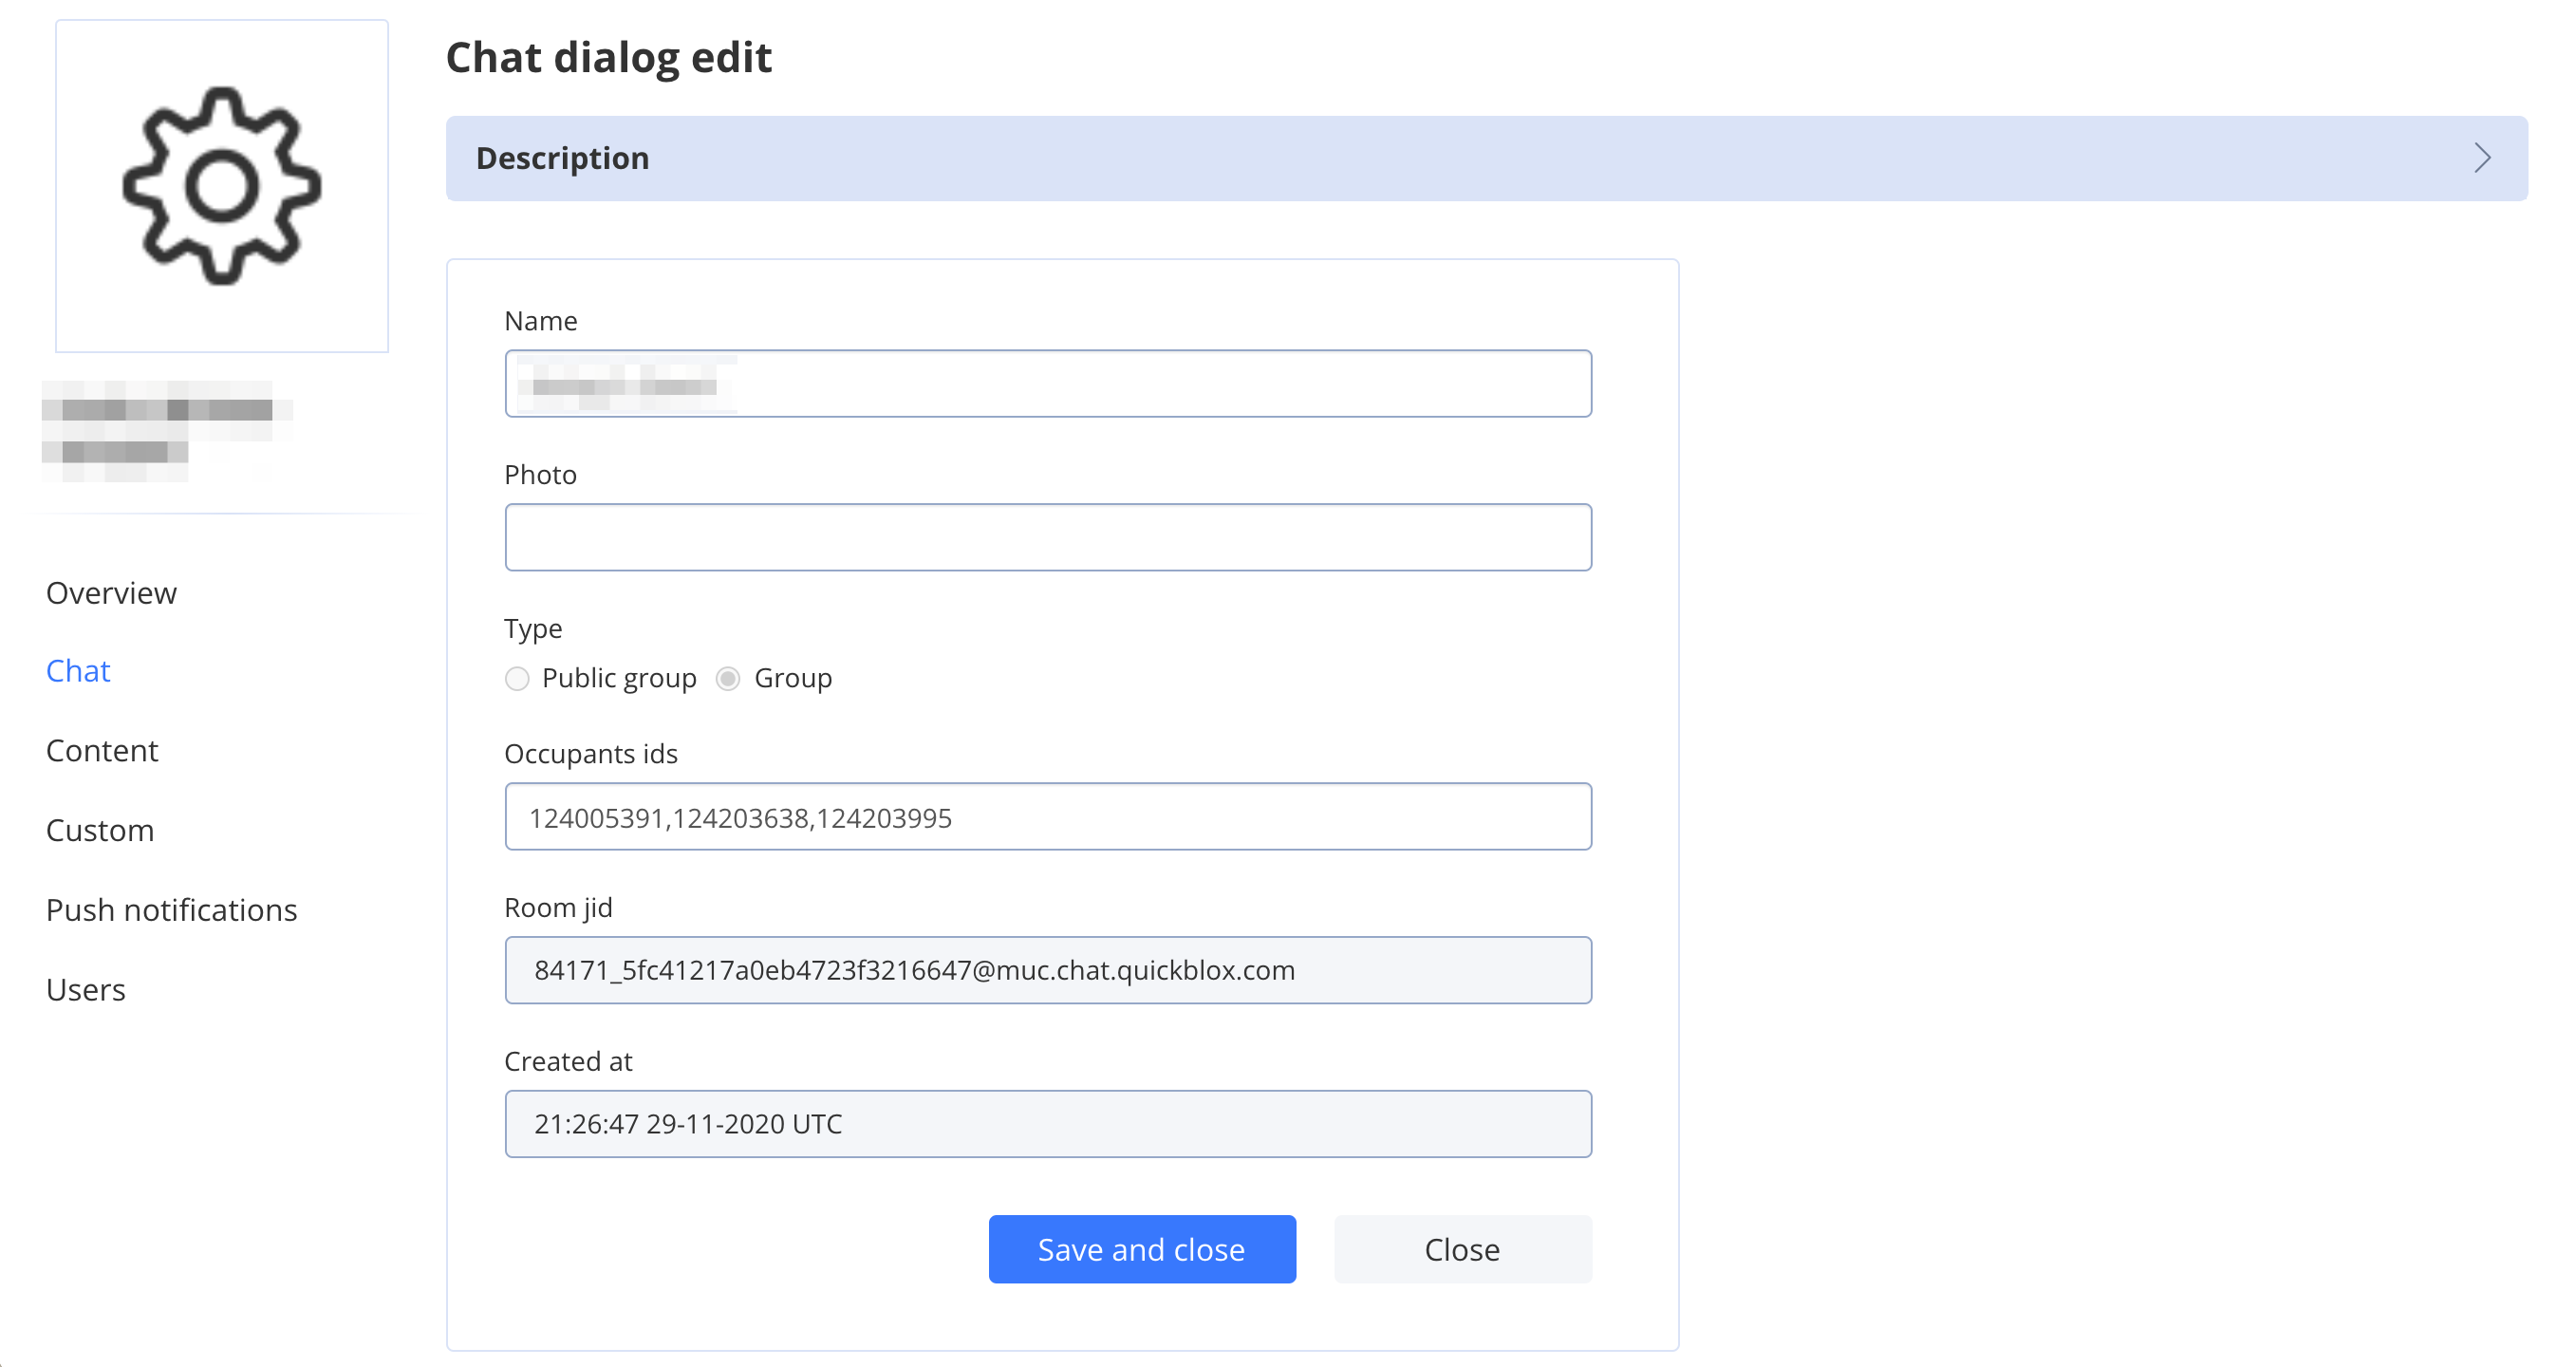
For Public and Group dialogs it’s possible to change the dialog’s name and photo of the dialog. For Group dialog it’s also possible to edit the list of occupants Ids.
Private chat cannot be modified, since it is a dialog between exactly two people.
Offline messaging
When you select the offline messaging tab you can configure whether the chat server should send push notifications to offline users.
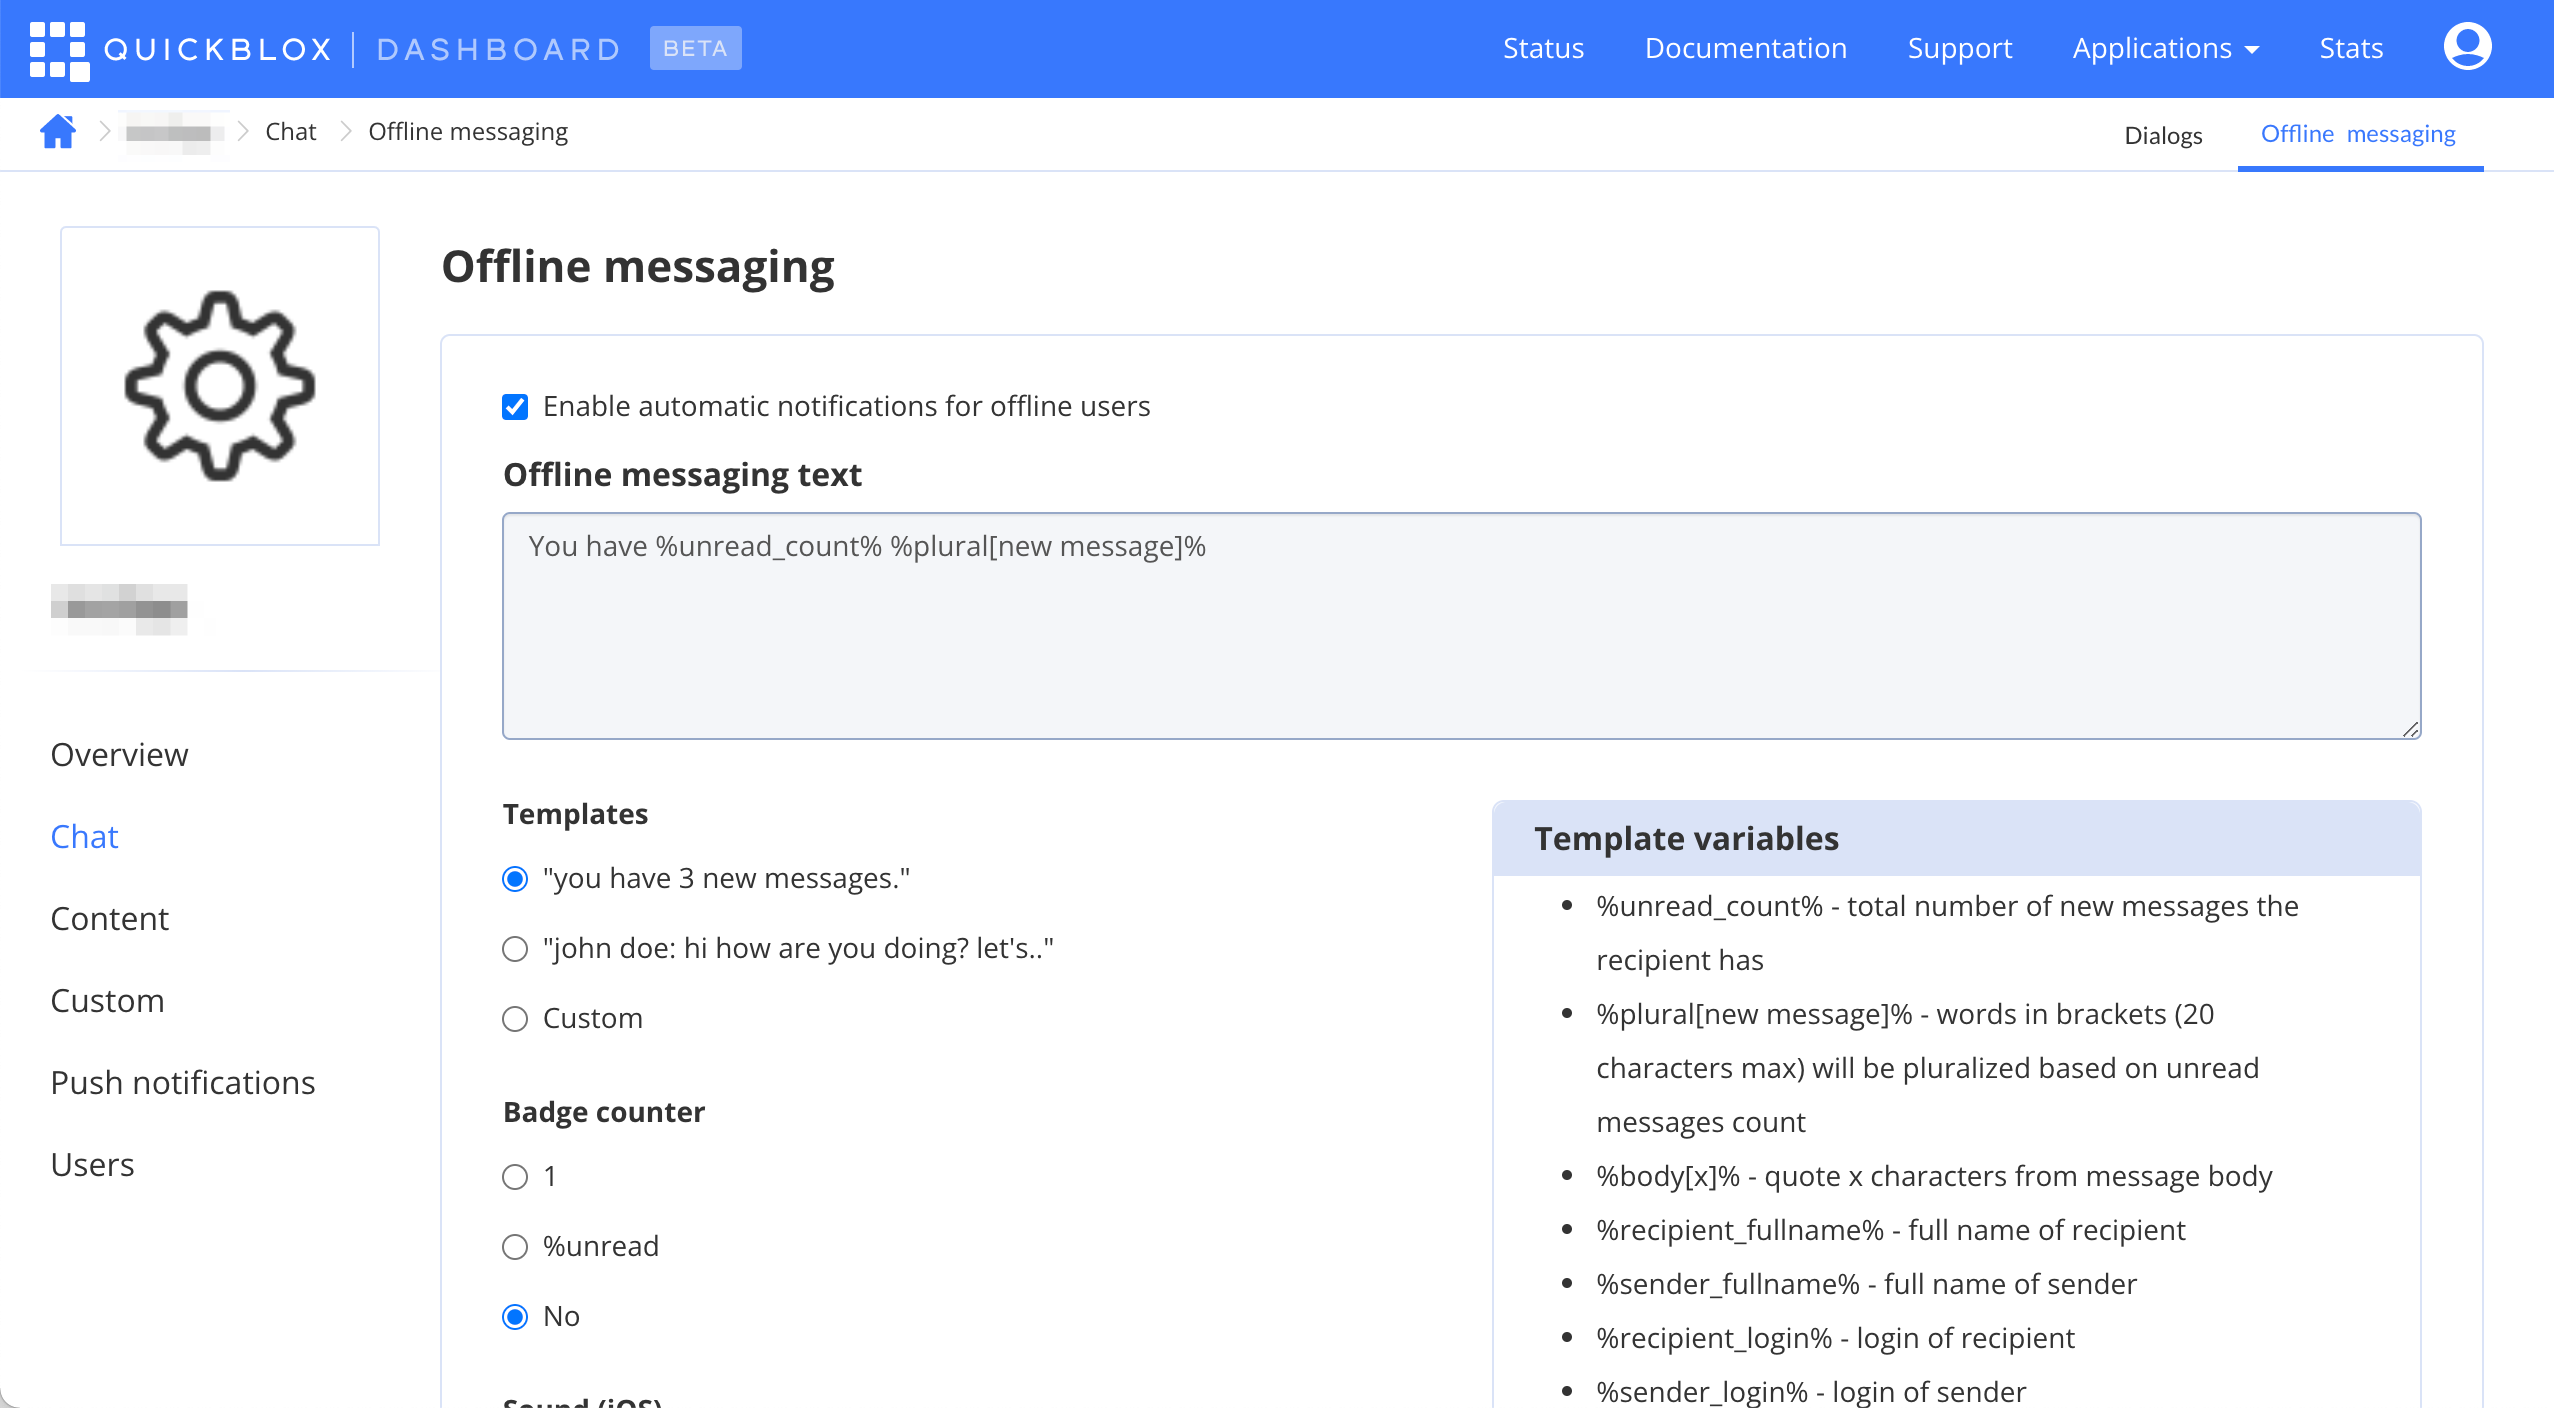
Notifications can be customized by your own template or you can opt to use one of our predefined templates.
To use custom notification text – select option “Custom” in Templates and type in your own template.

Content
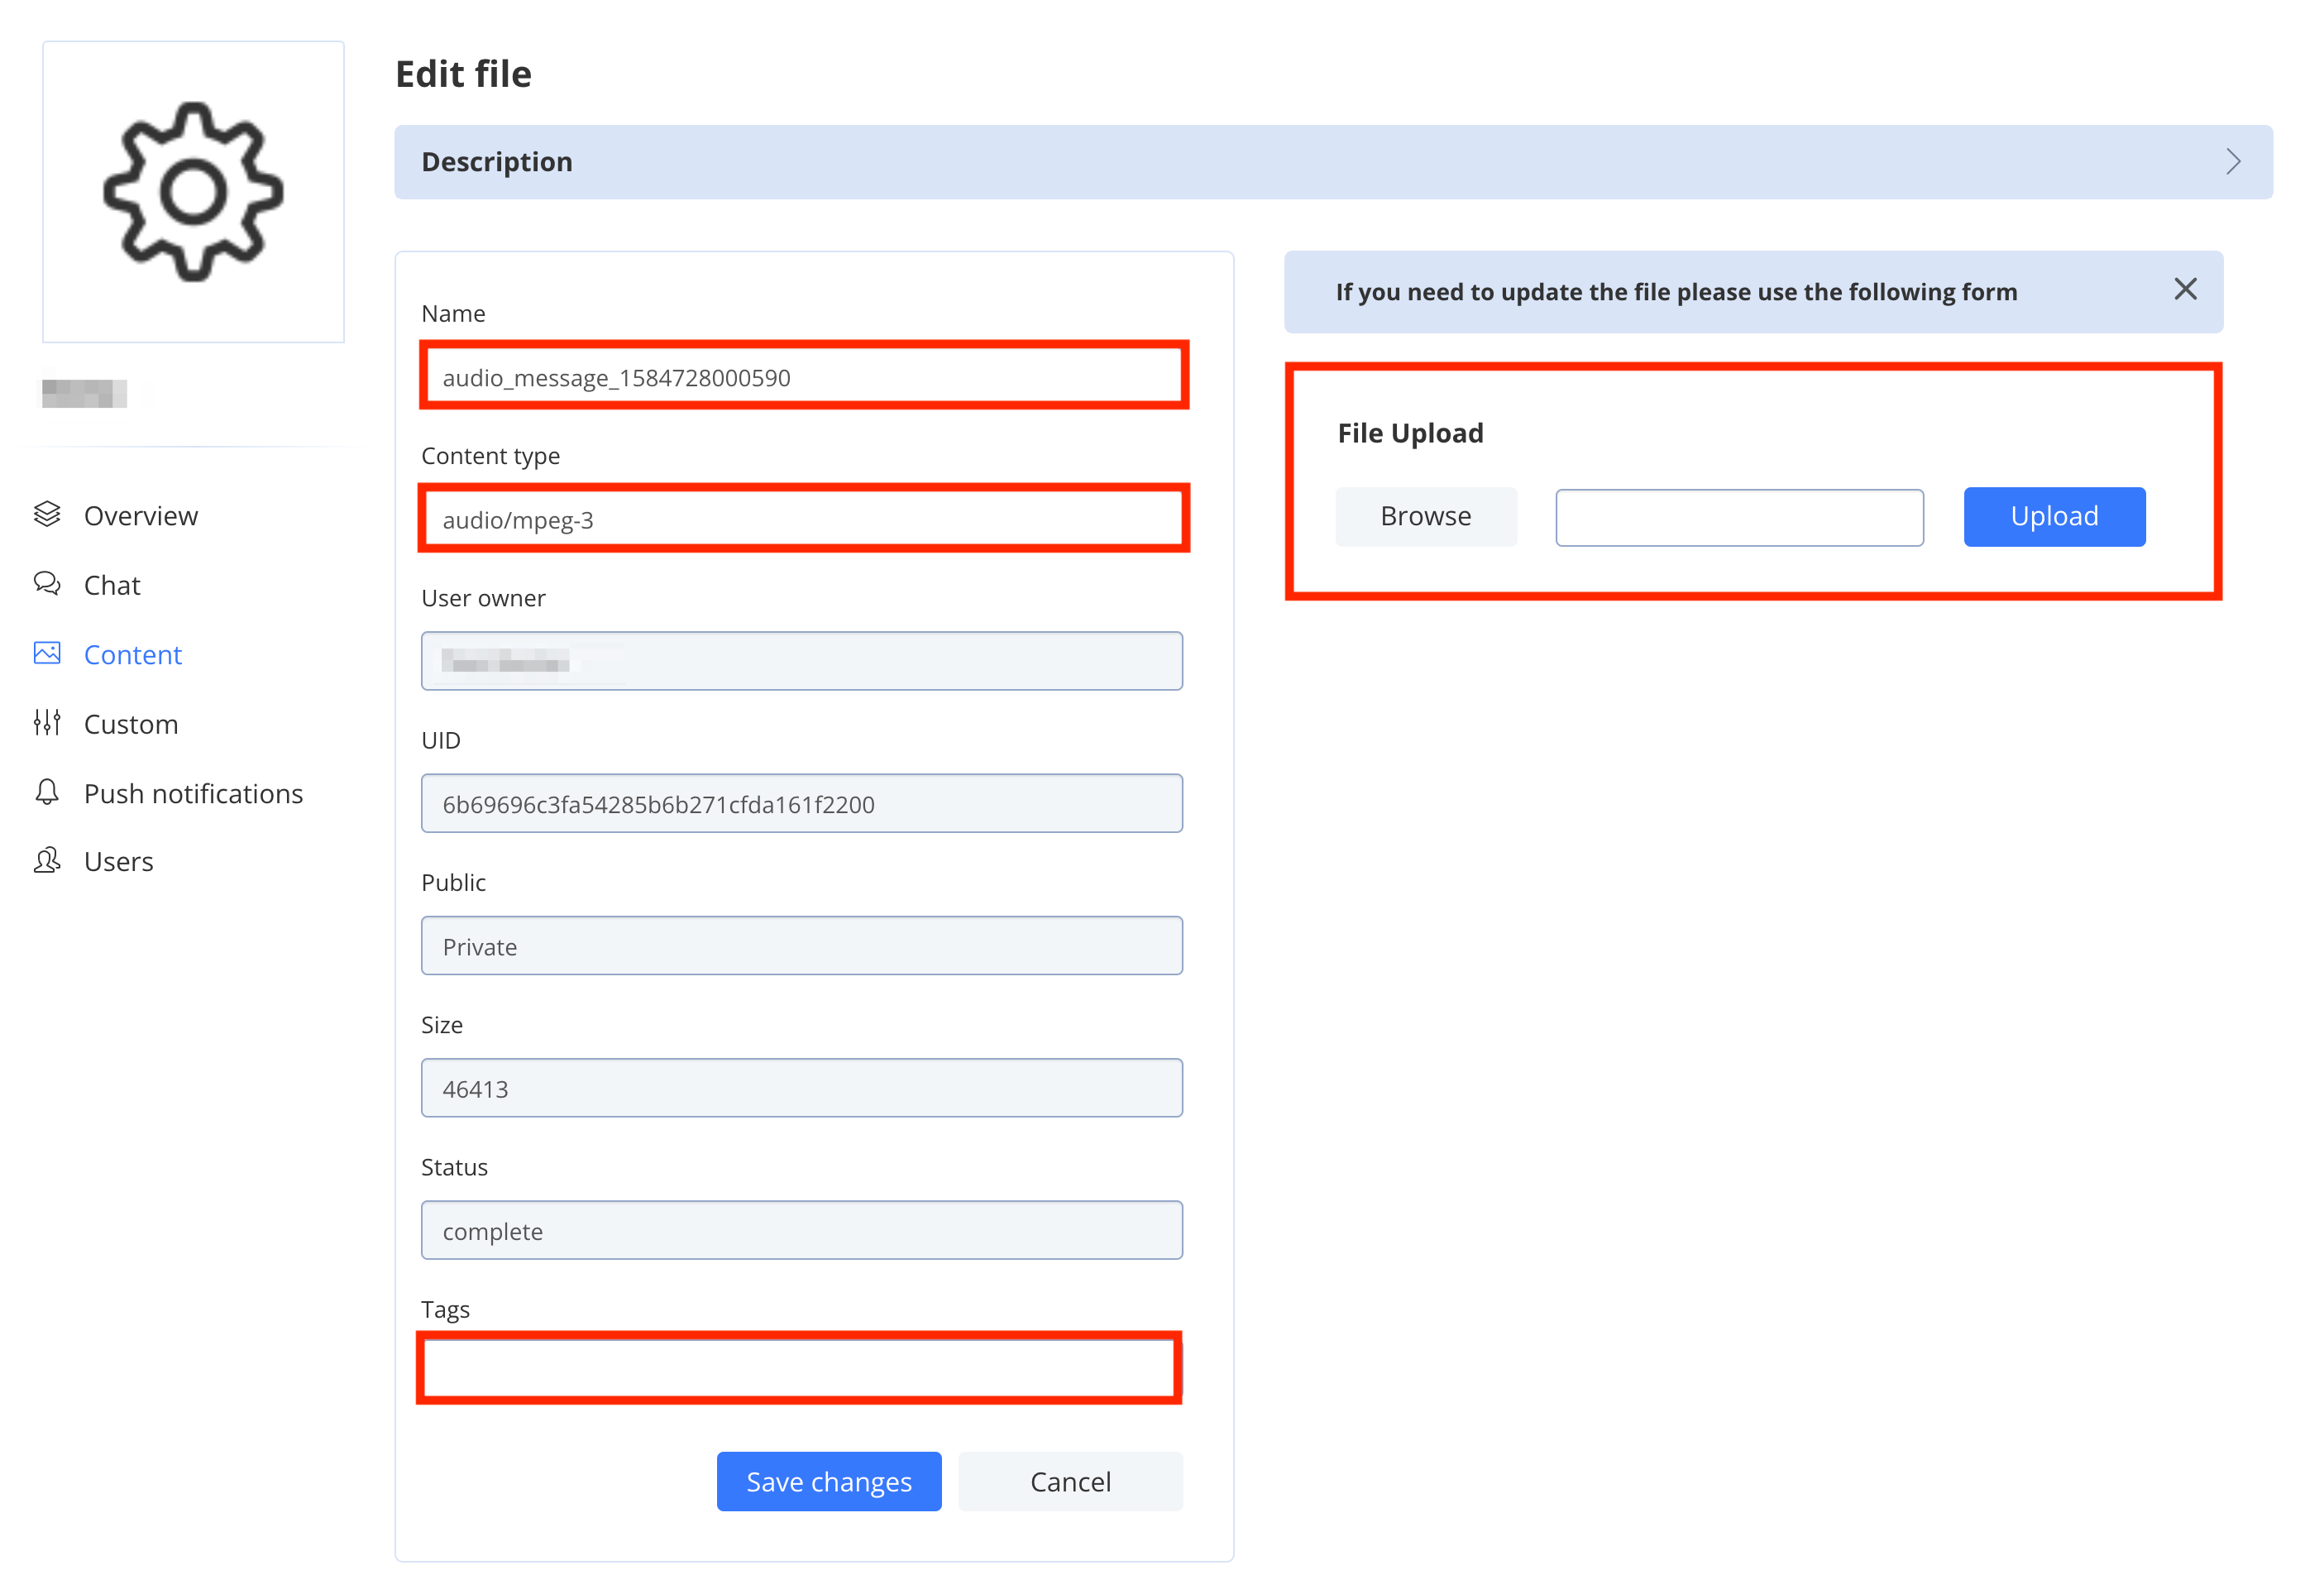
On the Content page of the QuickBlox dashboard you can manage files uploaded for this application.

By clicking on a value in the ID column, file information will be displayed
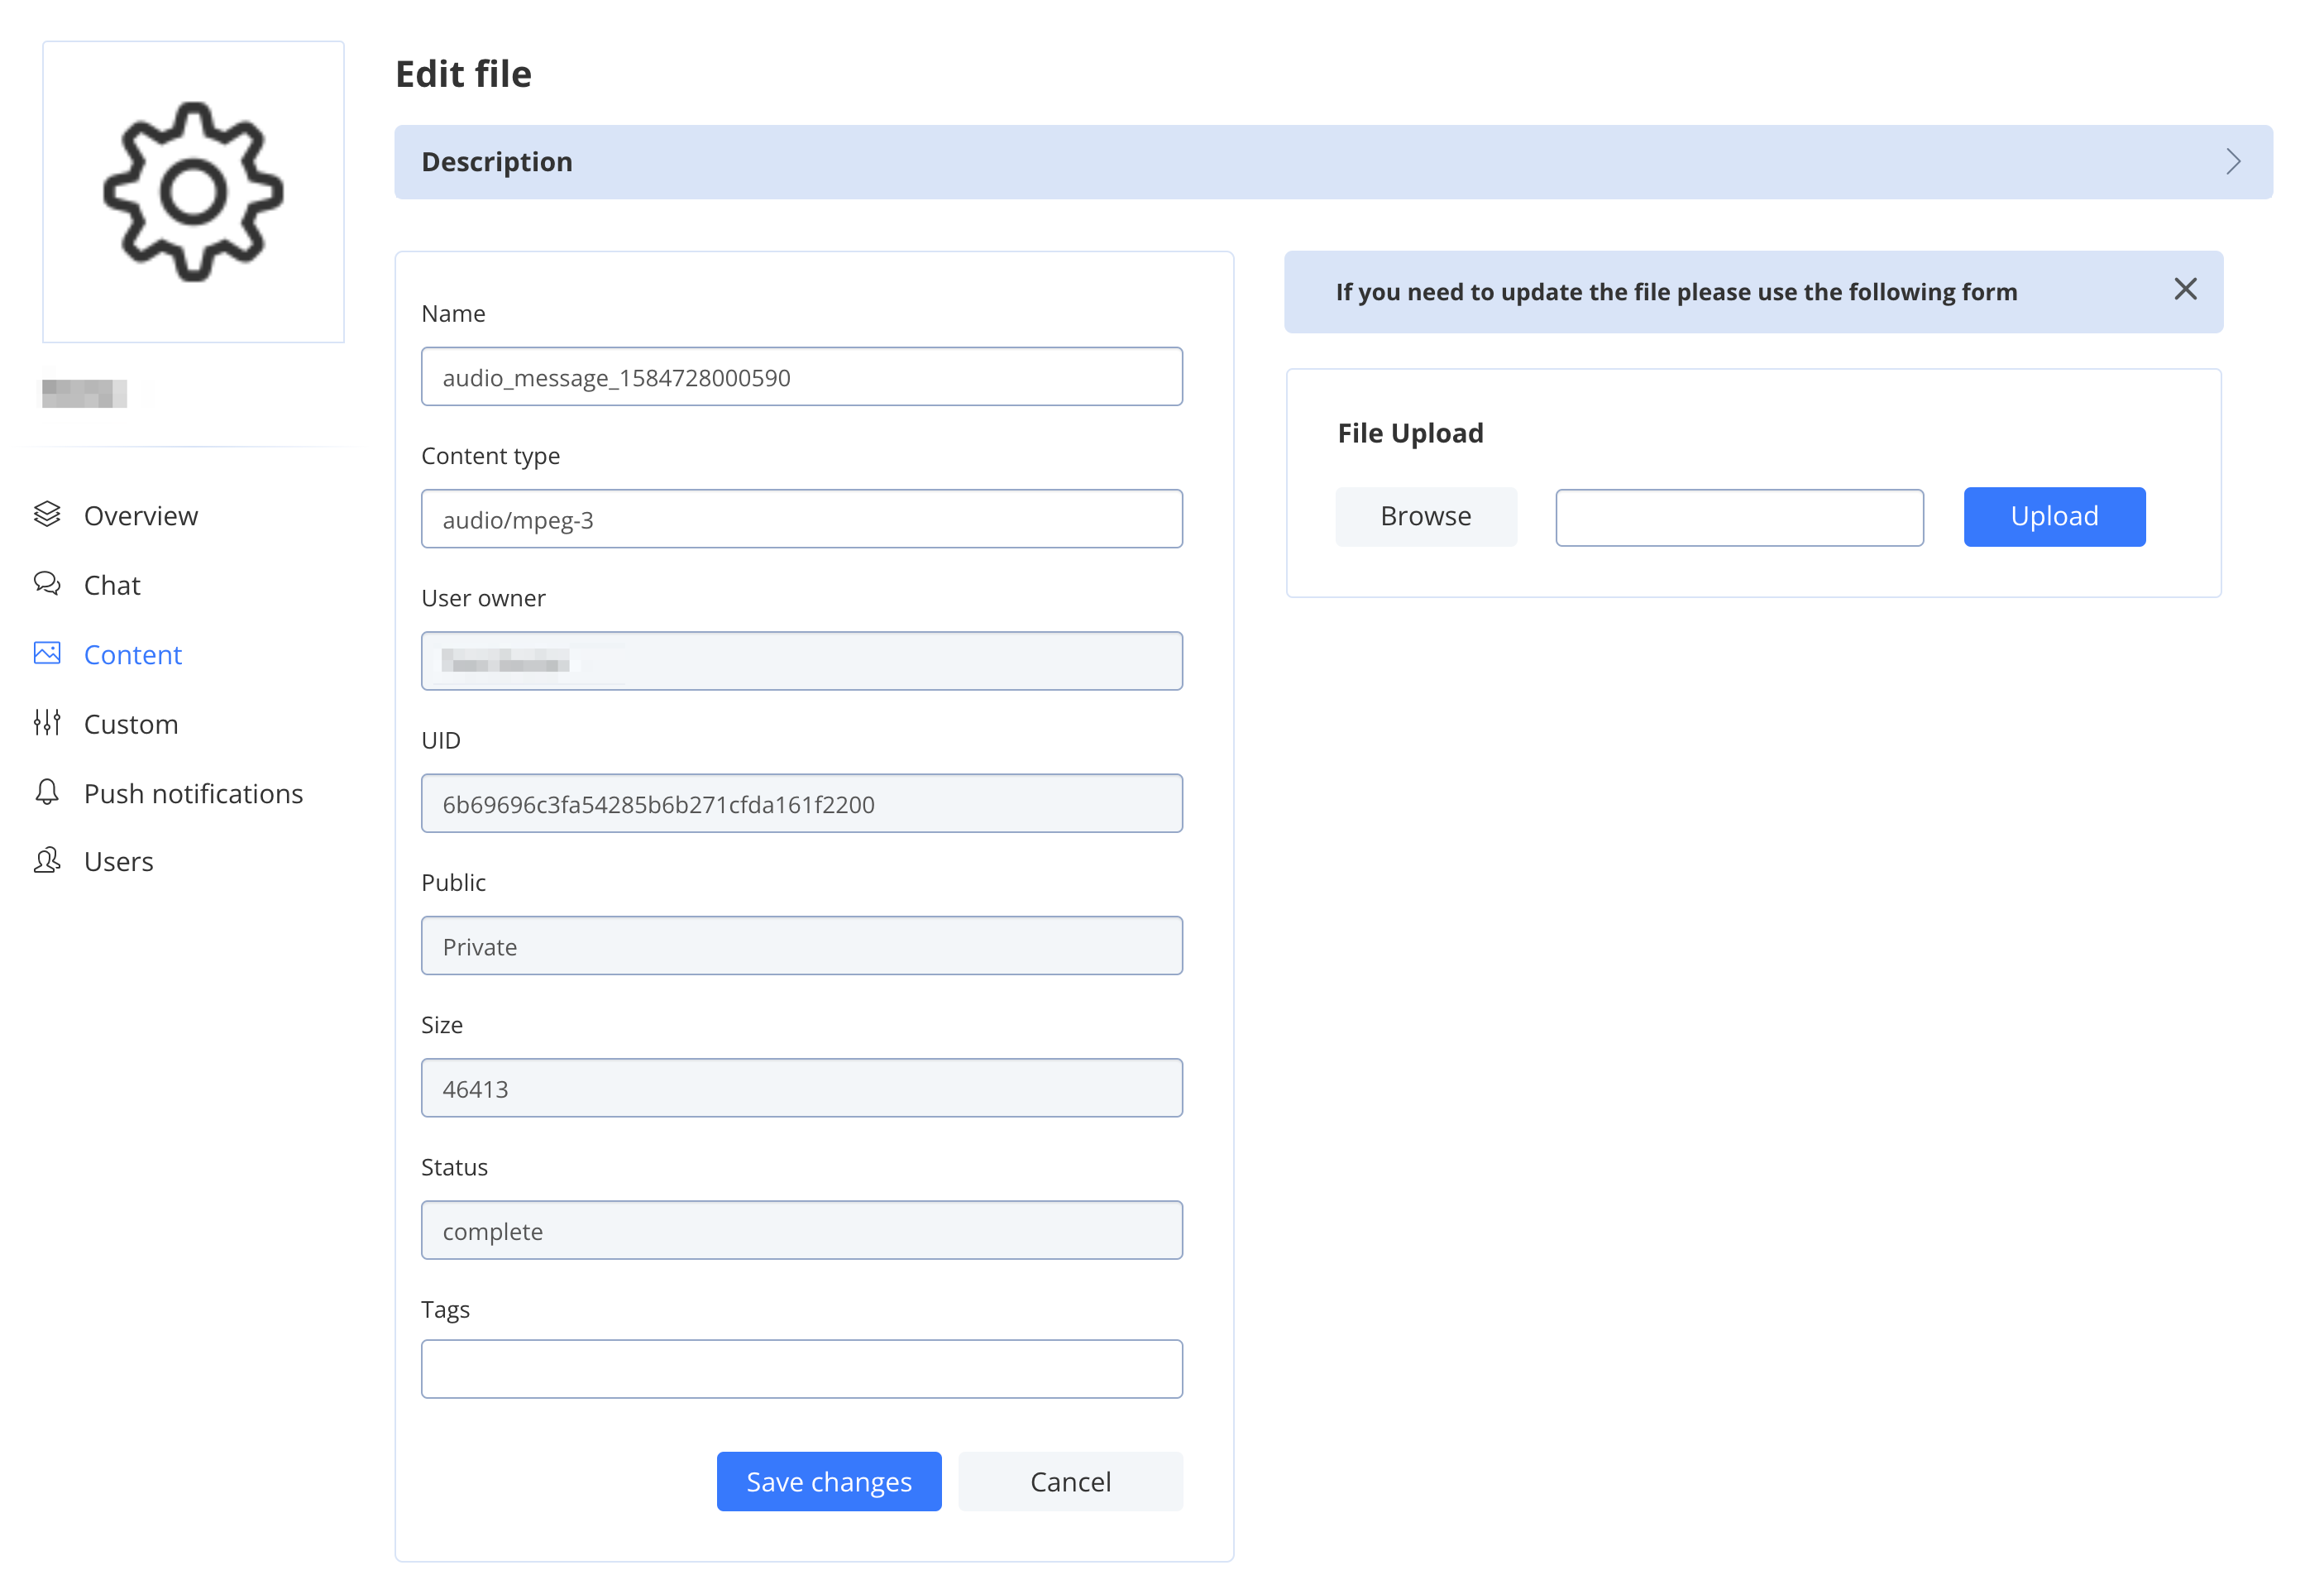
From here you can change the content item’s “name”, “content type”, “tags” or even change the file by uploading the new one using “File Upload” form at the right side of the screen.
Custom
There are three tabs displayed under the Custom heading- “List”, “Export” and “Import”.
List
From this tab you can manage custom objects scheme(s) and custom objects records.
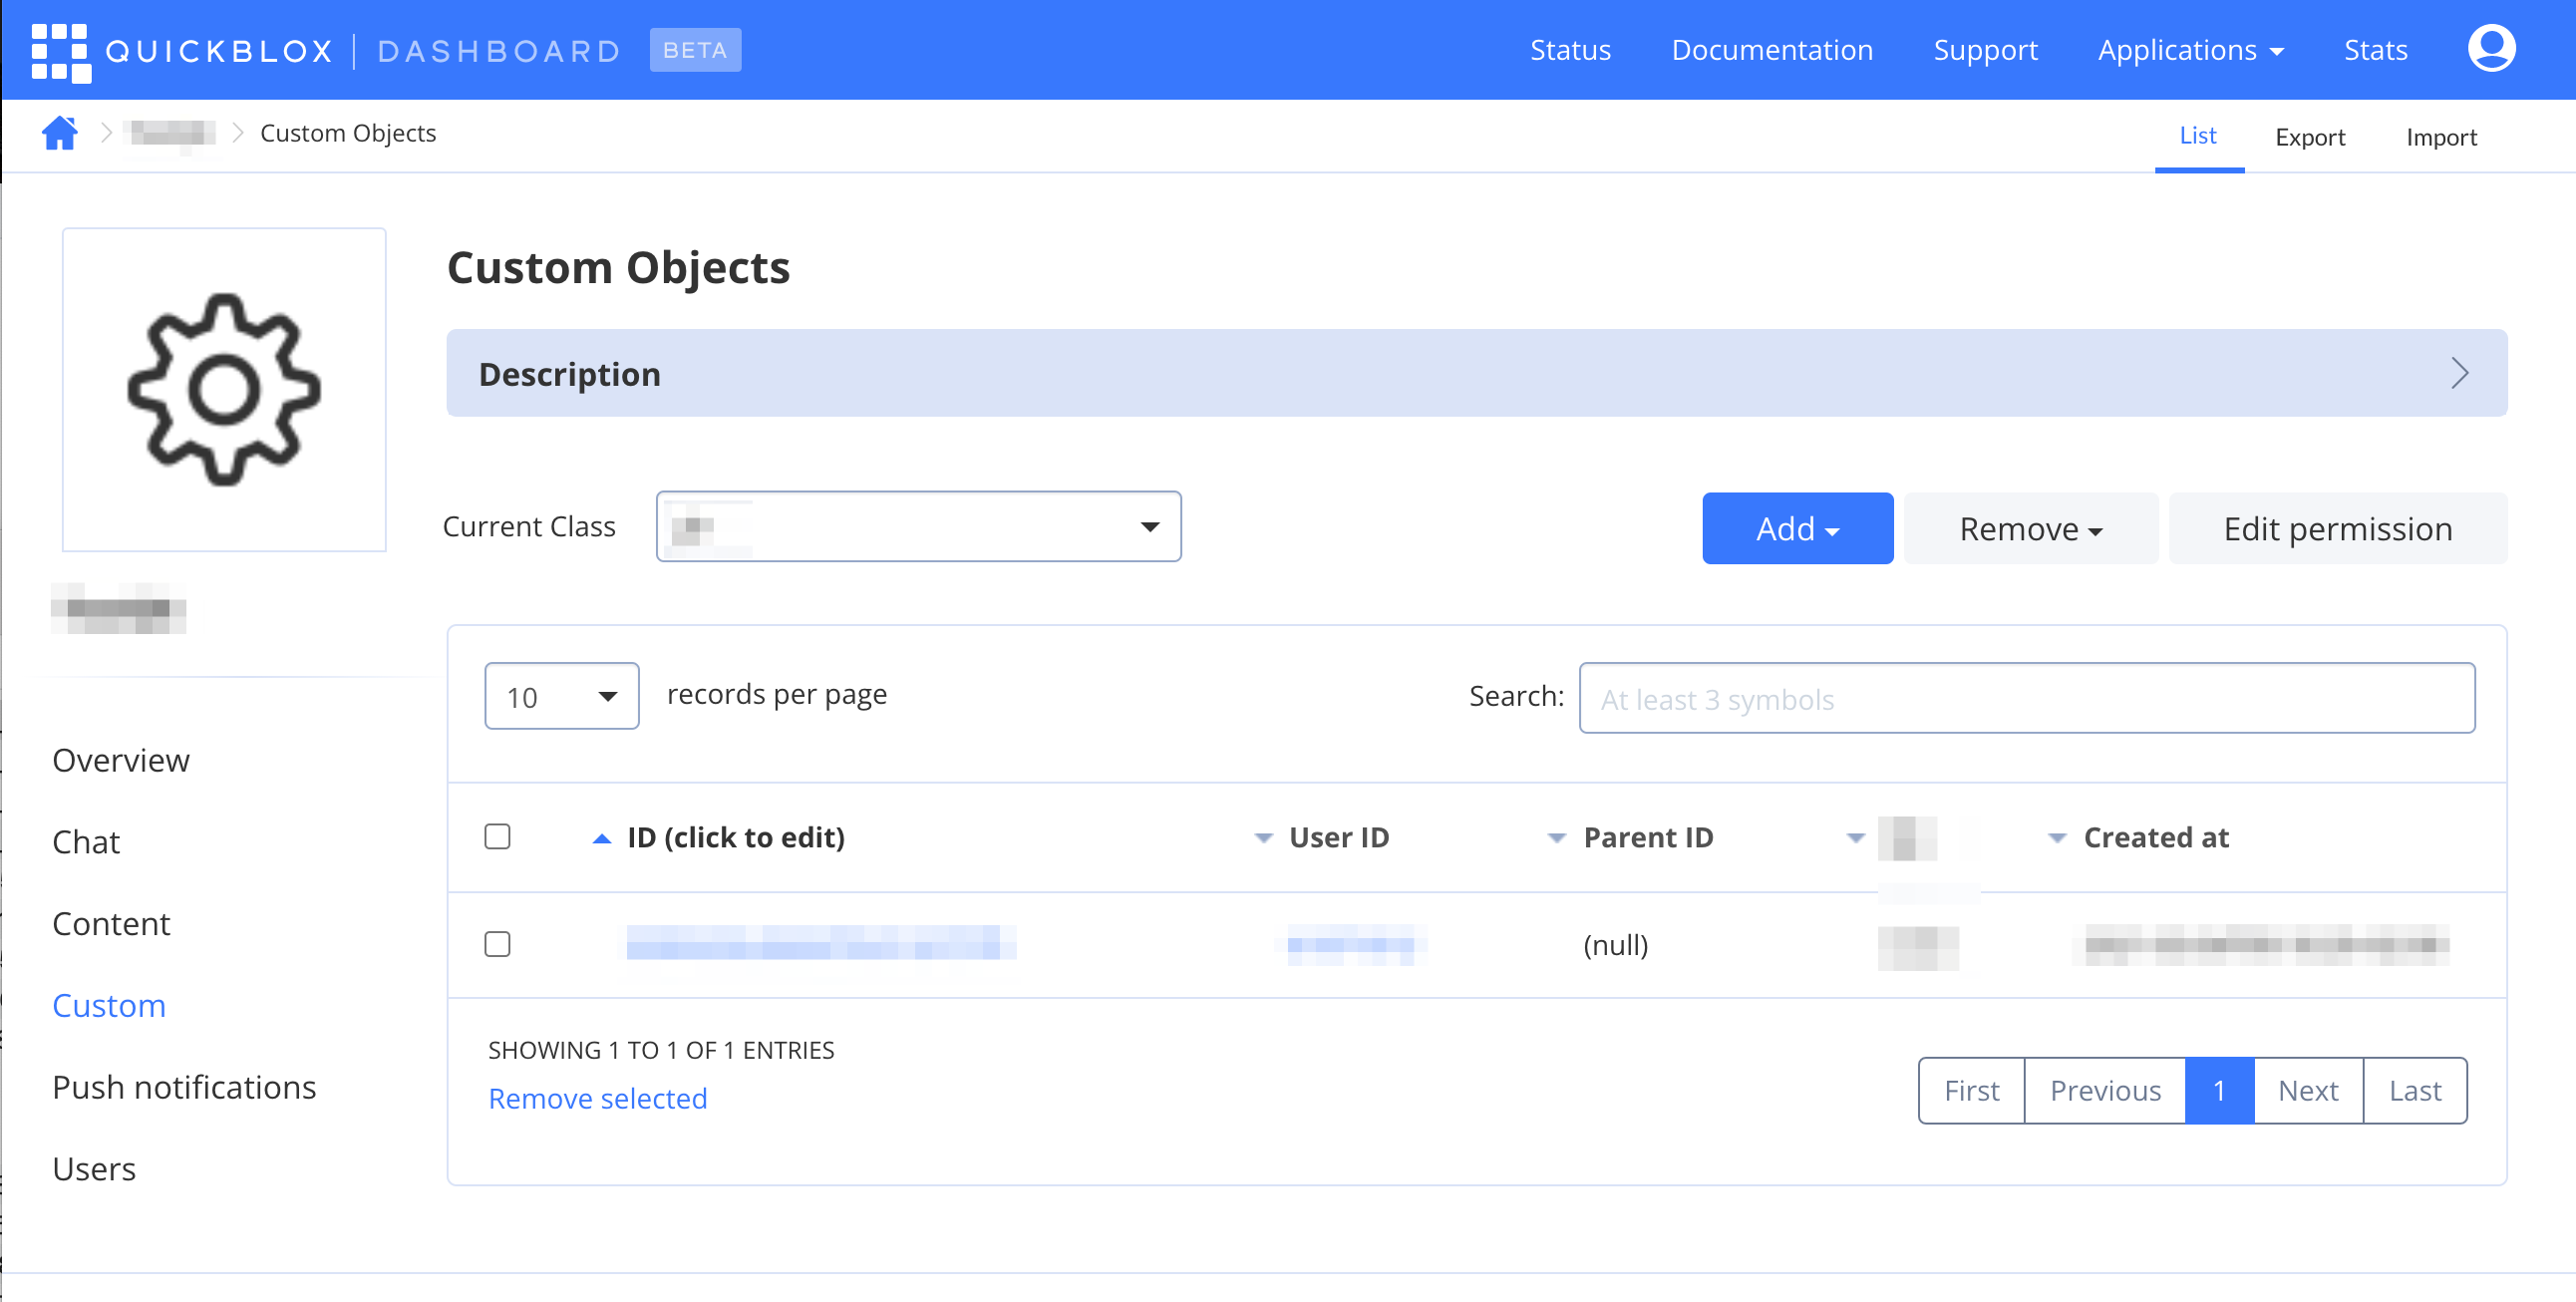
By clicking on a value in the ID column, a new window will display containing custom objects’ information:
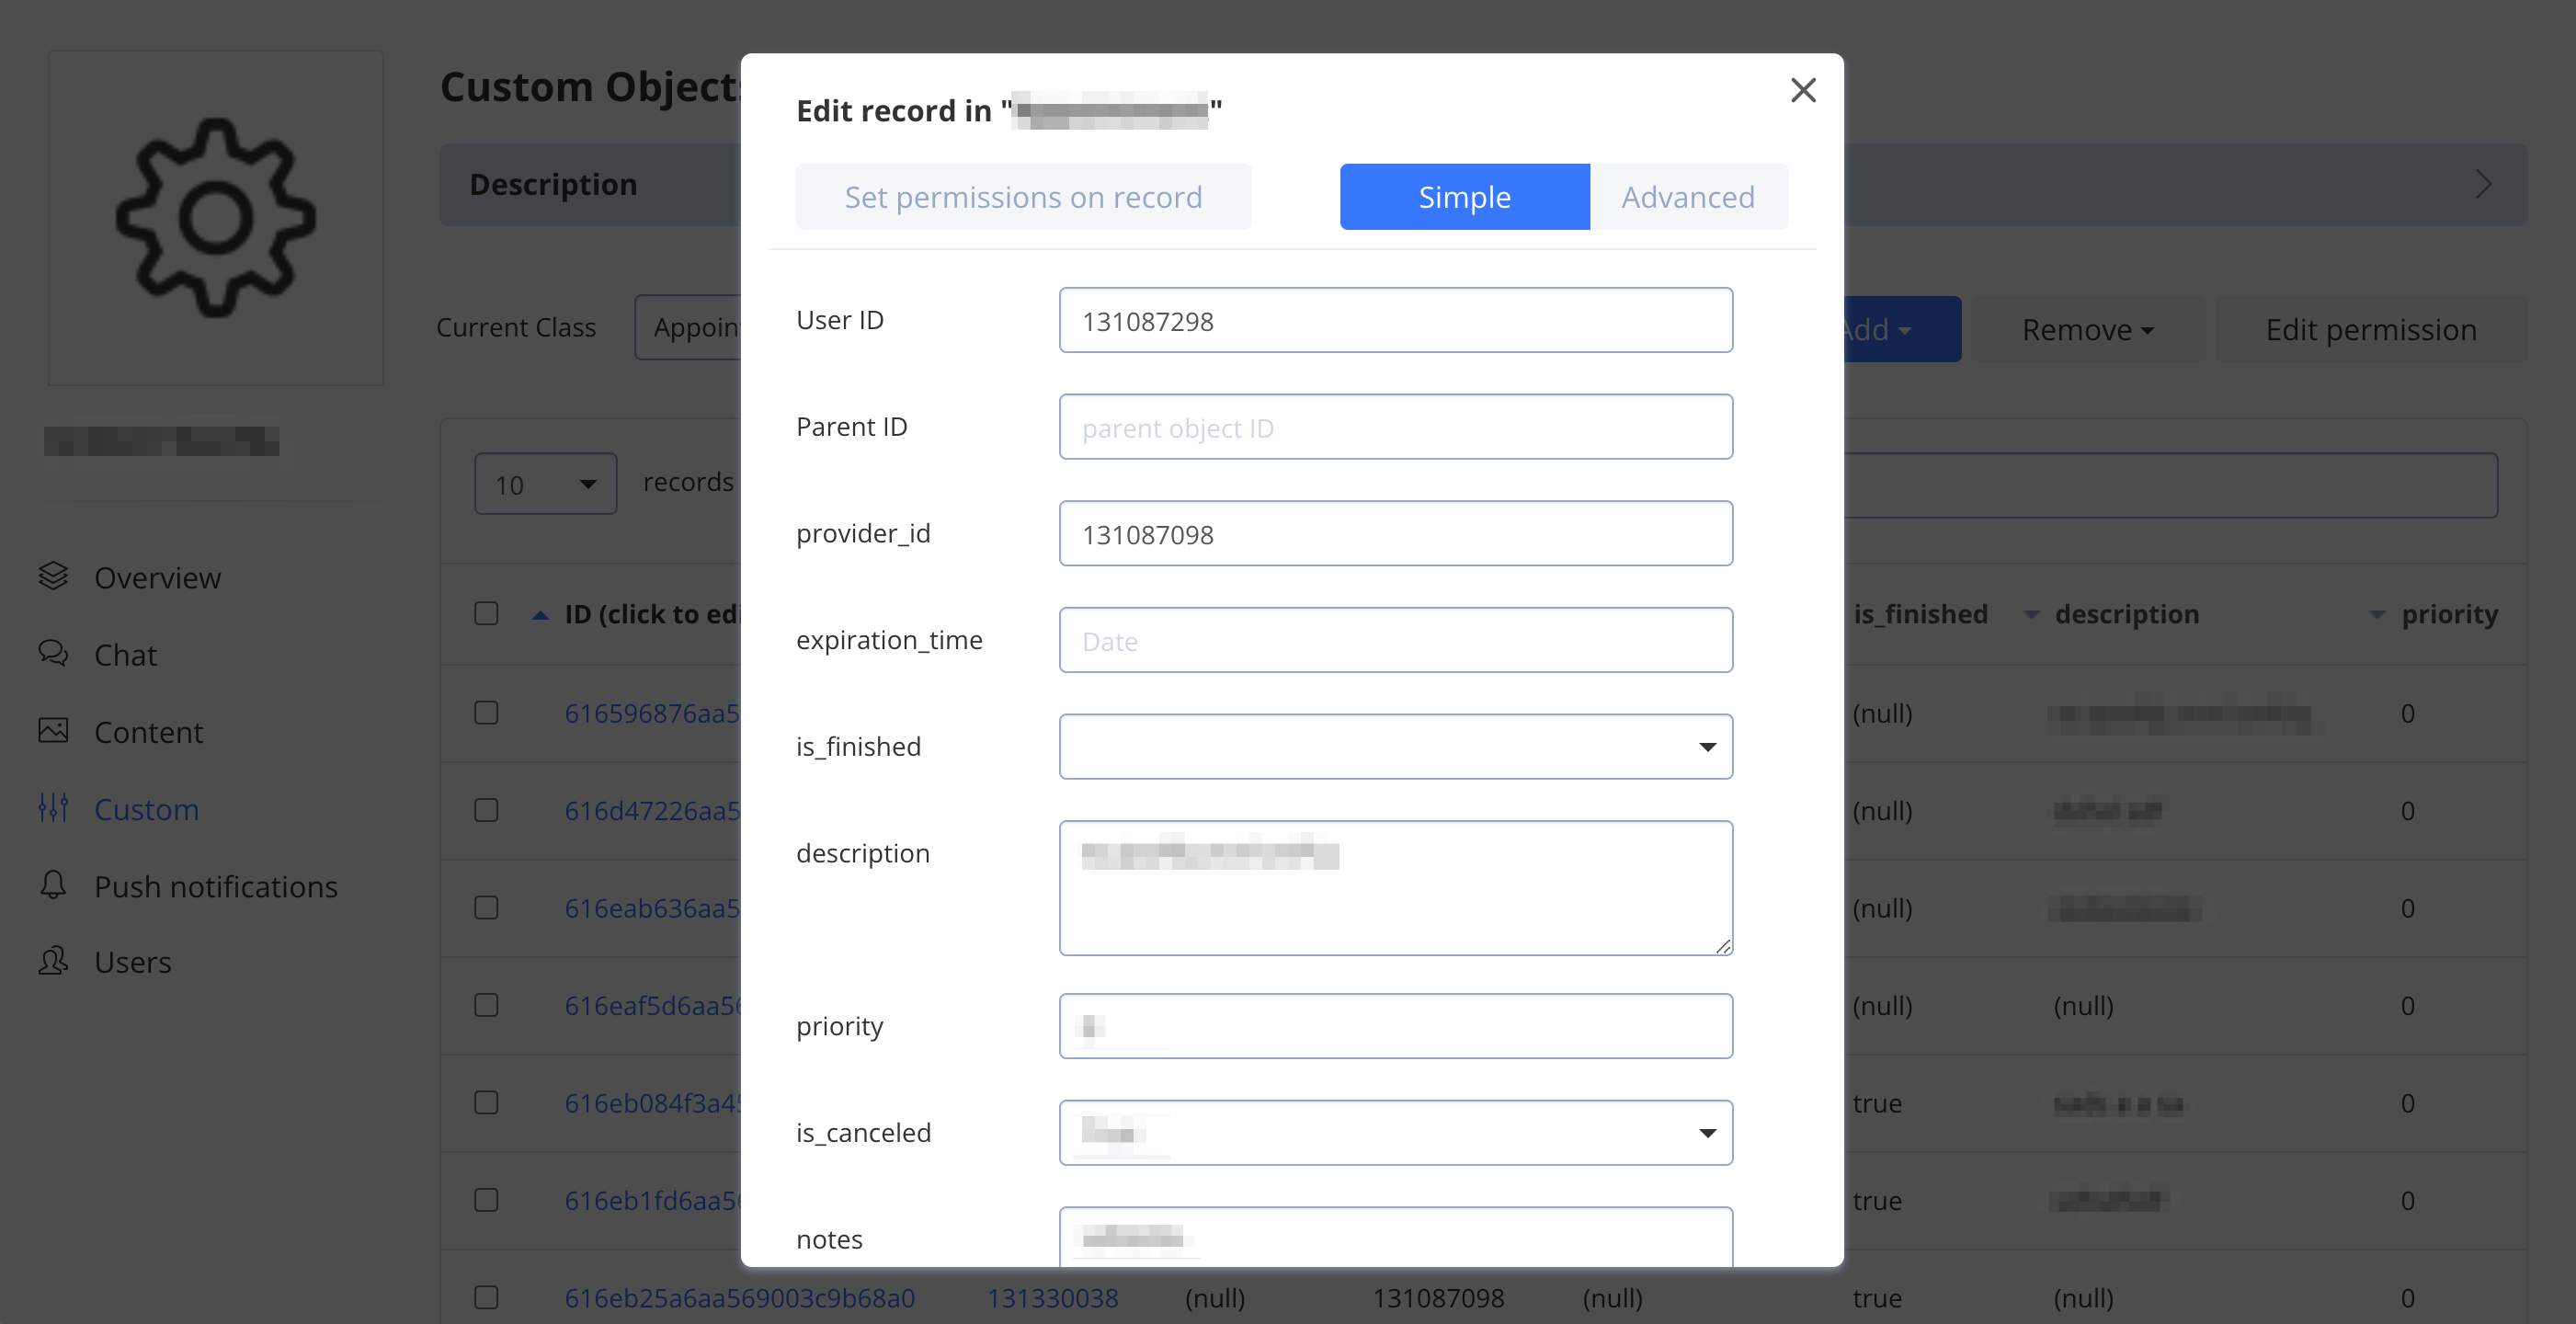
Here you can change most of information on custom objects, including setting up custom access control (permissions) for this particular record.
Export
From the Export tab you can export your custom objects or schema(s).
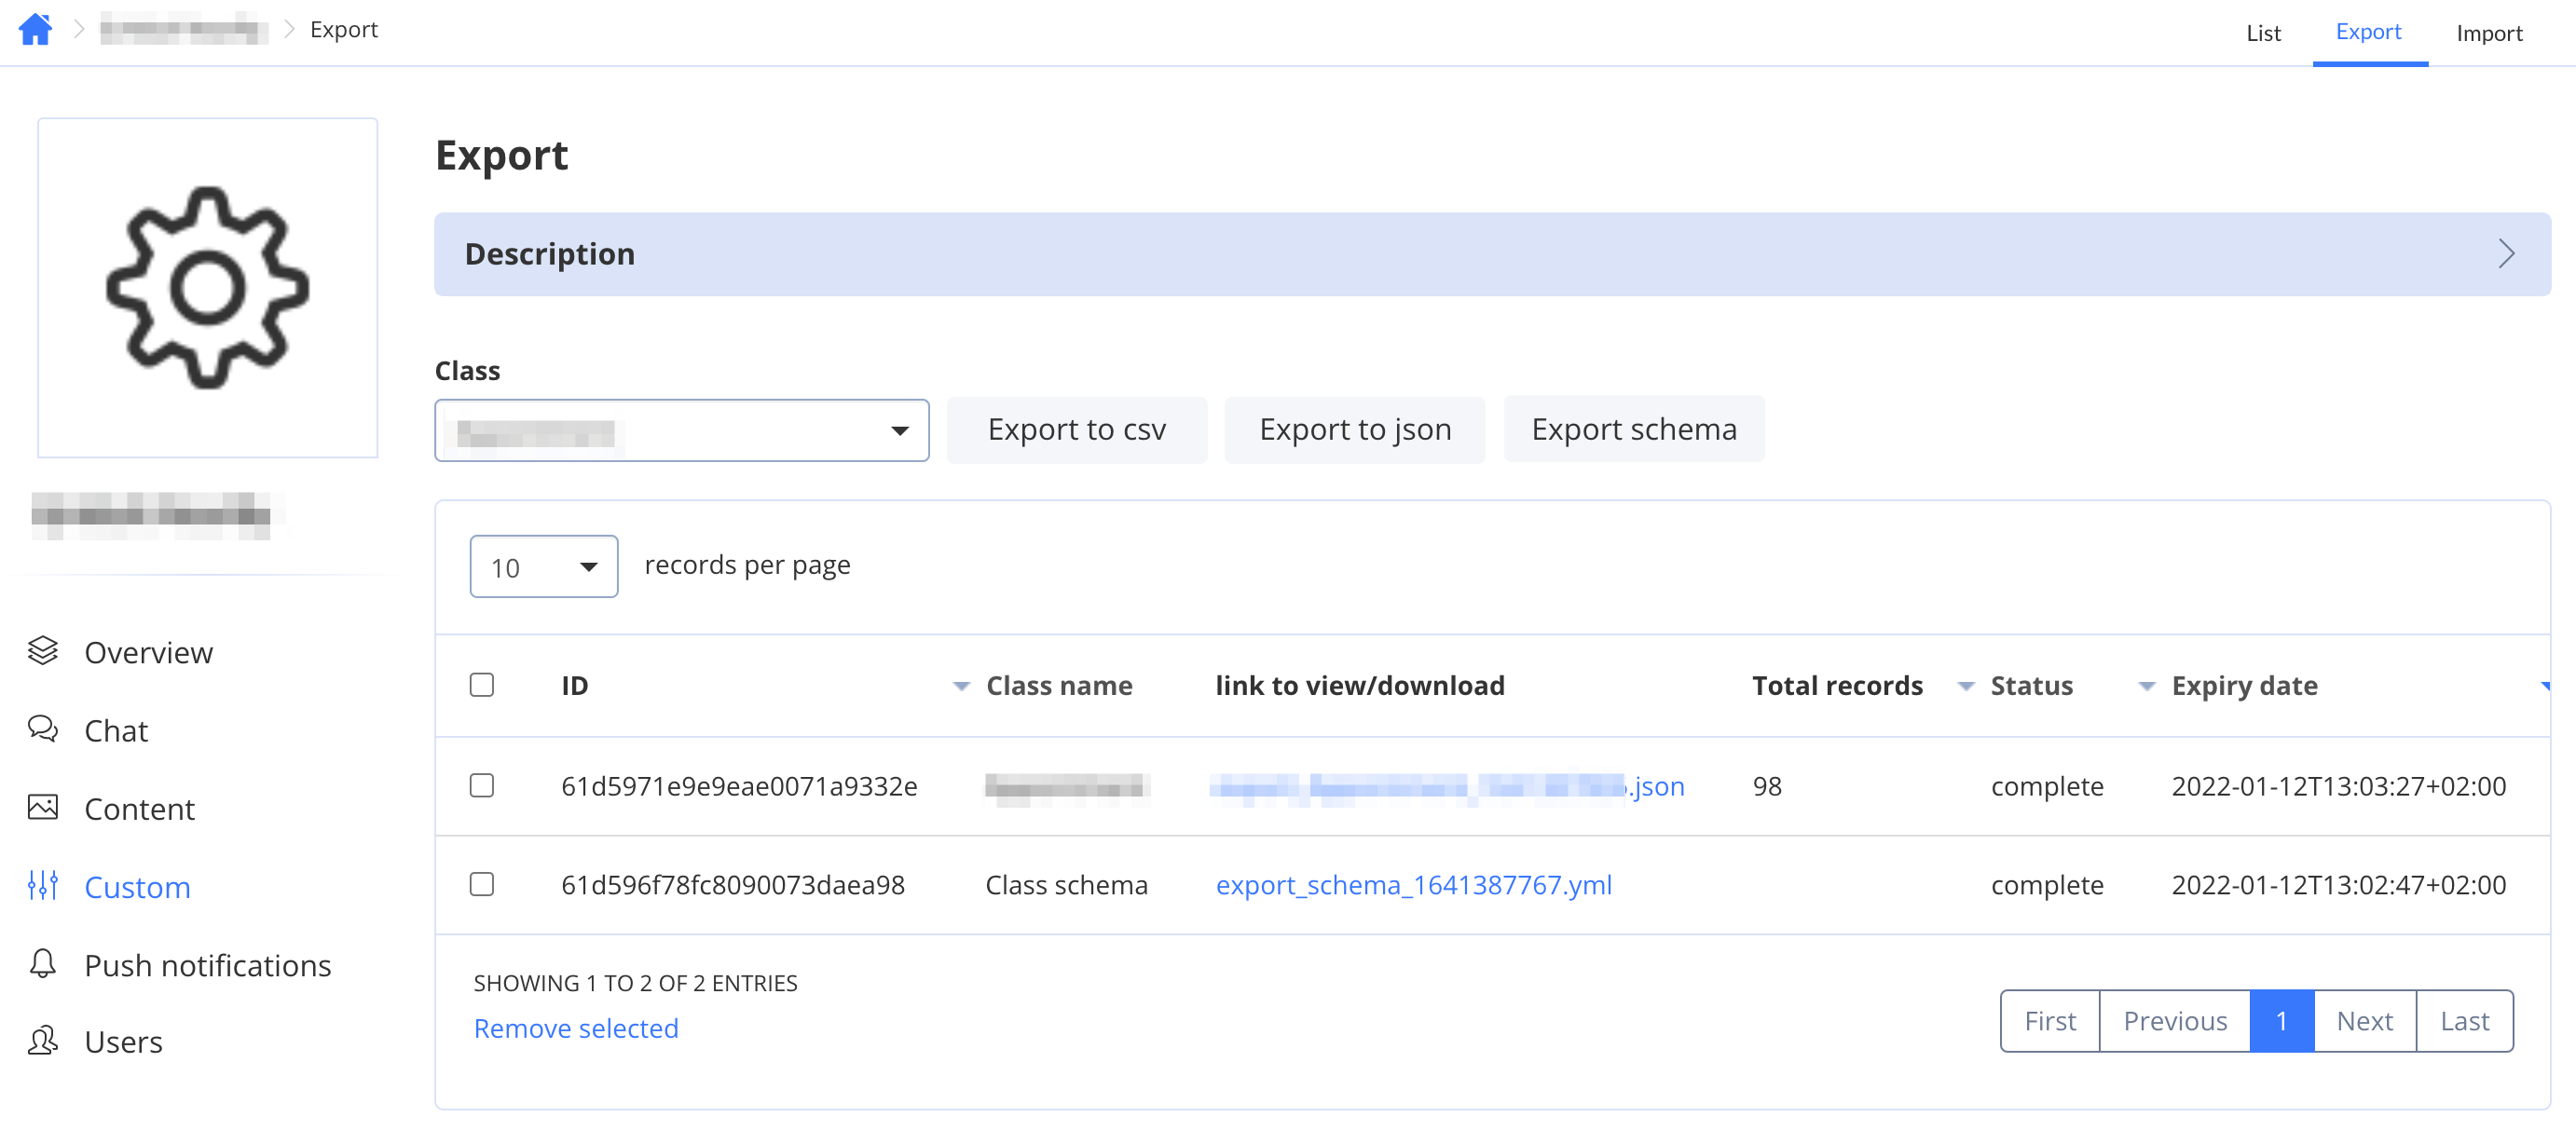
By clicking “Export to csv” or “Export to json” you can queue up exporting custom objects of selected class into .csv or .json files (respectively).
By clicking “Export schema” you can select custom object’s schema and export it. Schemas exported in .yml files and can be imported under the next tab.
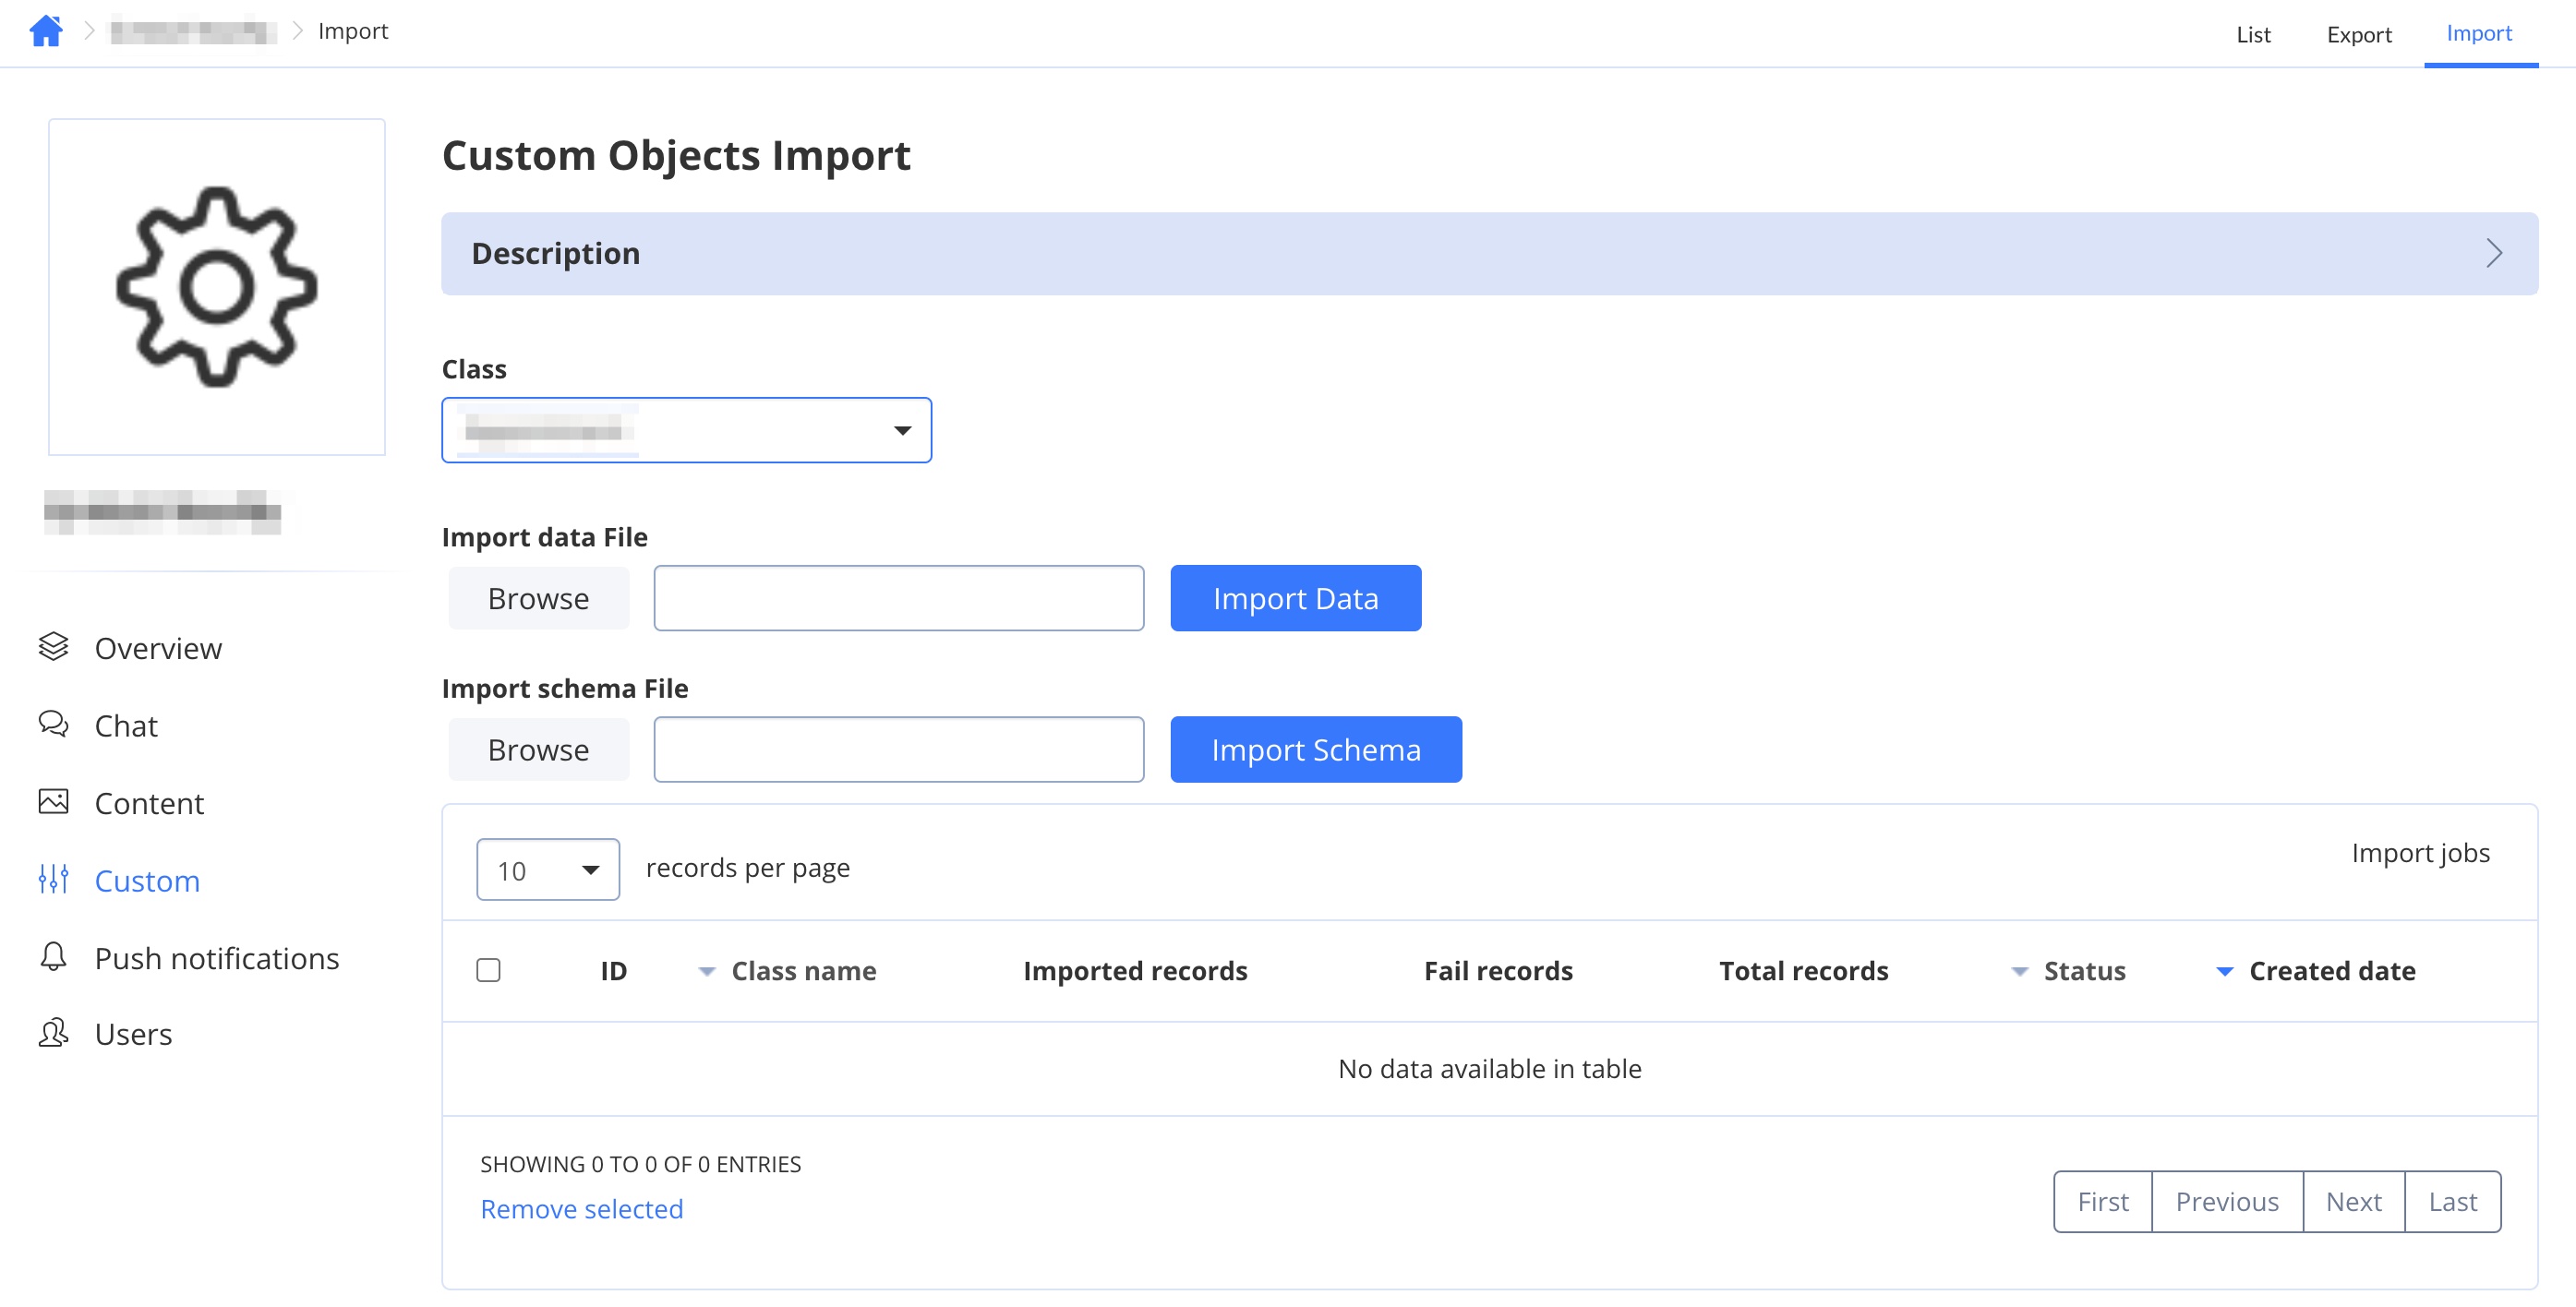
Import
From the Import tab you can import custom objects records and schema(s) created and exported previously.
Push notifications
From this page you can set up push notifications for your application, send one right away, and manage subscriptions to in-app notifications.
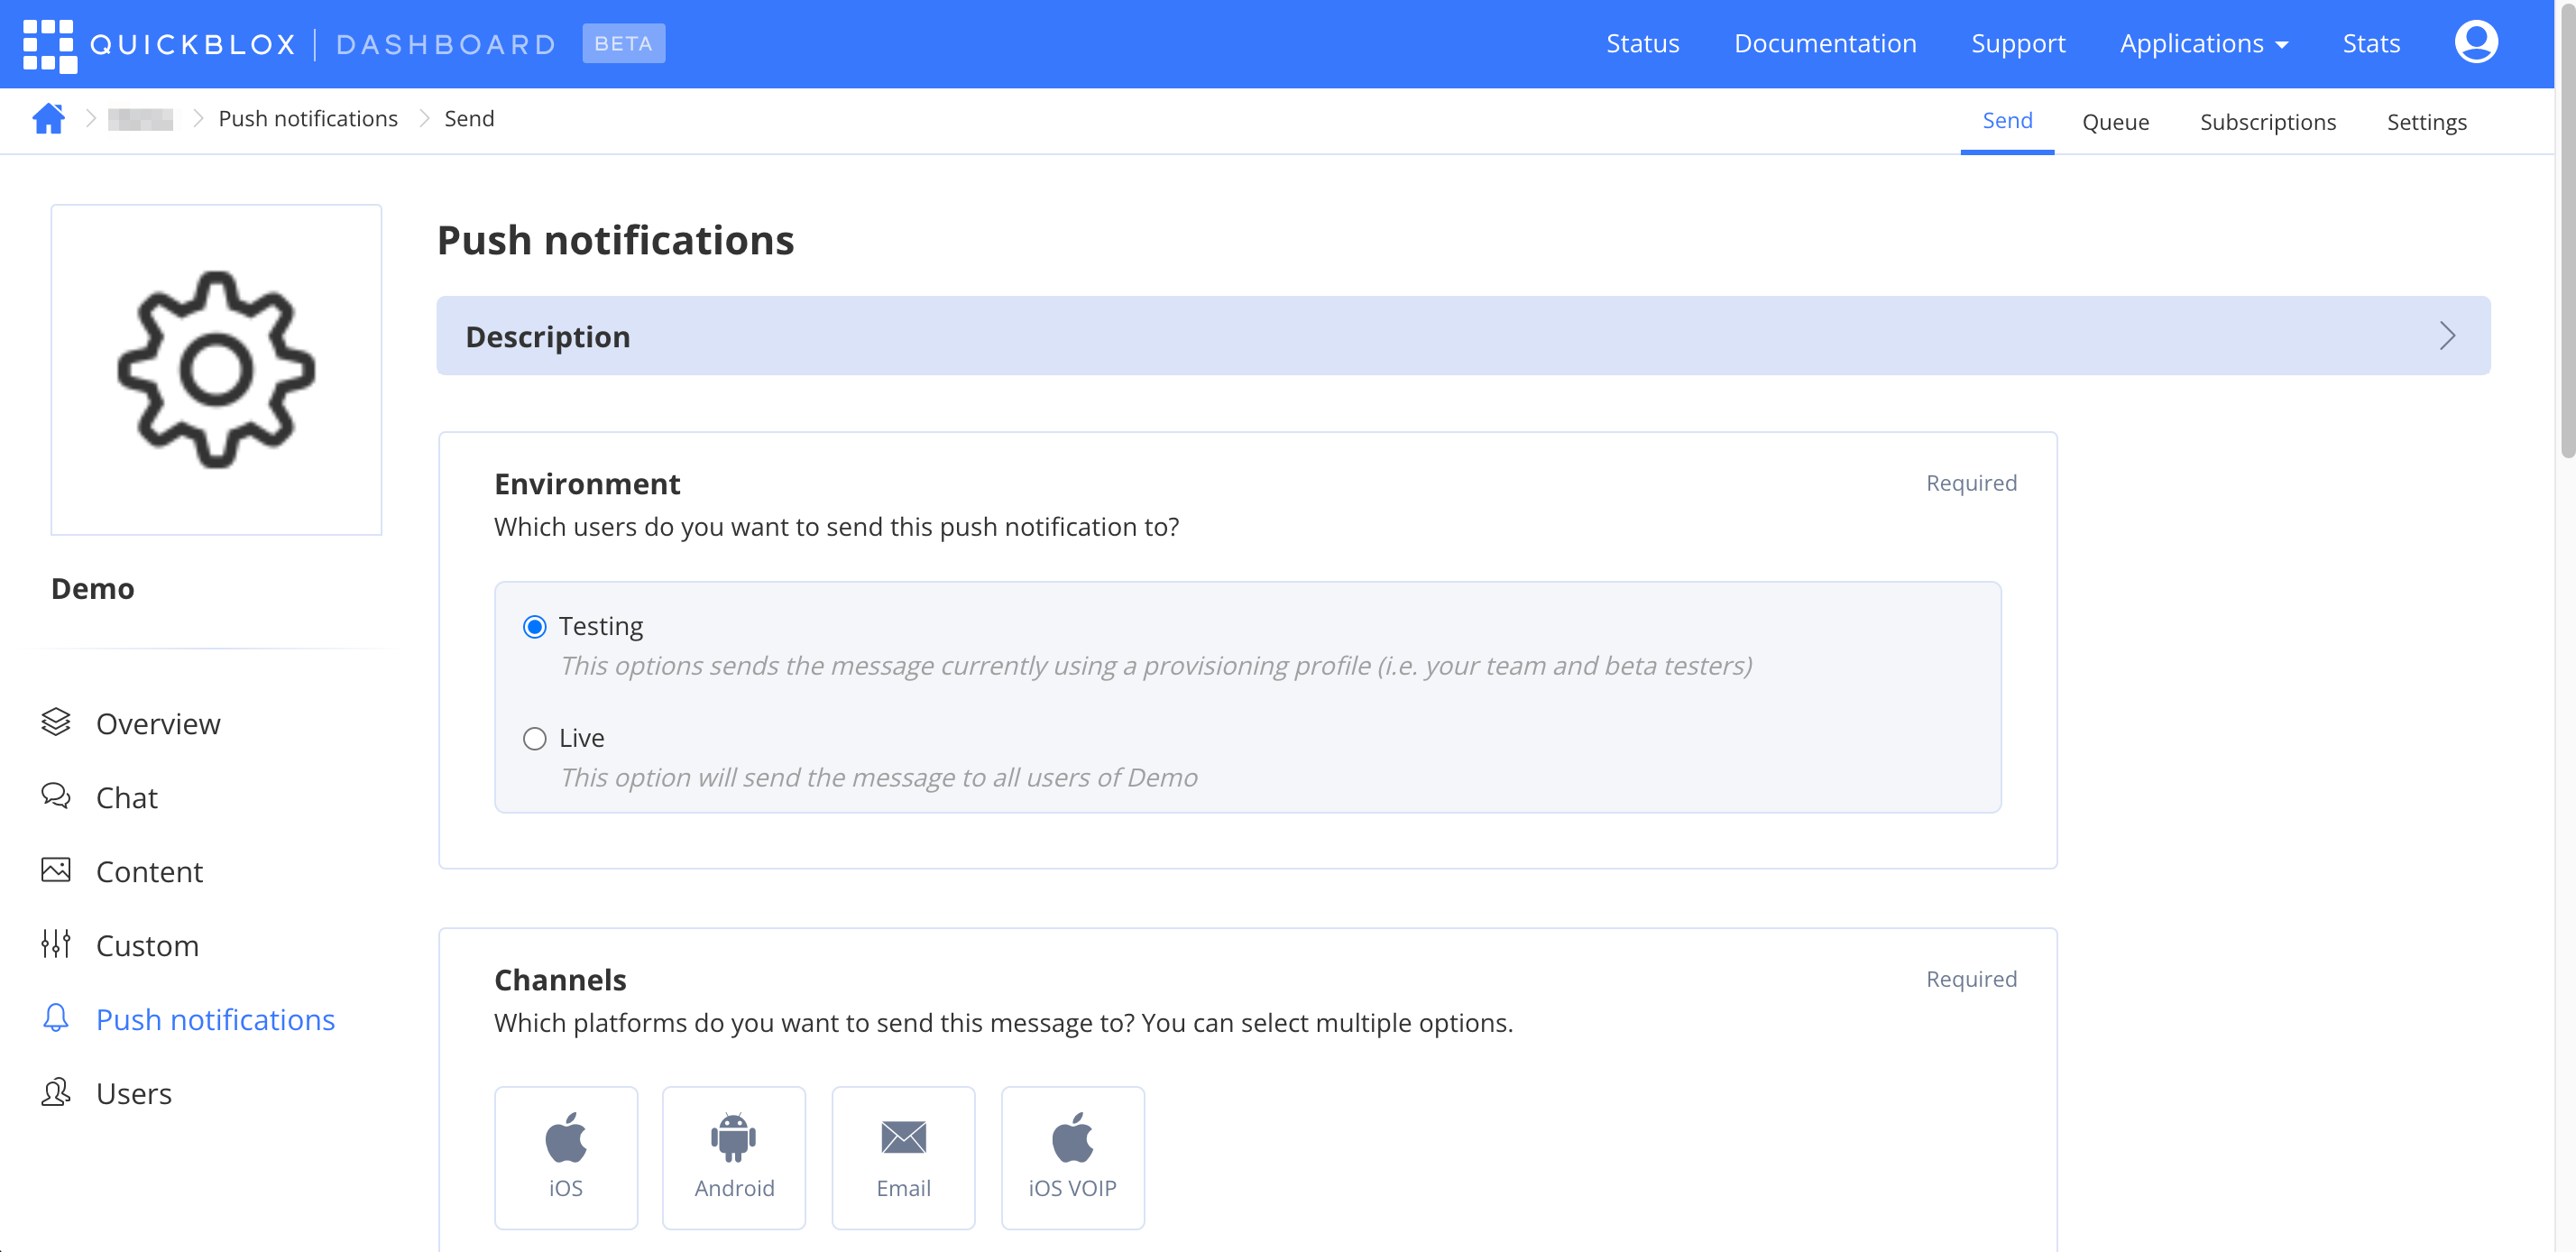
Send
This tab allows you send push notification right away to you application’s users (all or specific).
Queue
This tab shows push notifications in the queue. You can check out which notification channel was used for a specific notification, the time it was created, and who initiated it.

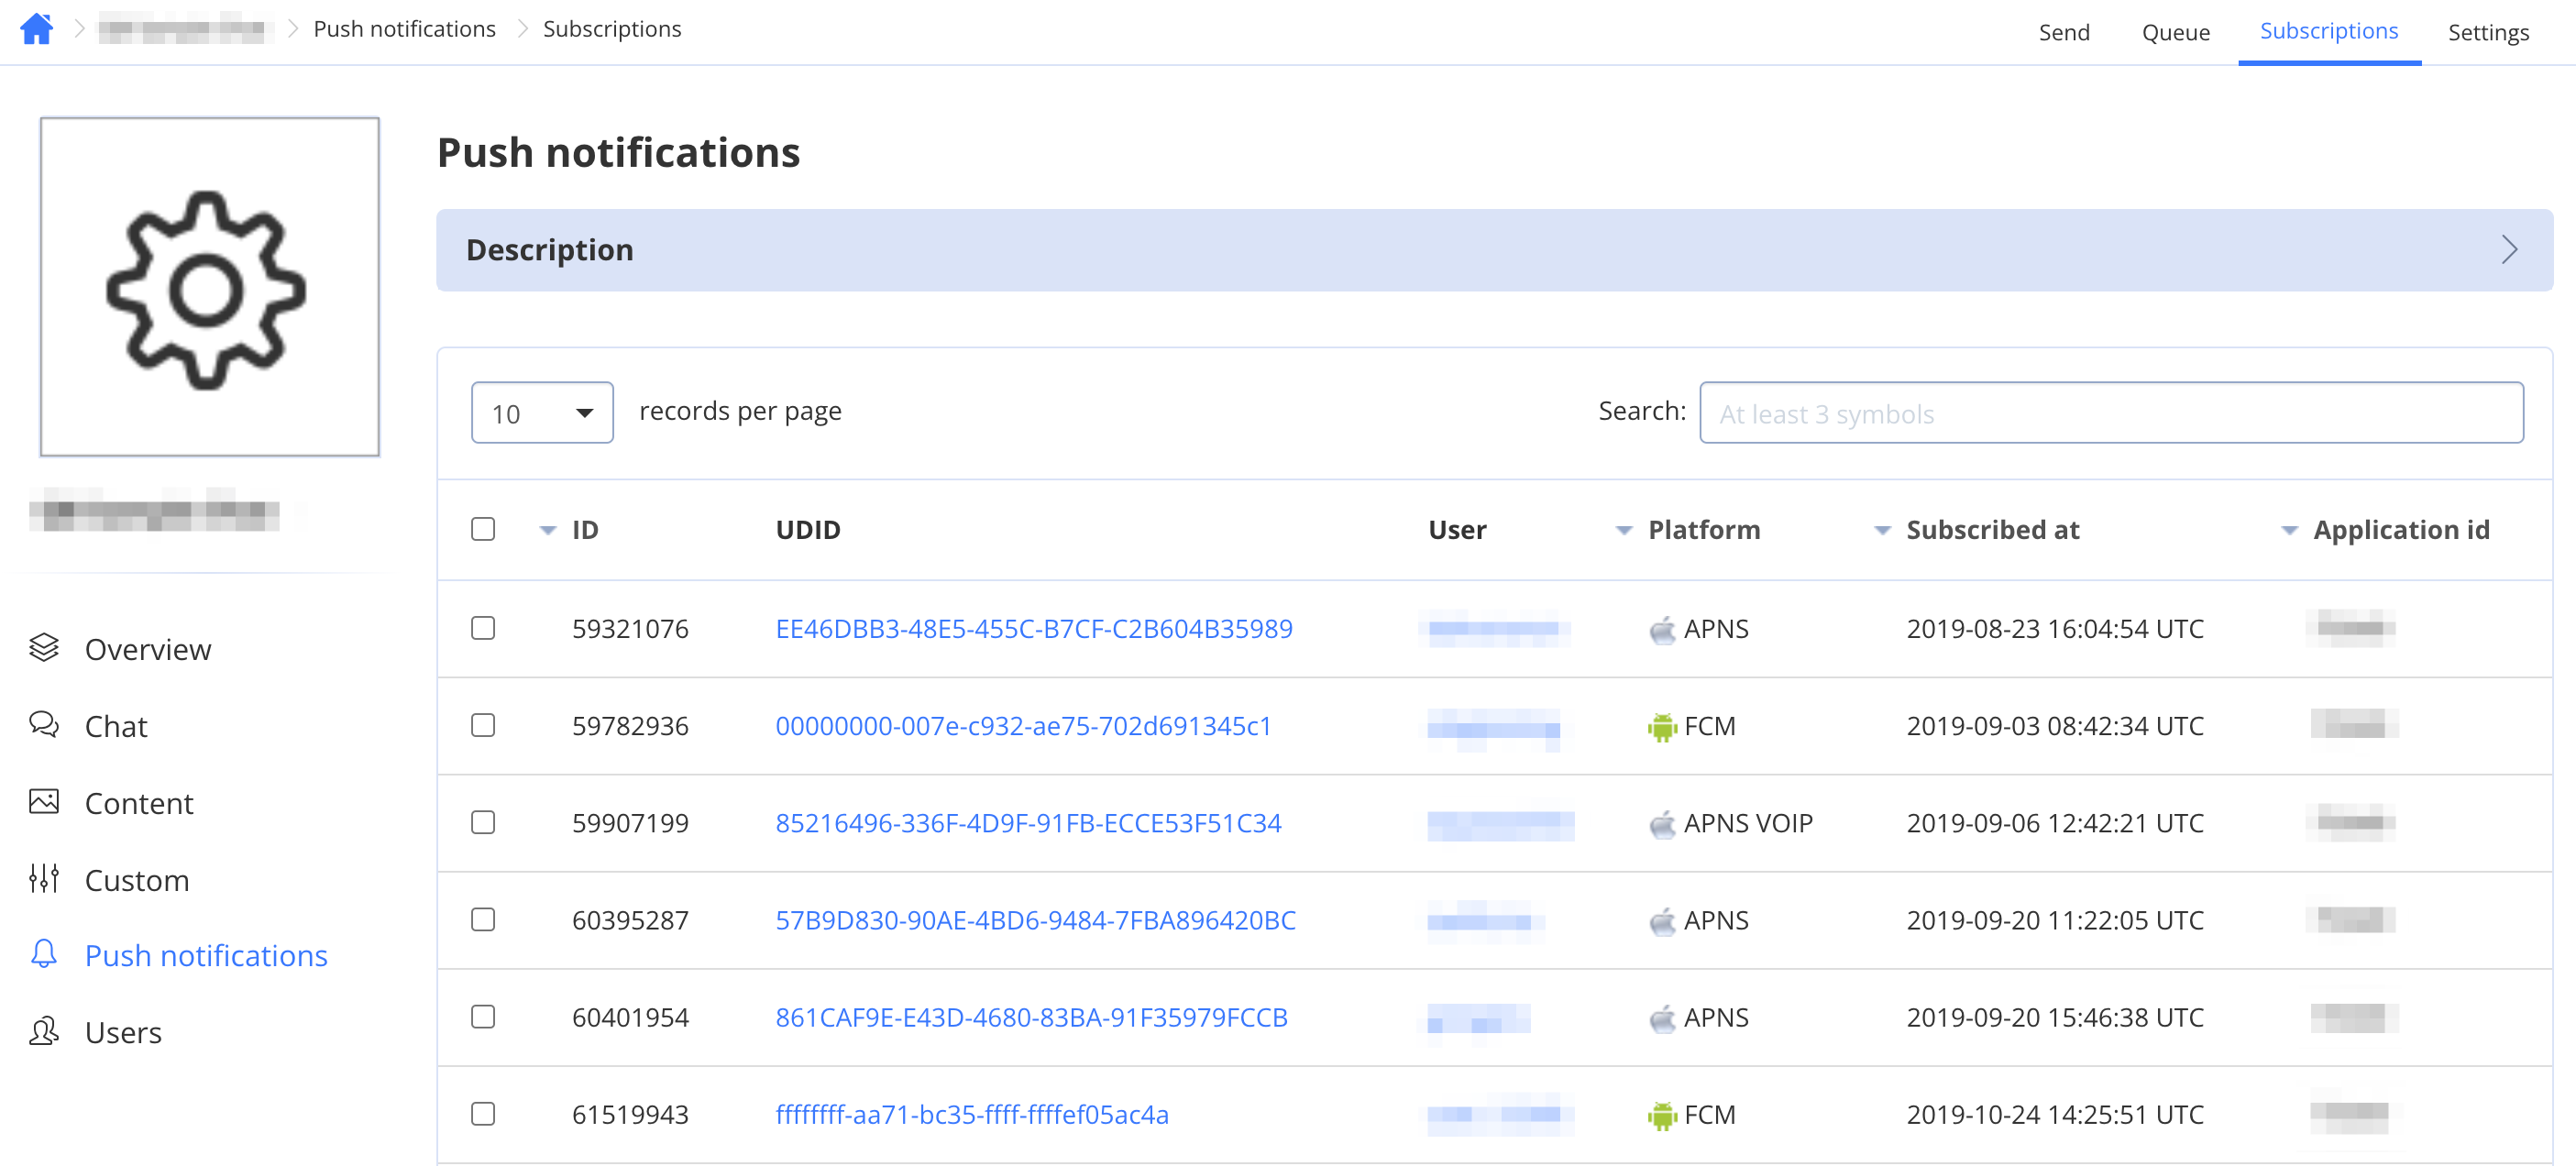
Subscriptions
This tab shows a list of subscriptions with information about the user who created the subscription and UDID (Unique Device Identifier).
Settings
This tab allows you to upload APNs certificate(s) and / or Firebase Cloud Messaging (FCM) API key.
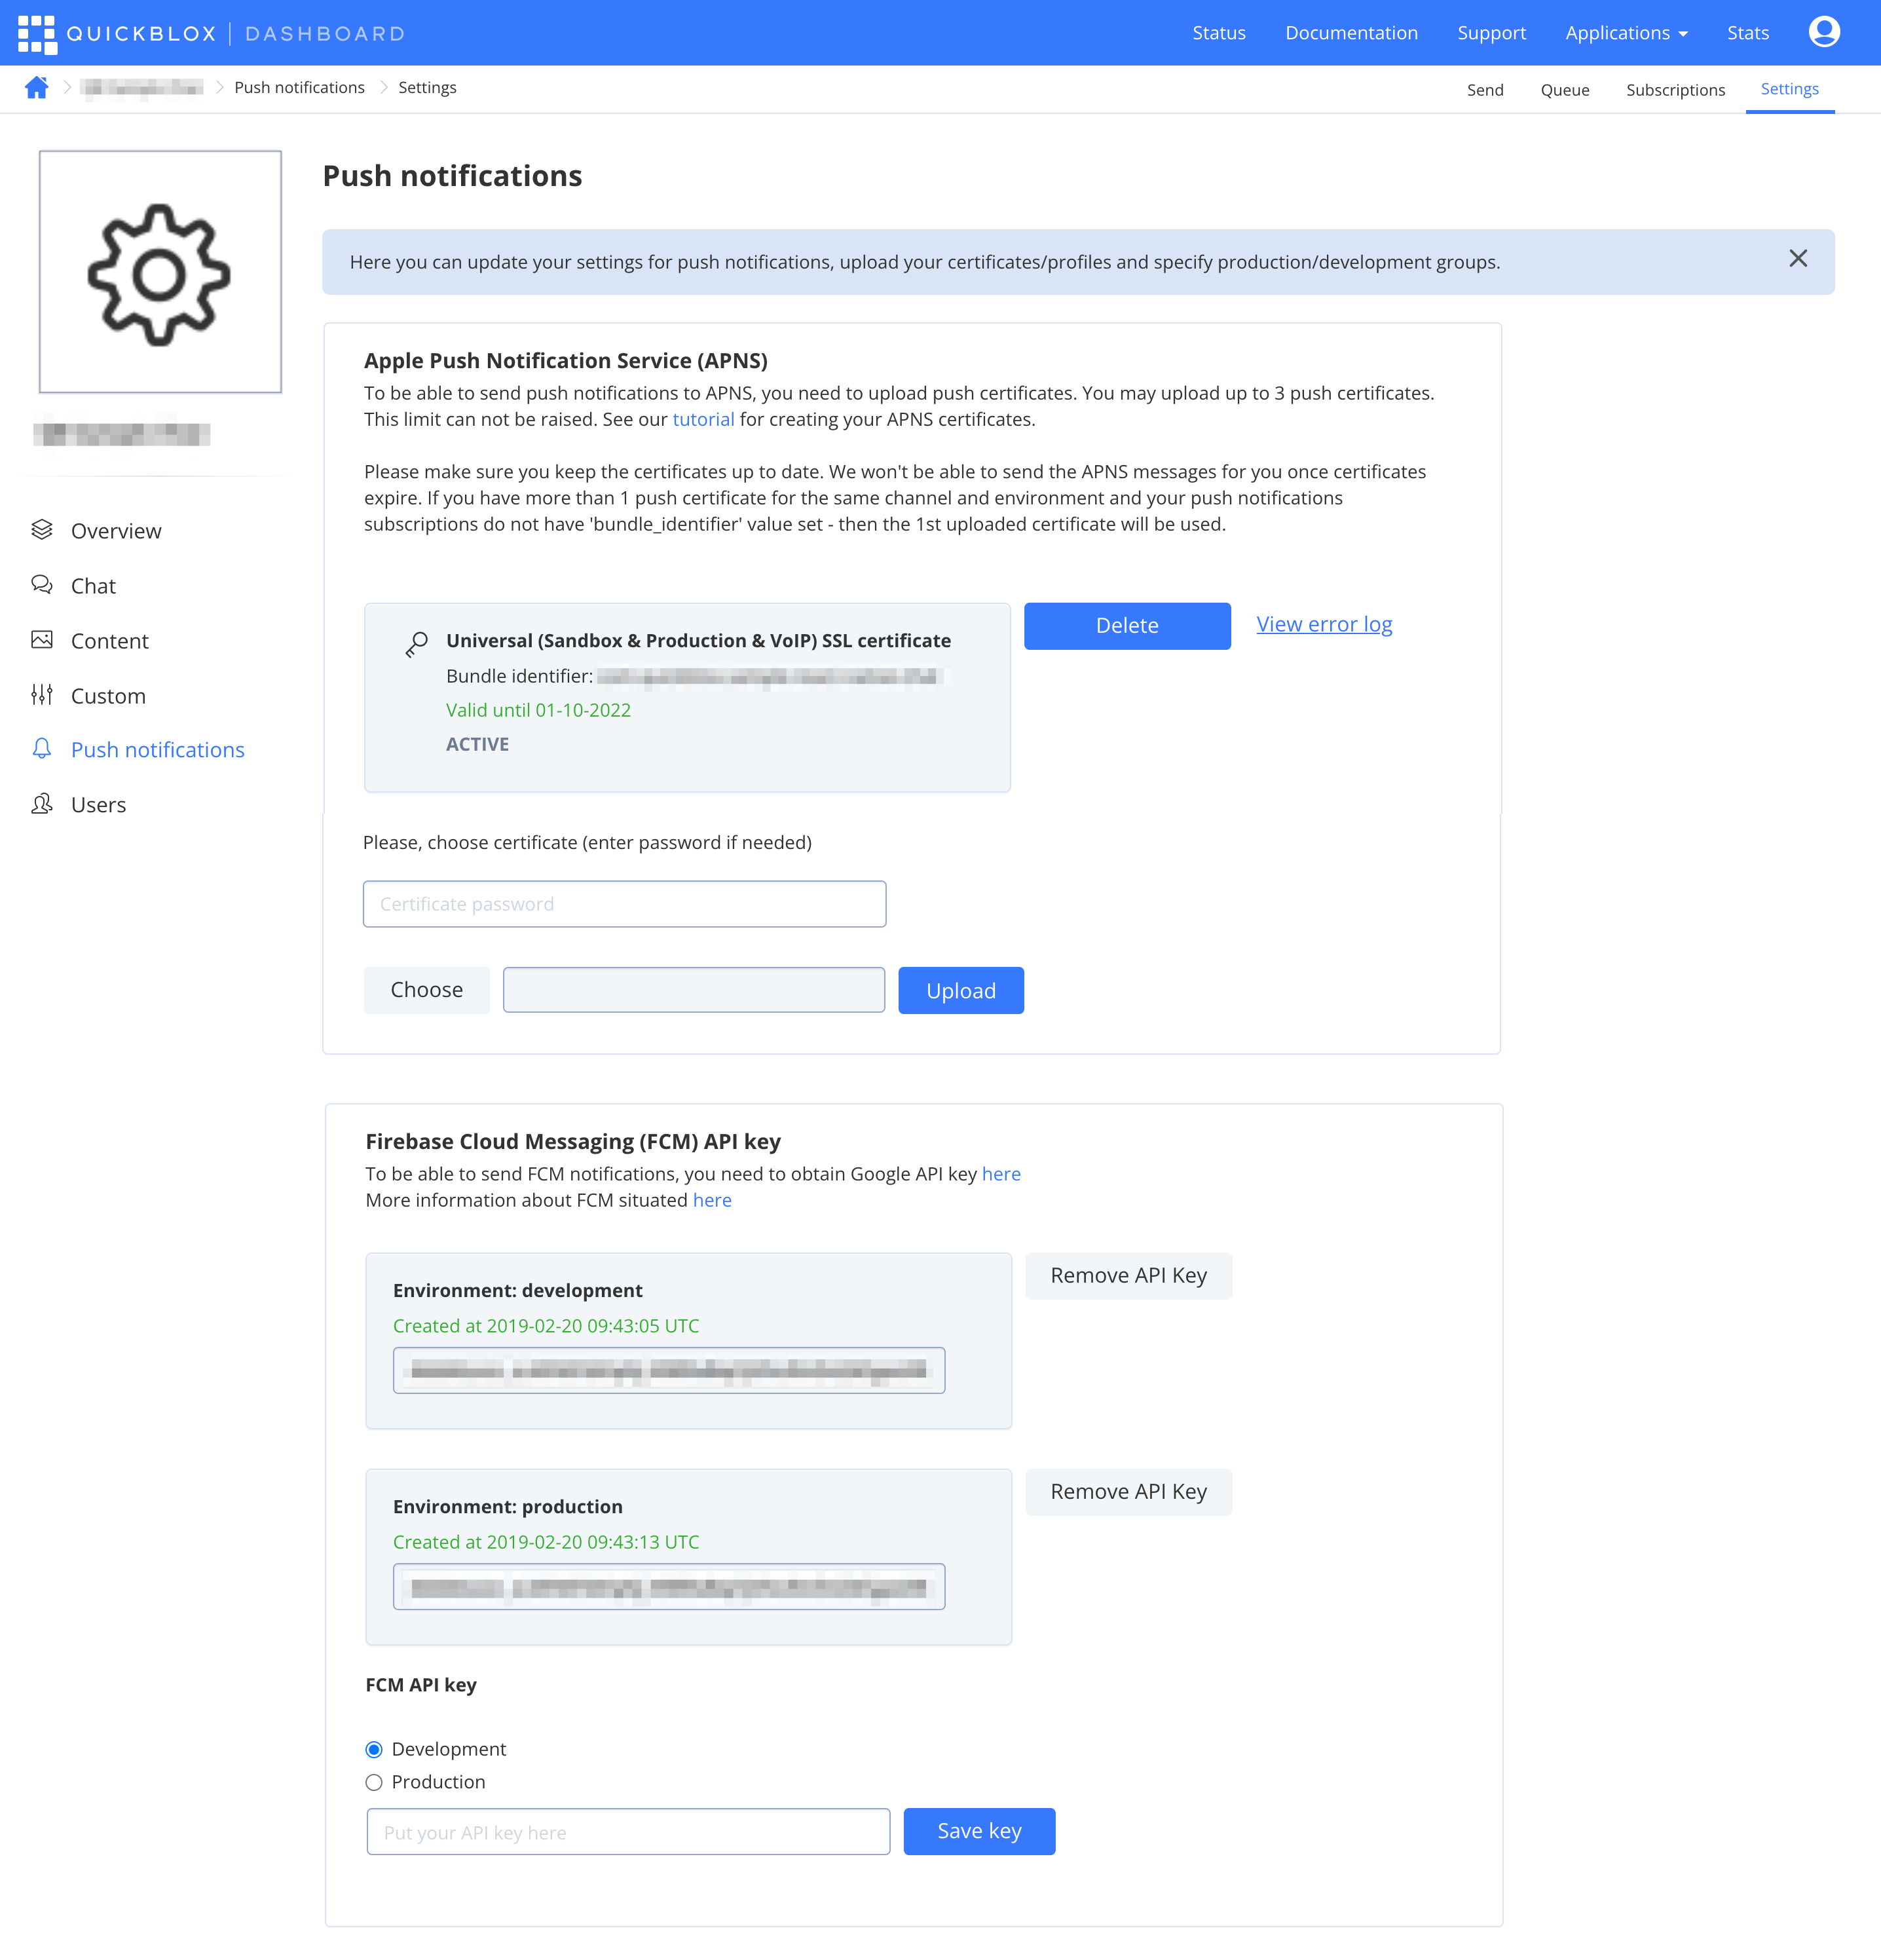
Read more about how to setup push notifications in our documentation.
Users
From this page you can manage users of your application.
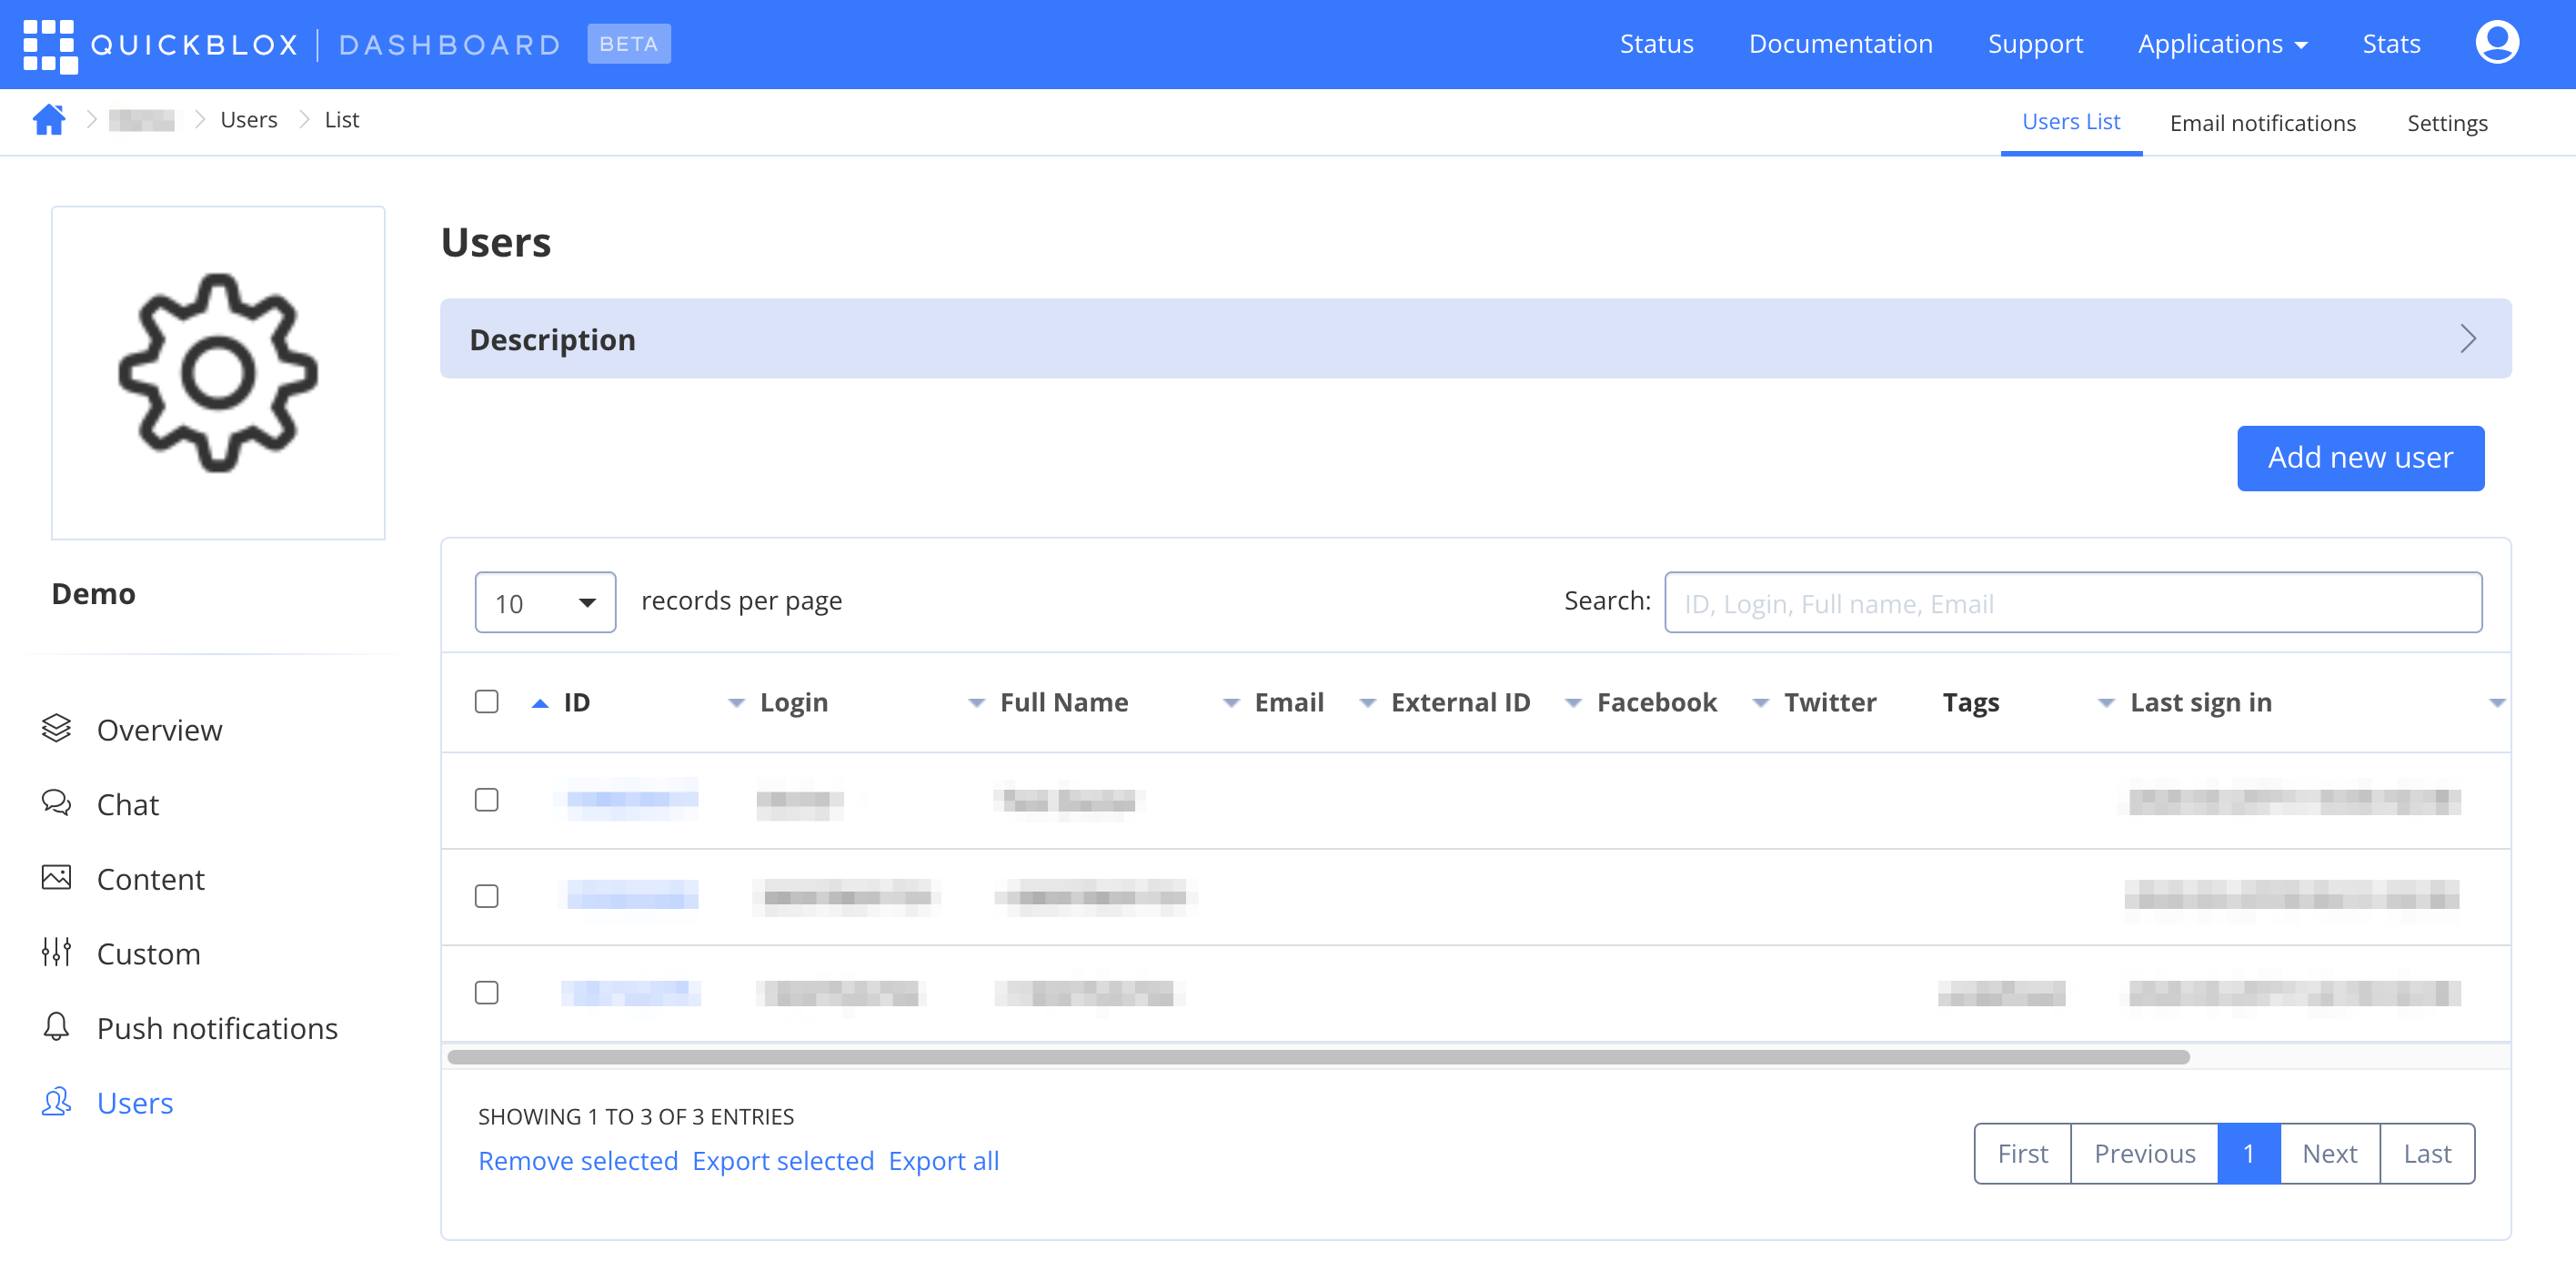
There are 3 tabs on this screen
Users List
You can add, view, and edit profiles and remove users of your application from this tab.
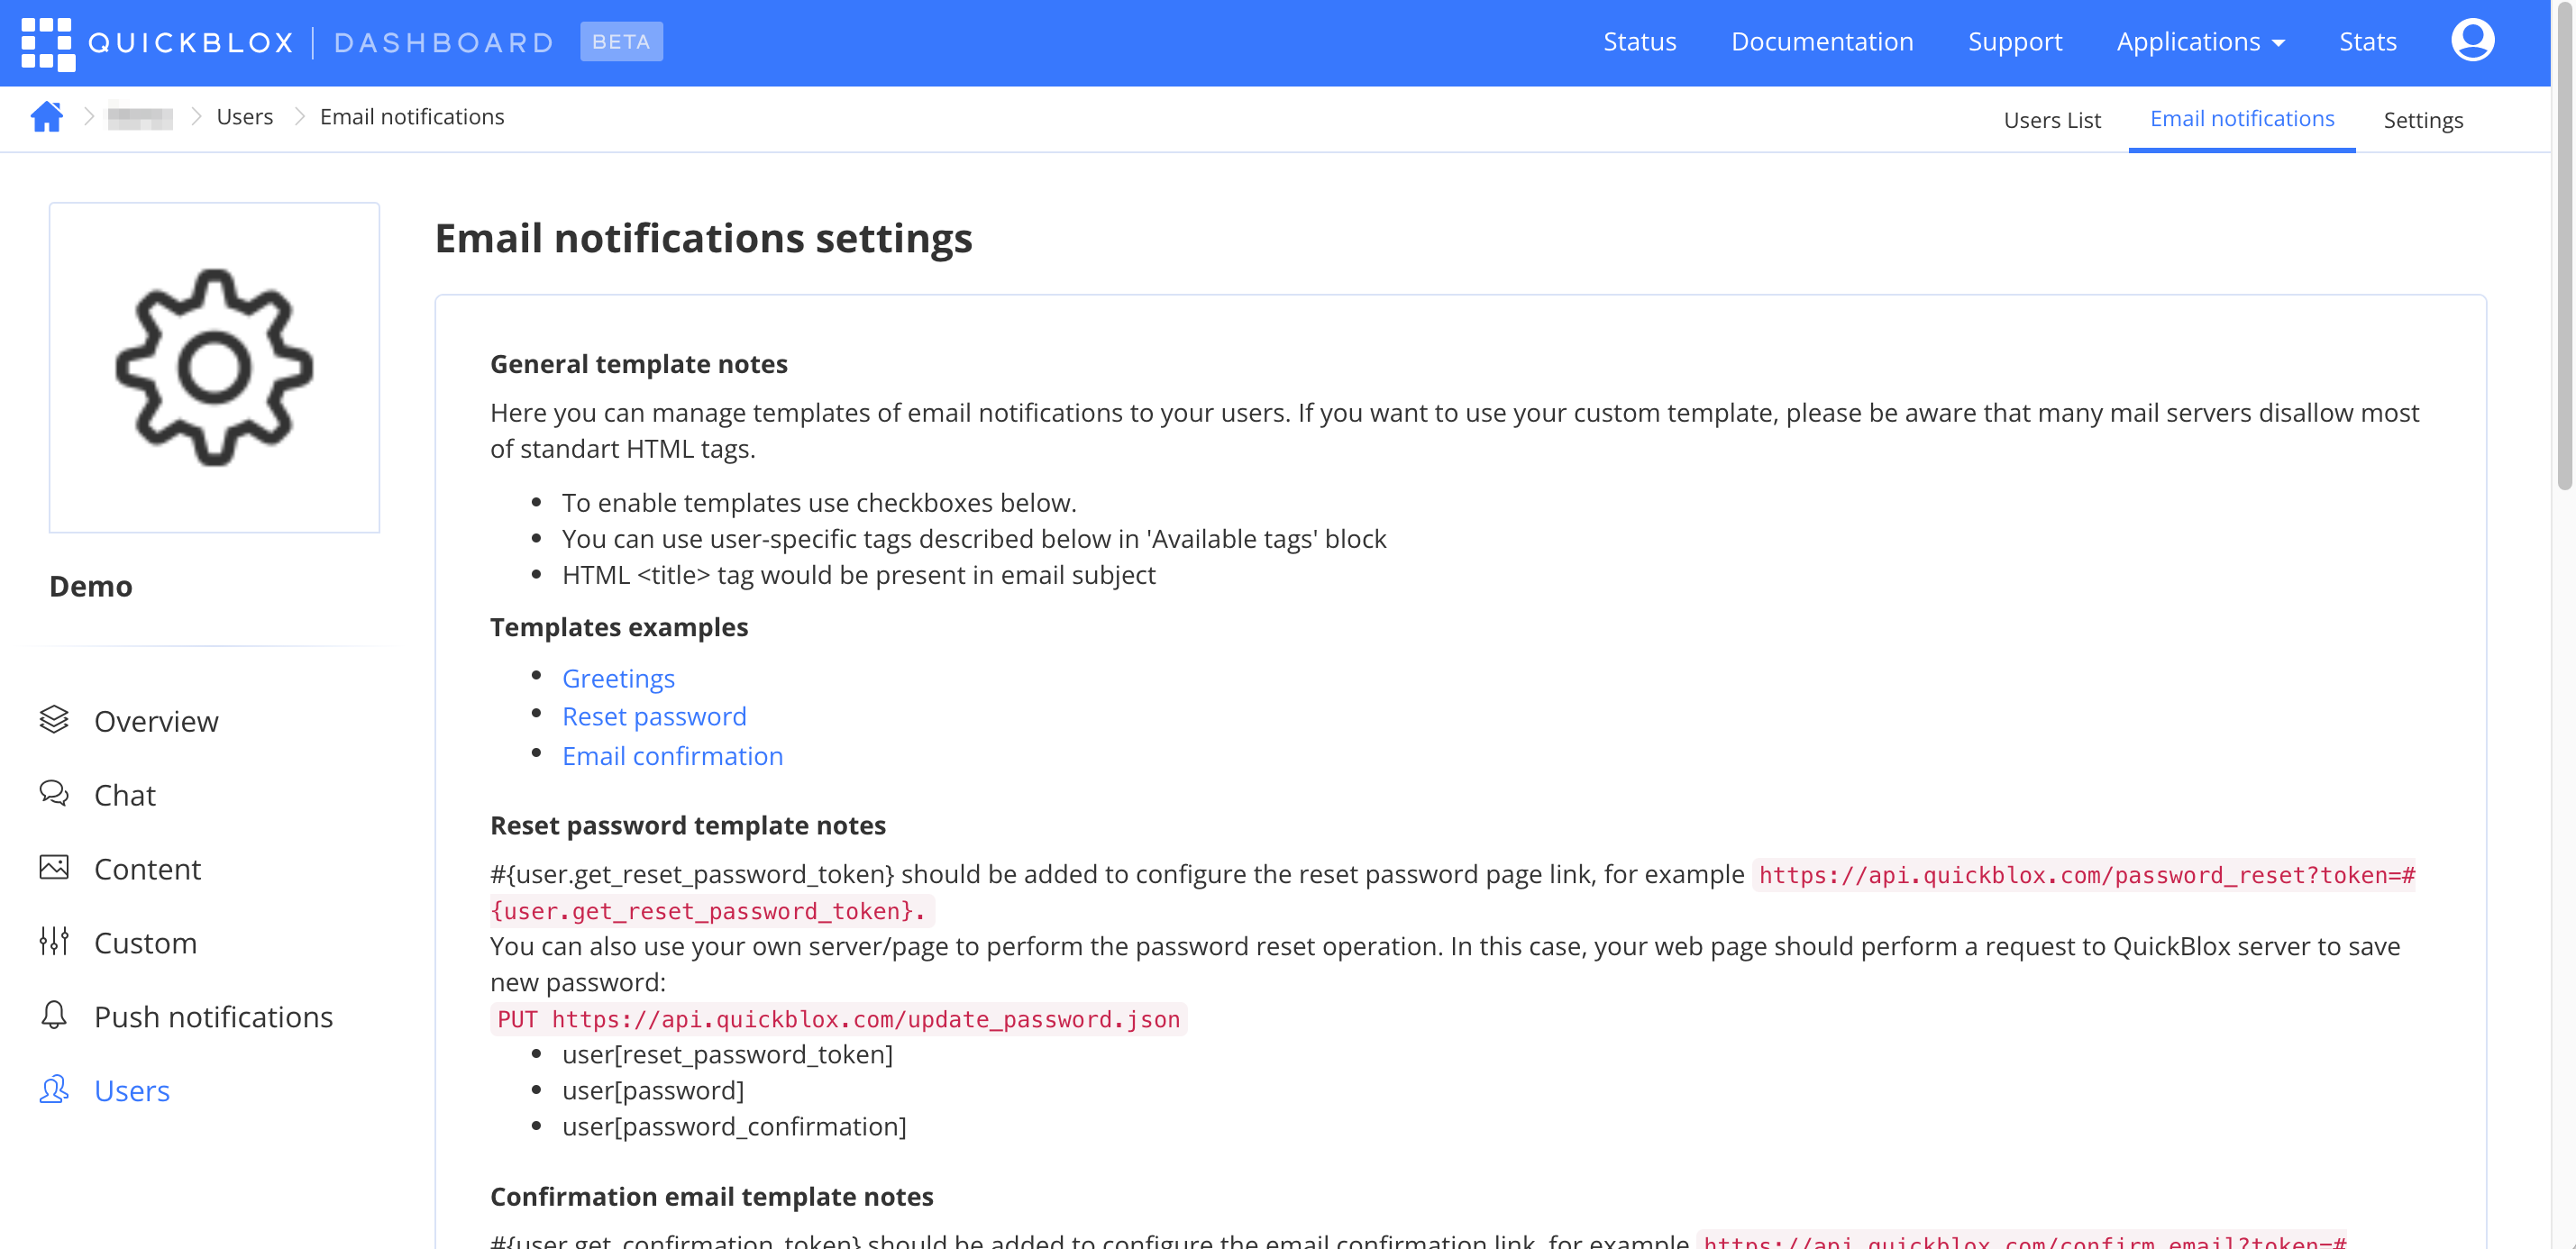
Email notifications
Here you can toggle “Greetings” email, set custom template for “Email confirmation” and “Reset password” emails.
NOTE: This functionality is available for enterprise customers only.
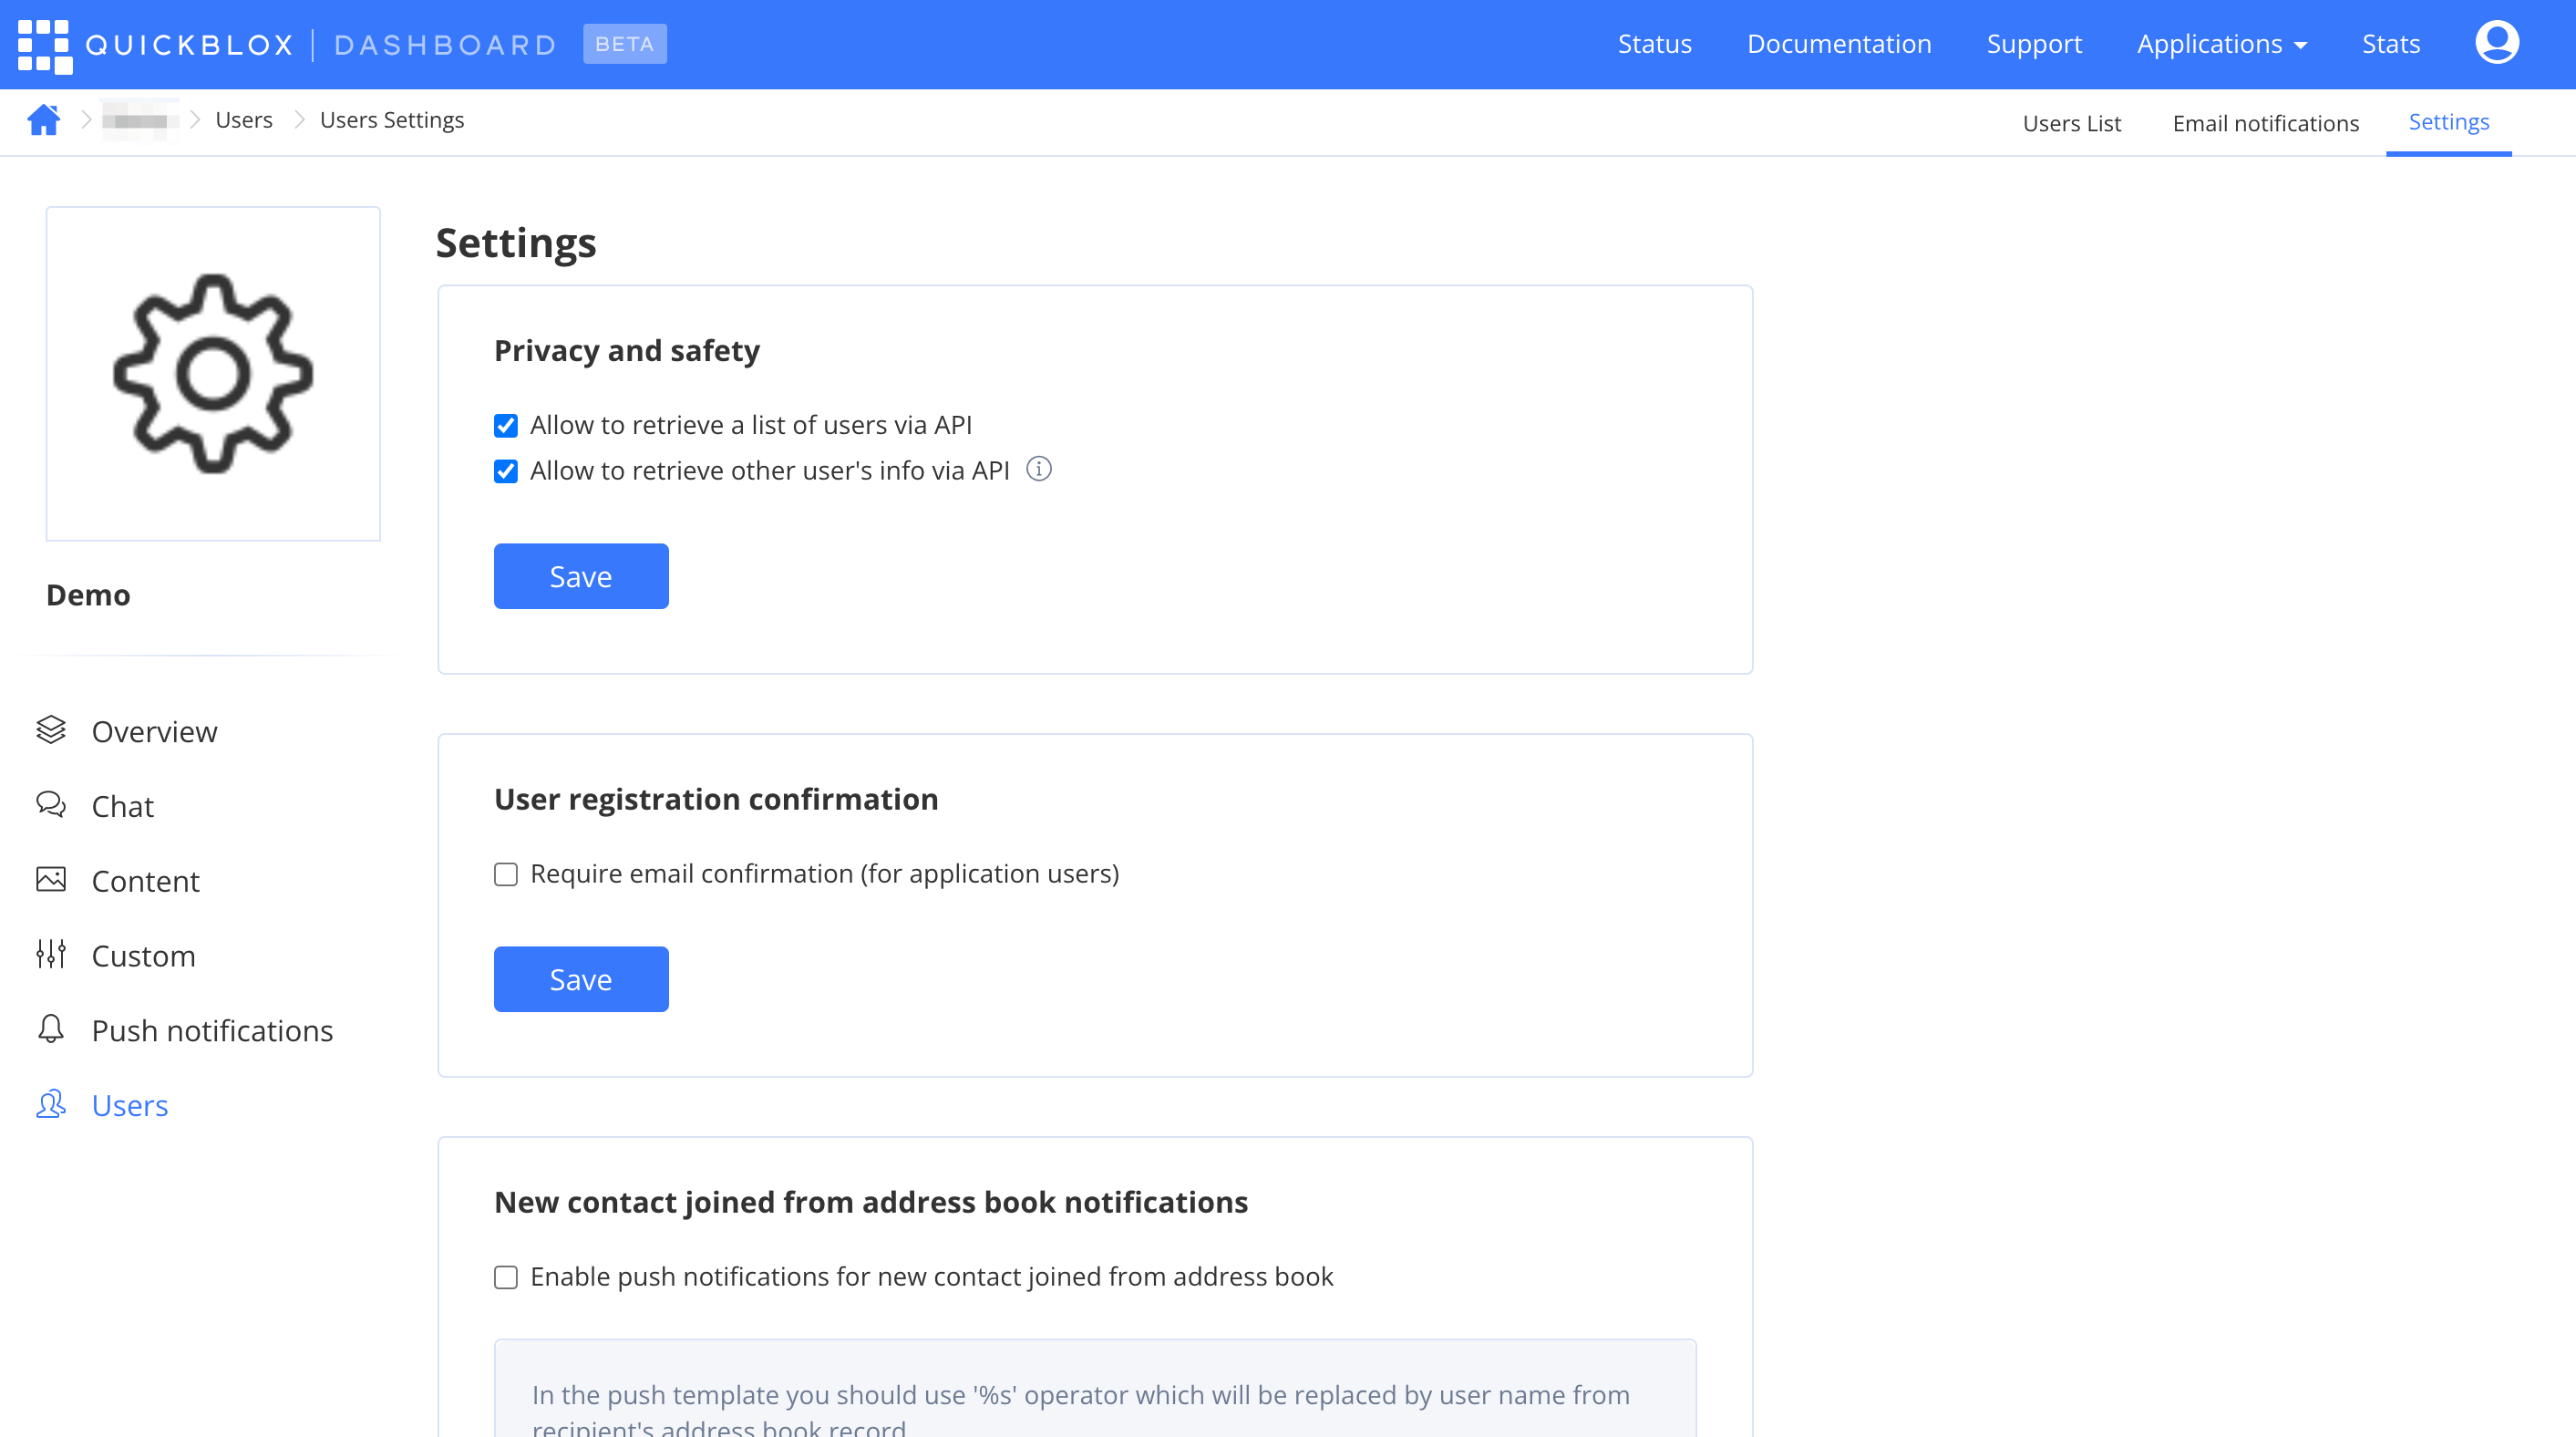
Settings
Here you can allow or disallow retrieving users via API, turn on required email confirmation upon registration, and enable push notifications for new contacts joined from address book.
Ready to Start?
Now you know everything you need to successfully navigate around the QuickBlox dashboard!
If you have questions or suggestions for improving this tutorial, please get in touch with the QuickBlox Help Center
Have Questions? Need Support?
Join the QuickBlox Developer Discord Community, where you can share ideas, learn about our software, & get support.
Join QuickBlox Discord
 AI Agent — automate conversations and workflows. Now available on Free plan