If you are planning to build a chat or video calling app for iOS then QuickBlox has everything you need. From our robust chat and video calling SDK, rich documentation, code samples, to our quickstart guide and free developer account, we’ve made it easy for you to start building today. The QuickBlox iOS SDK (available for applications built in both Objective-C and Swift) offers feature-rich chat, including one-to-one, private group and public group chat. Furthermore, built with WebRTC technology, our SDK enables you to add stunning video calling, video conferencing, and streaming functionality.
To get you started and so that you can discover how easy it is to build with QuickBlox, please follow our short tutorial below to learn how to run our iOS samples.
Getting Started
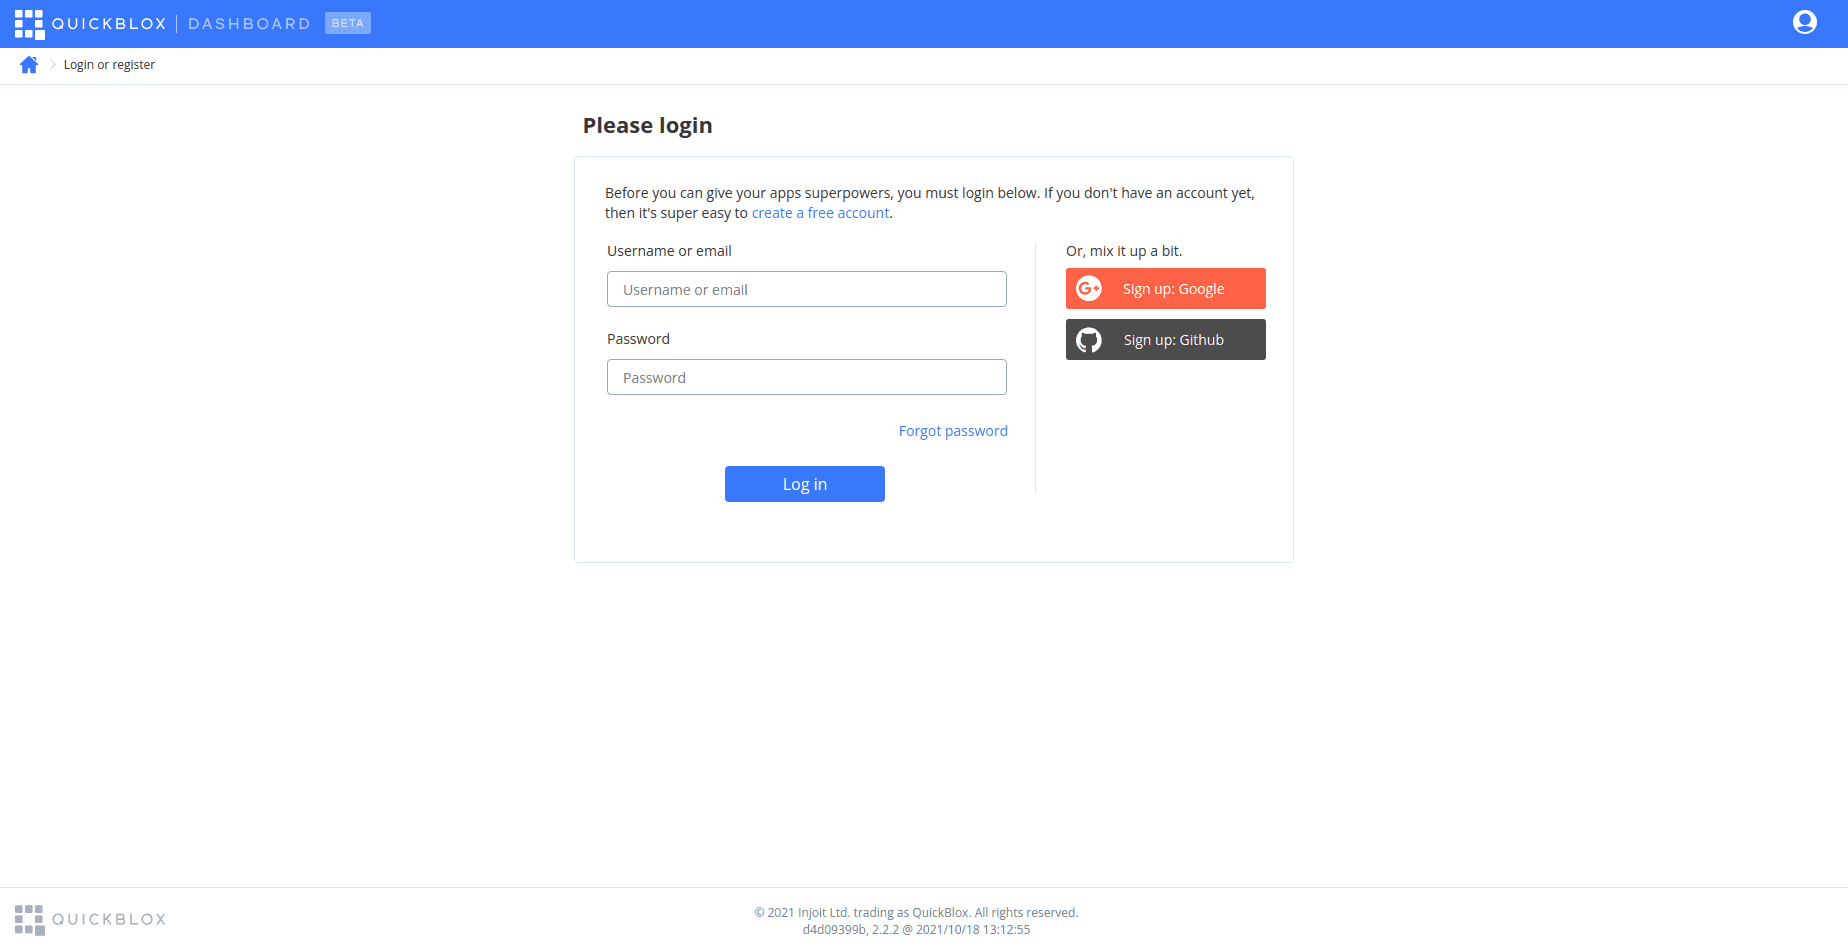
- First you need to Login on the homepage of the QuickBlox dashboard. If you don’t have an account yet, sign-up for an account now.
After signing onto the admin panel, create a new project by selecting the “New app” button.

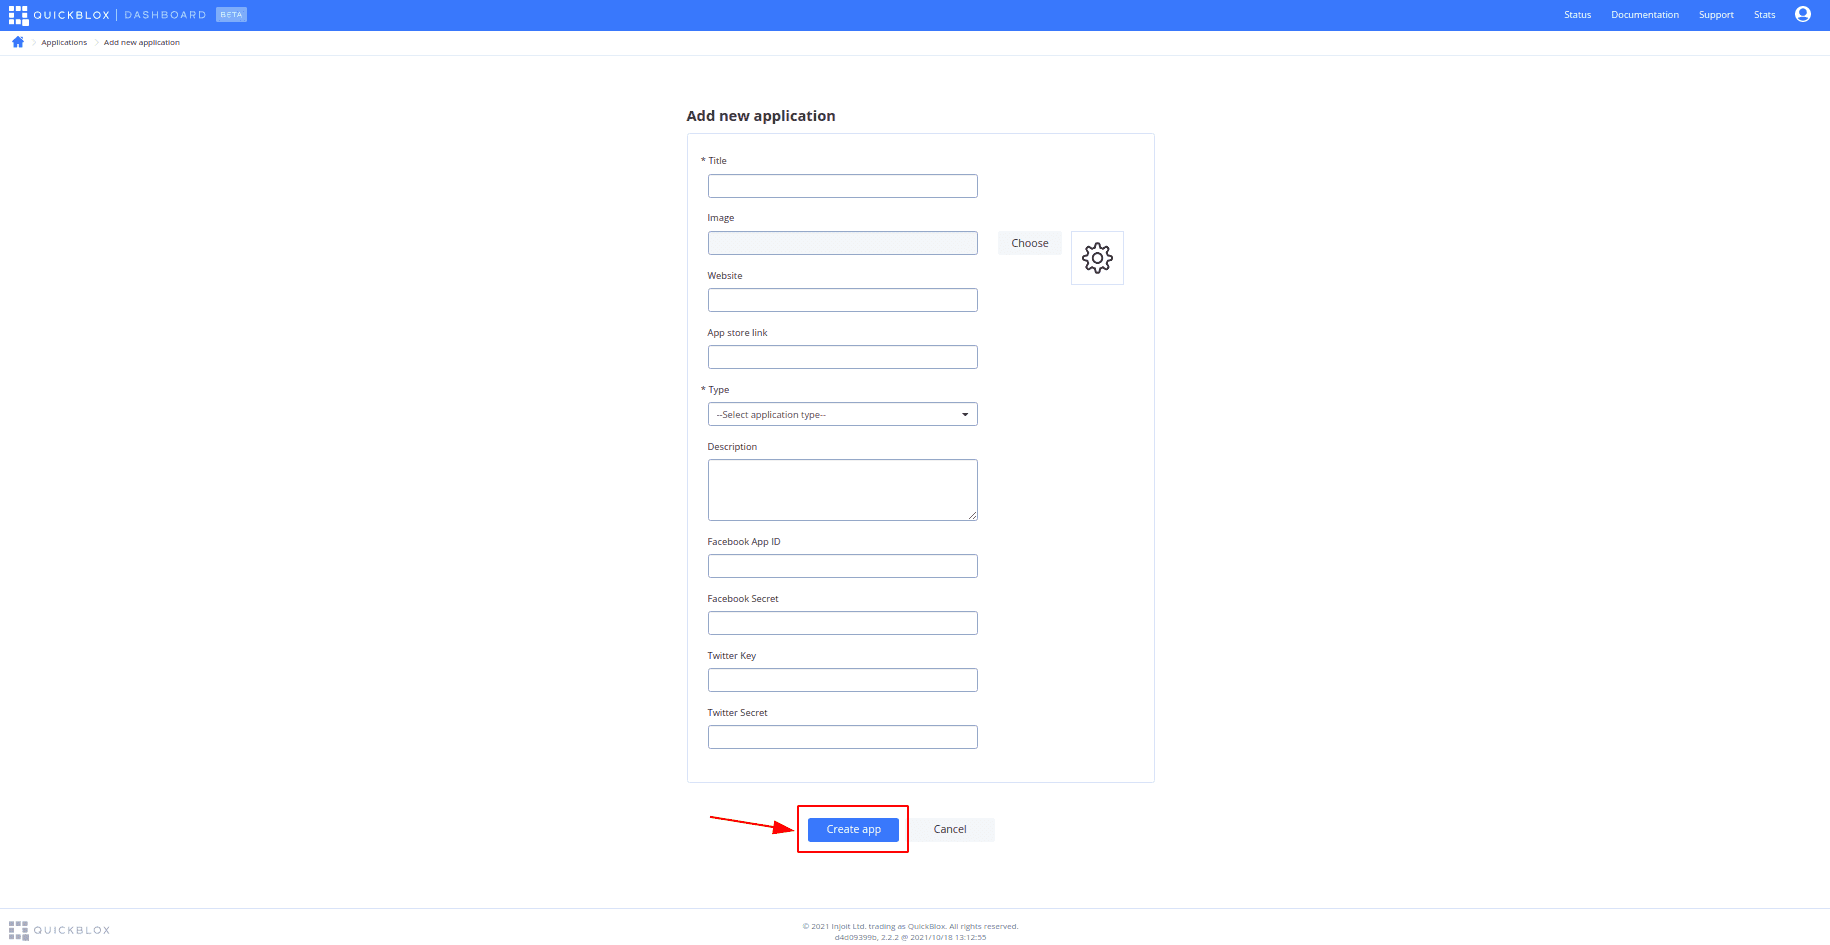
To configure the app, type in information about your organization into the corresponding fields and select the “Create app” button.
- Next, we’re going to download samples from GitHub
GitHub – QuickBlox/quickblox-ios-sdk: QuickBlox iOS SDK for messaging and video calling.
To download samples, click on the button “Code” and select the format you need.
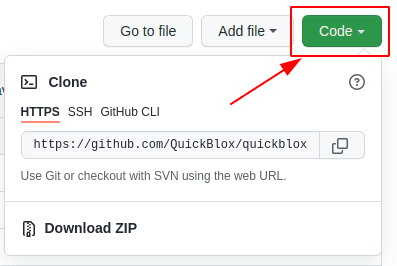
There are two main ways to download samples from GitHub – HTTPS or download ZIP.
HTTPS
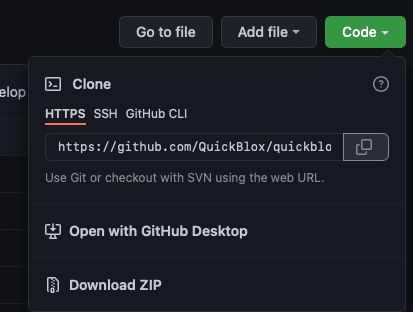
– To clone the repository using HTTPS, under “Clone with HTTPS”, click.
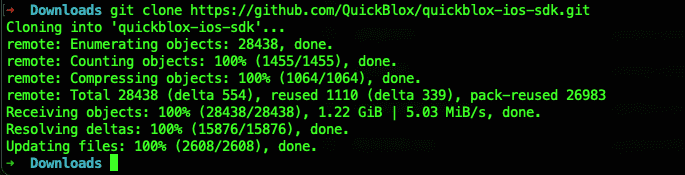
– Open Terminal. Change the current working directory to the location where you want the cloned directory, for example Downloads. Type git clone, and then paste the URL you copied earlier.
– Press Enter to create your local clone.
Download ZIP
Alternatively, you can download ZIP.
– To download the repository under “Clone with HTTPS”, click “download ZIP”.
- Open the sample with XCode. If you don’t have it installed, download the link Xcode – Xcode. We recommend opening samples using XCode version 13.0 or higher.
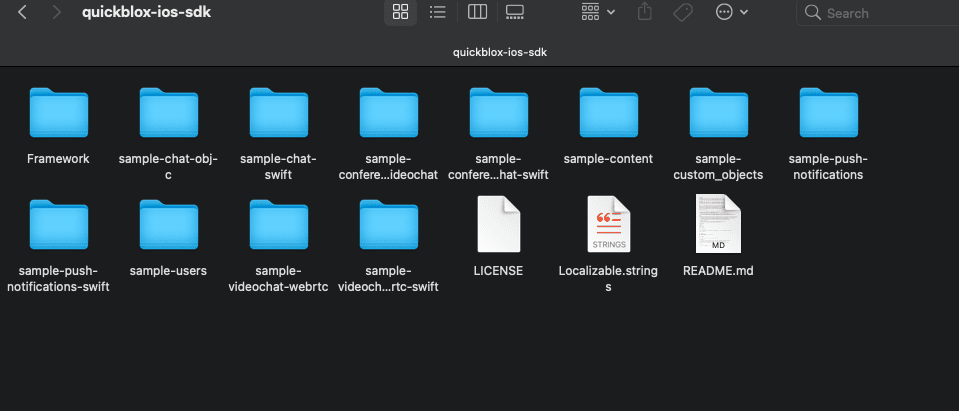
– Find the folder “quickblox-ios-sdk“ in your computer and select a sample you need, for example “sample-chat-swift.”
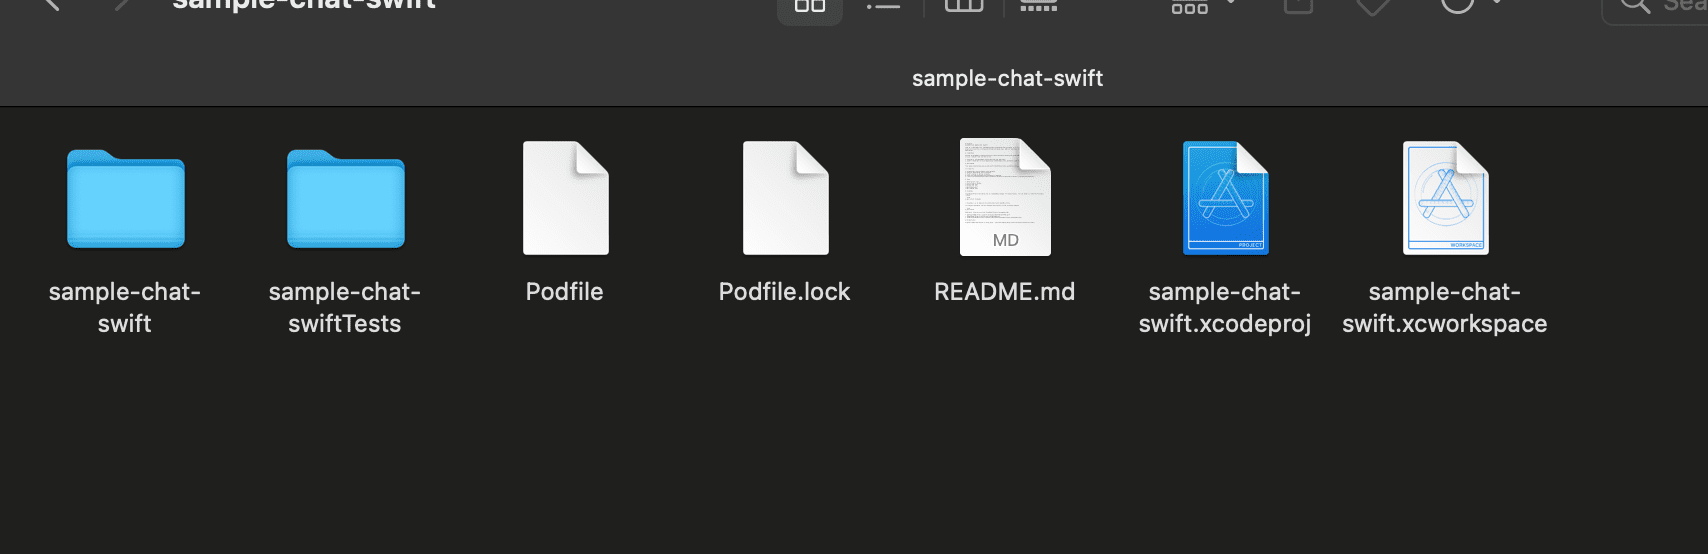
– Go to the folder of the selected sample and open the sample with XCode by double-clicking the left mouse button on the “sample-name.xcworkspace“ file, for example “sample-chat-swift.xcworkspace”.
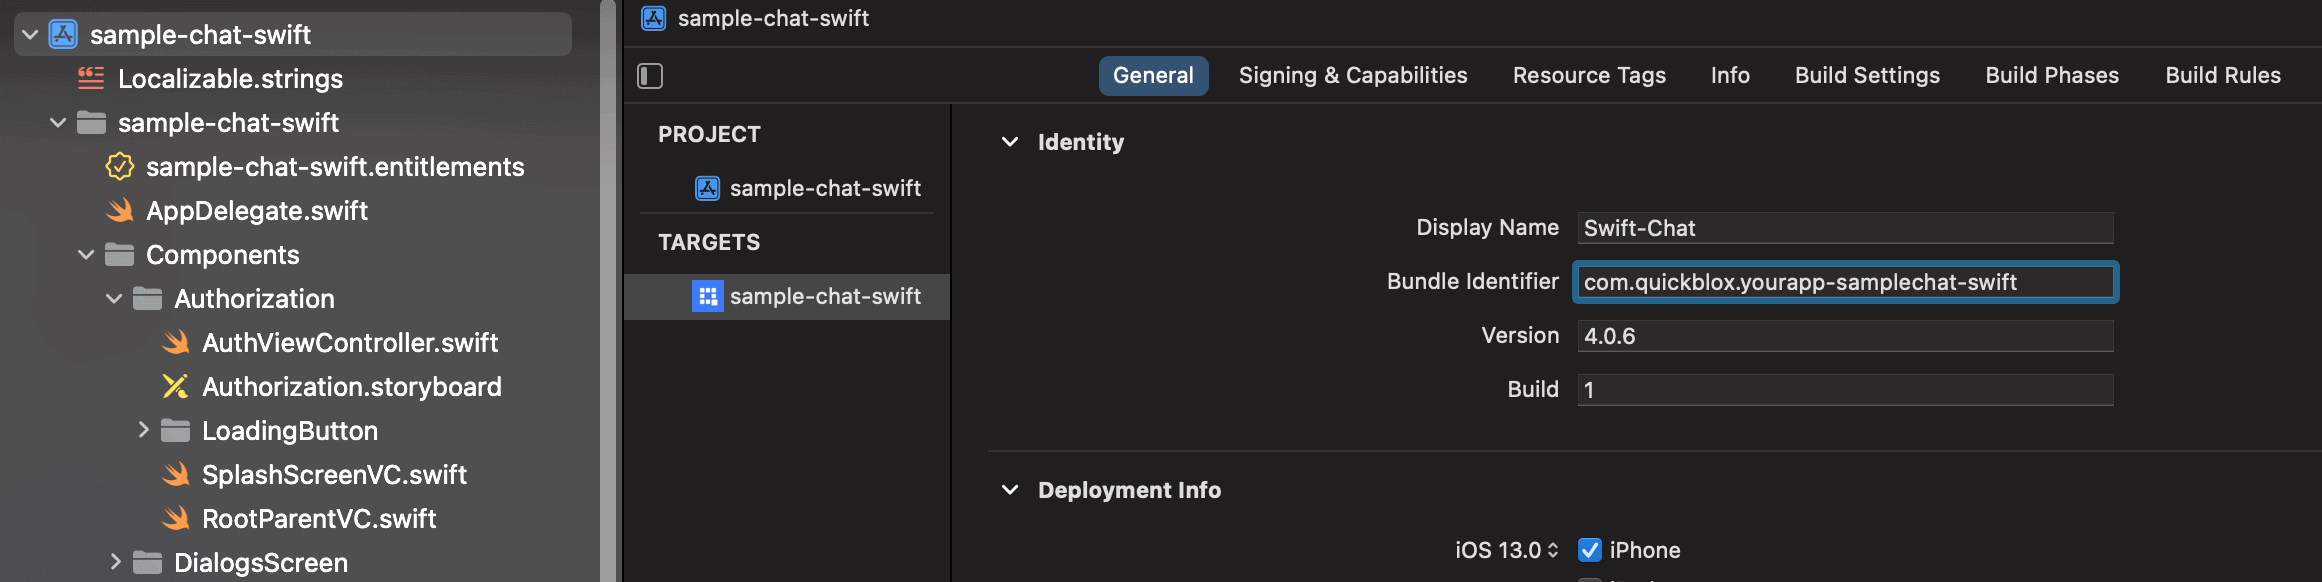
– Change the bundle identifier to your project name.
– Install QuickBlox dependencies in your project with CocoaPods CocoaPods.org. Open Terminal and go to the application directory. Run “pod install”.

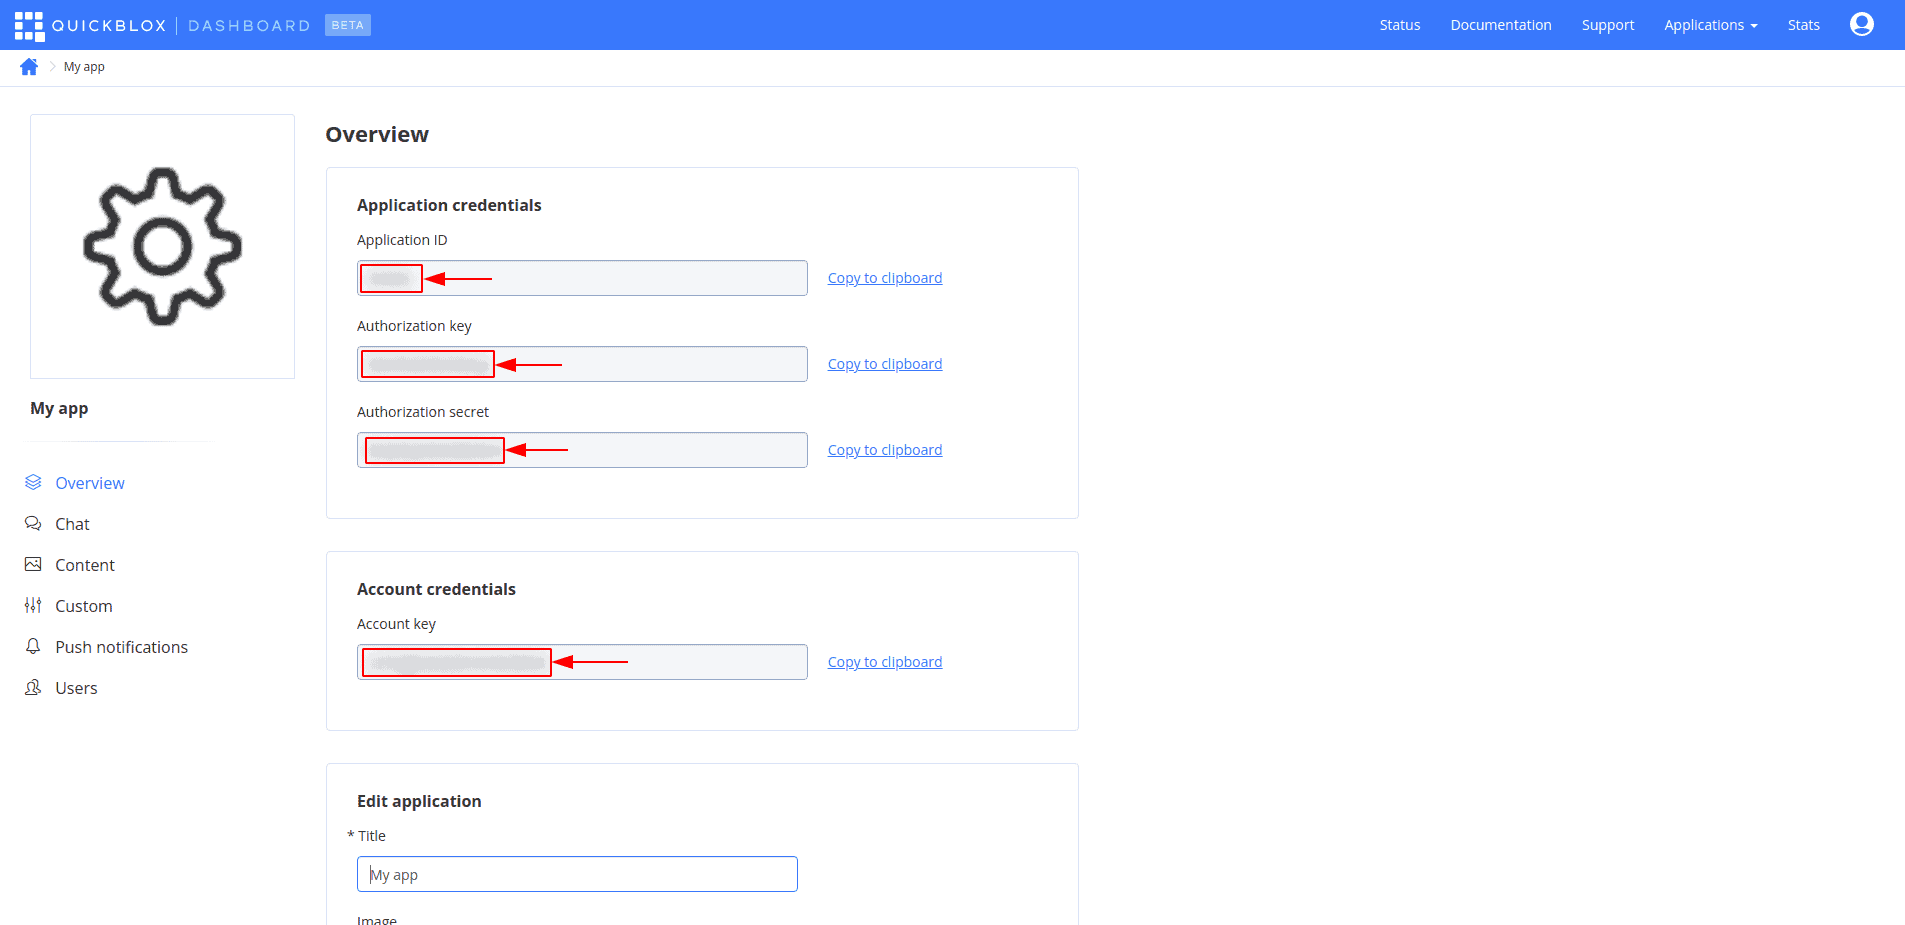
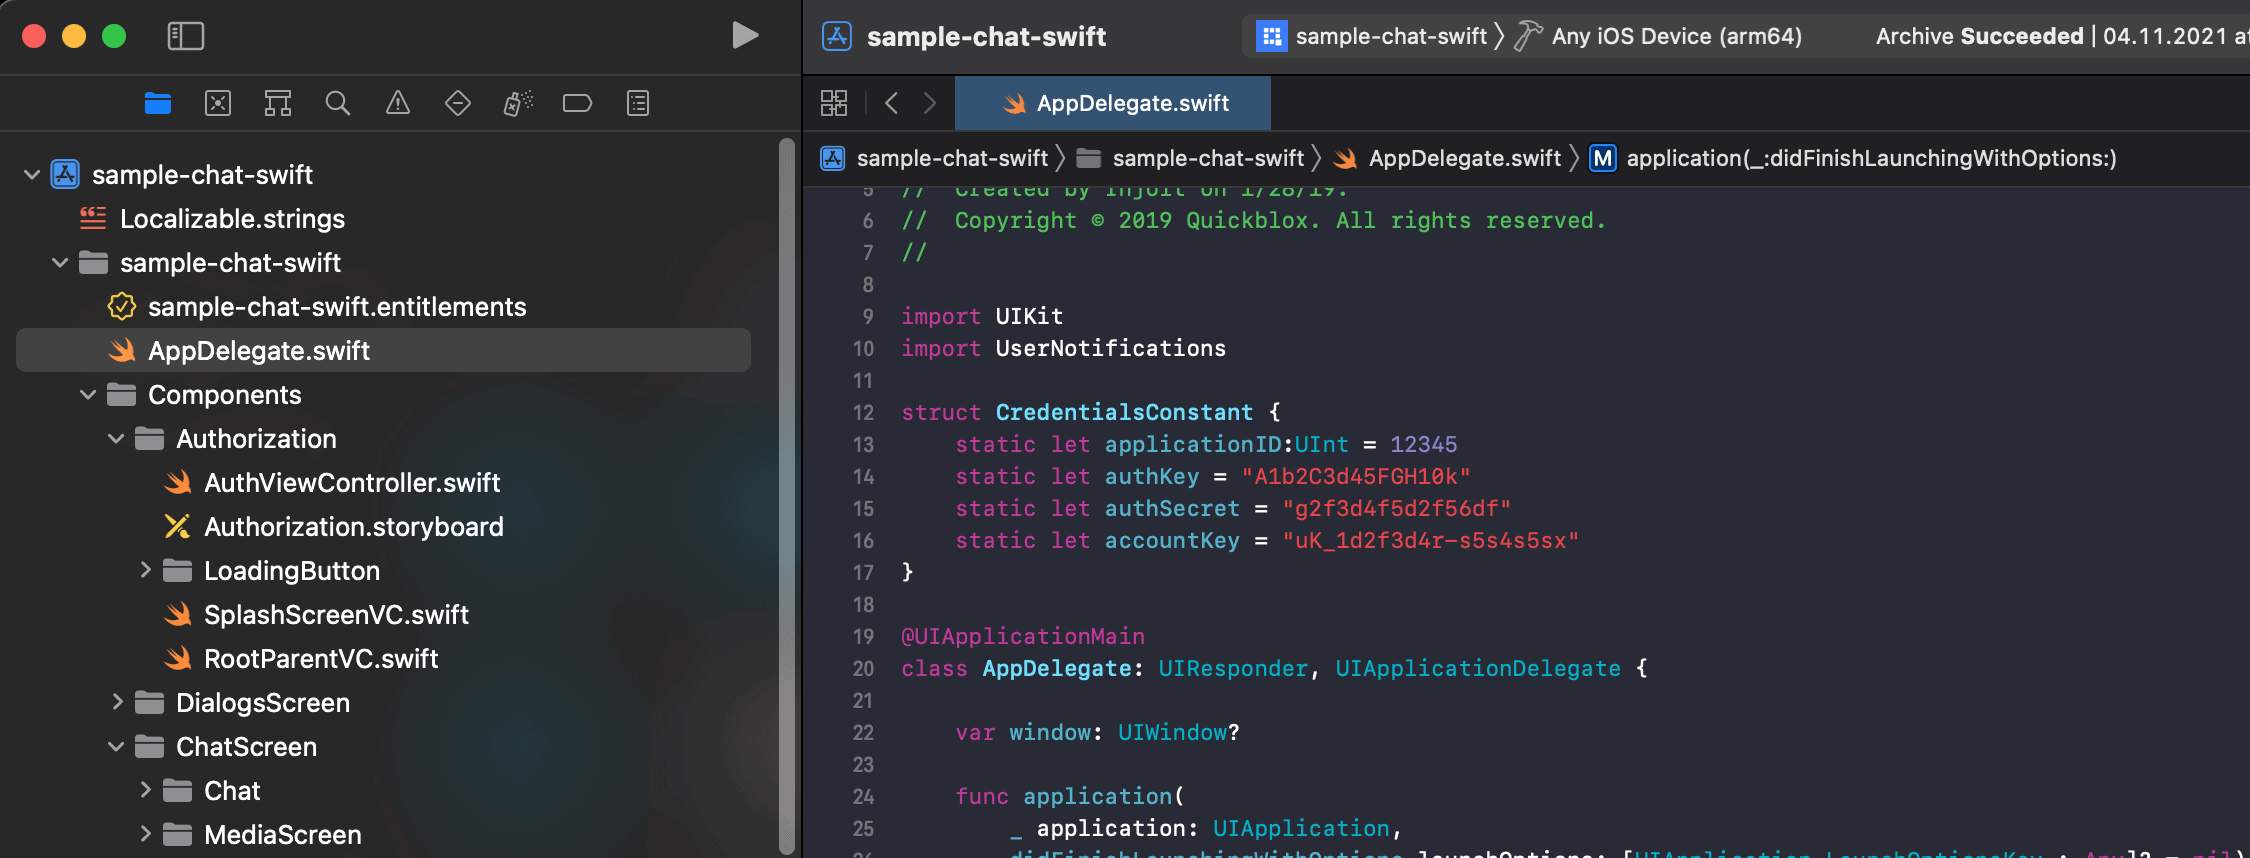
- Then you need to add the application credentials from the admin panel to the App file.
- For conference samples, SERVER_URL is additionally required.
Video conferencing is available for customers on our paid plans. Full functionality including conference video recording is available on the Enterprise Plan only. Take advantage of Enterprise features to unlock new value and opportunities for users. For more information and to request a demo, contact us.
- To use push notifications you first need to create an APNS certificate. You can learn more about how to create APNS and VOIP certificates at this link: Push Notifications | iOS SDK | QuickBlox.
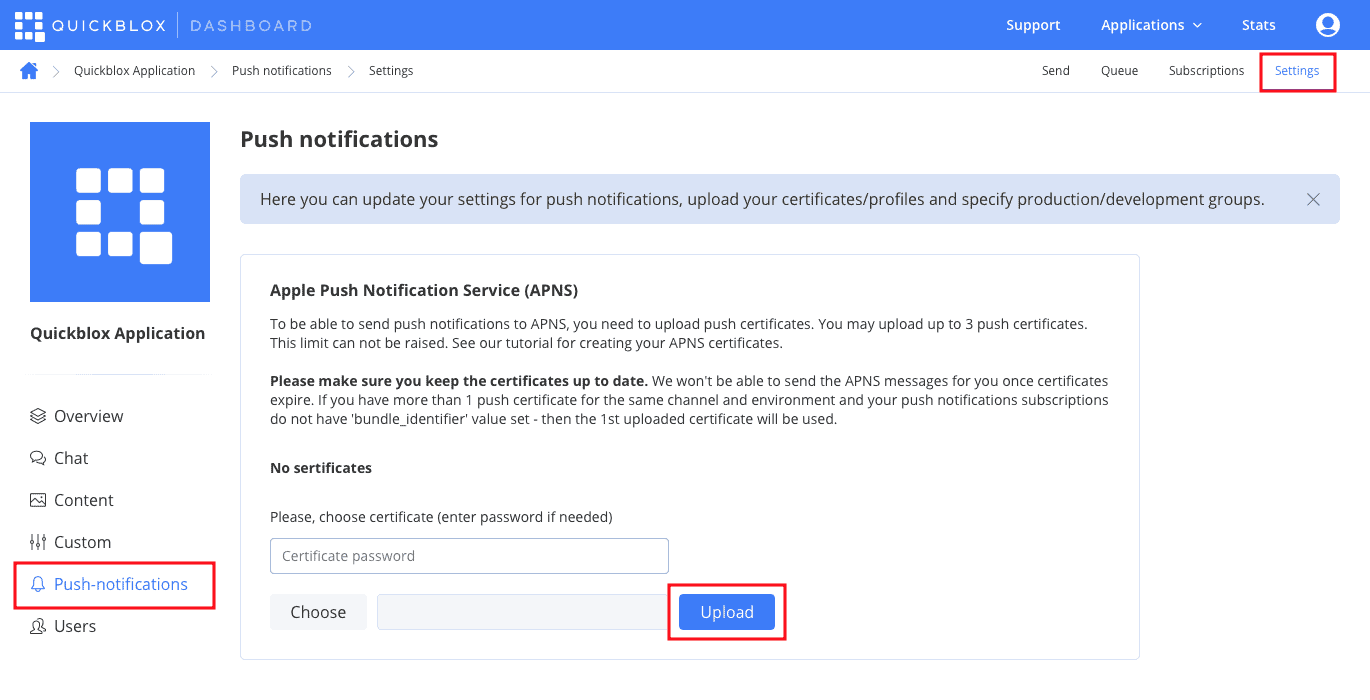
Once created, you need to upload your APNS certificate to the QuickBlox Dashboard by following these short steps:
– Open your QuickBlox Dashboard.
– Go to the Push notifications module section.
– Switch to the Settings tab.
– Locate the Apple Push Notifications Service (APNS) section.
– Upload the newly created APNS certificate.
- Select a device from the list and start a sample by pressing the “Run” button.
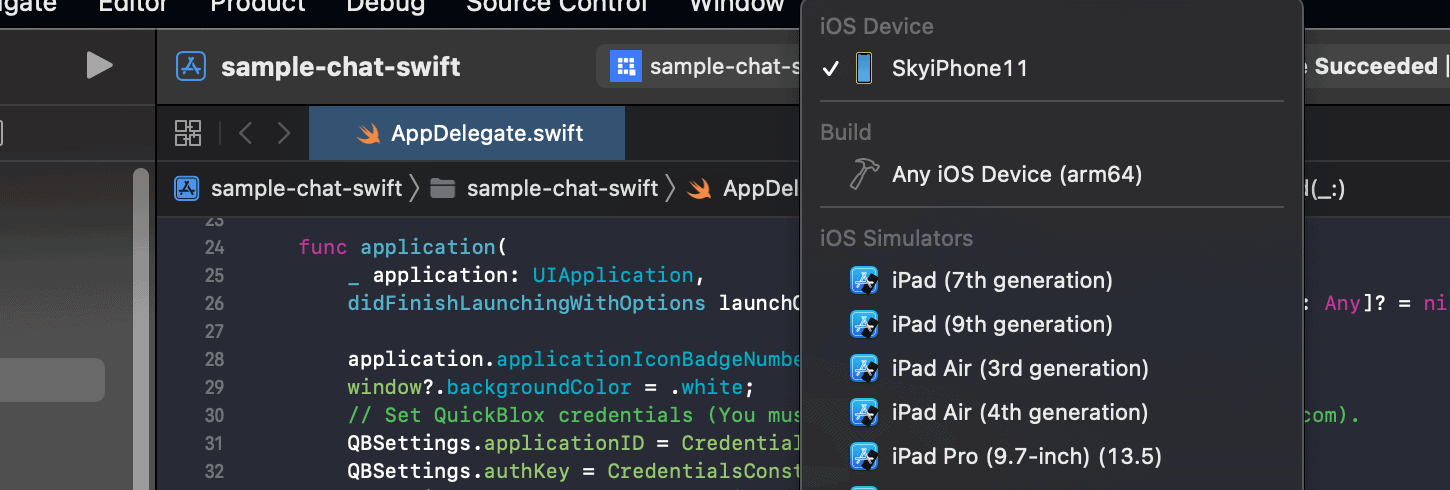
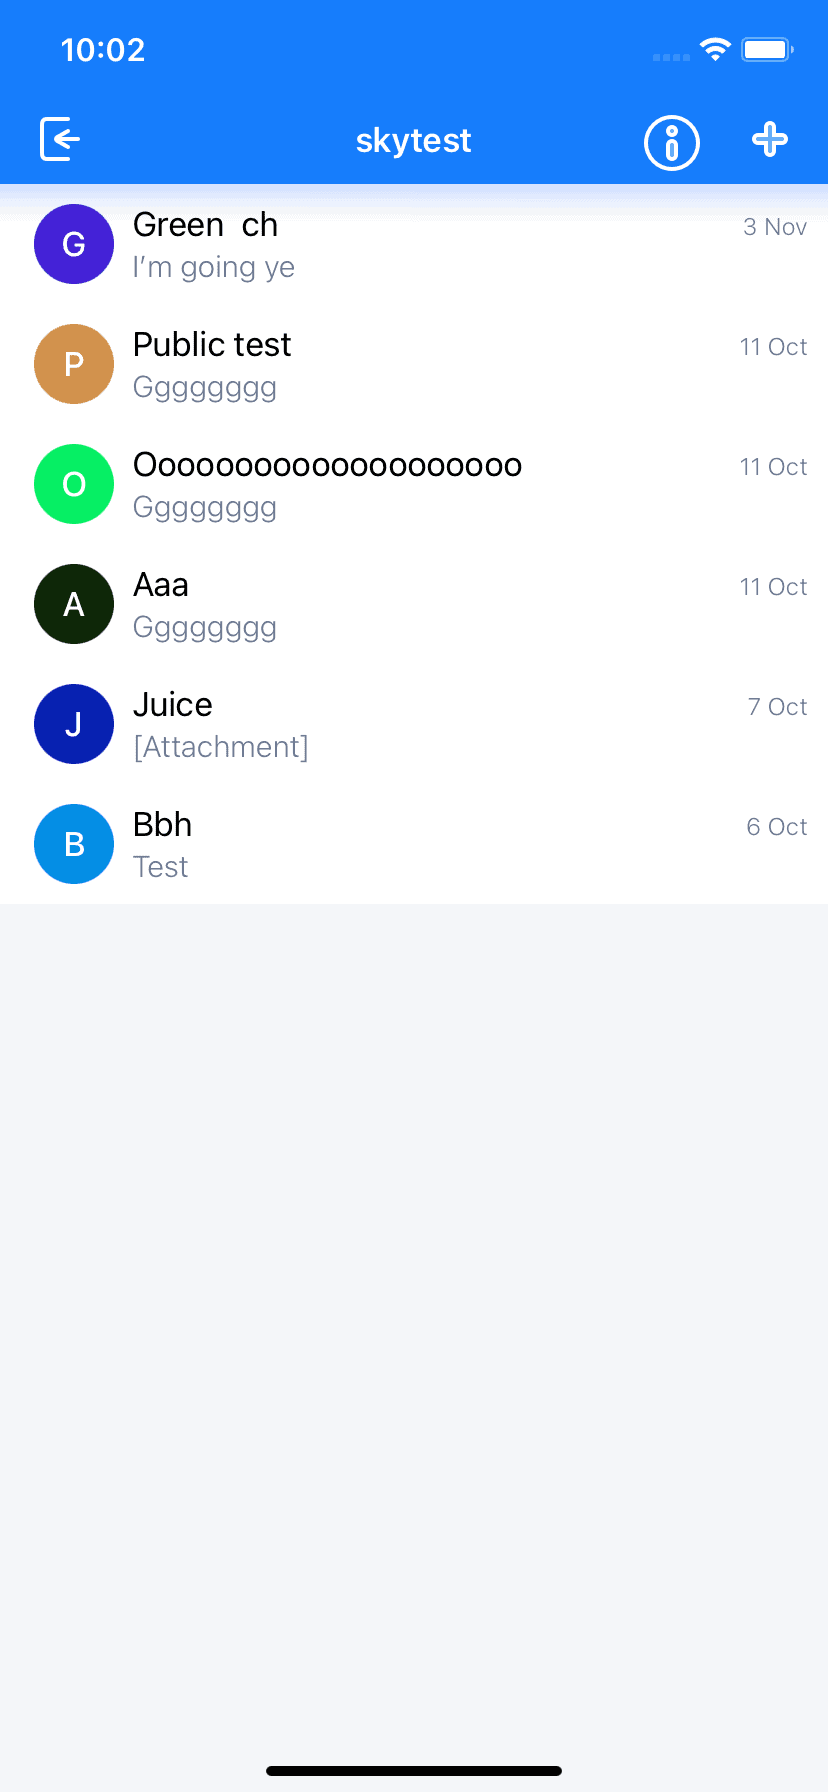
- Sample launched!
Use QuickBlox iOS SDK today
Using our free code samples is an easy way to get you started so that you can build quality apps for the iOS platform. To learn more about our iOS SDK please see our detailed documentation.
For technical queries about using our SDK or recommendations for our product or documentation please submit a ticket to our support team.
Contact us if you want to learn more about how QuickBlox can support your communication needs.
 AI Agent — automate conversations and workflows. Now available on Free plan