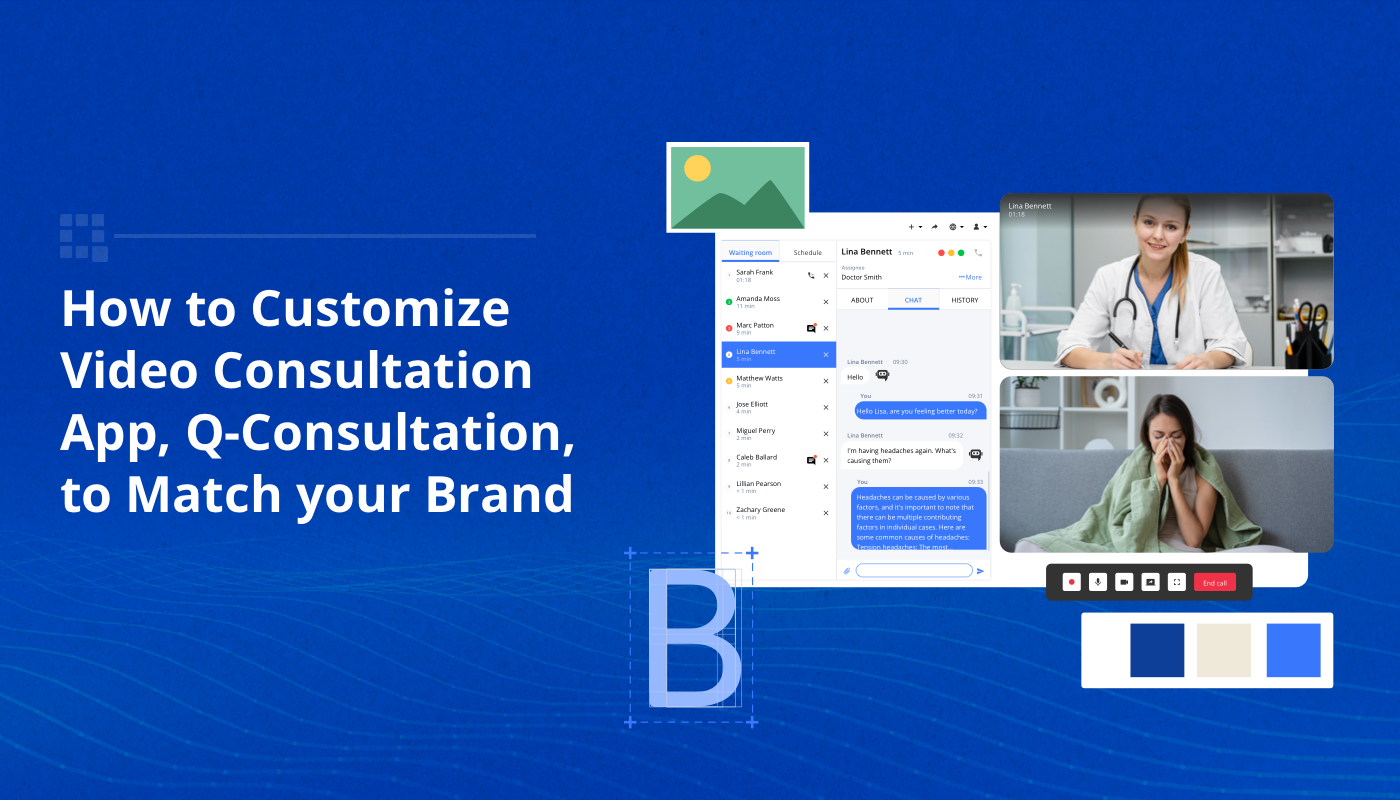
Summary: This developer tutorial focuses on customizing the Q-Consultation video consultation app to match a brand’s unique style and identity. Q-Consultation, an open-source software by QuickBlox, offers features such as video consultations, instant messaging, private virtual meeting rooms, and AI functionalities like answer assist and translation. The tutorial aims to guide users through customizing elements like logos and color schemes, ensuring a cohesive and professional brand experience for businesses in industries like healthcare, HR, and customer support.
Table of Contents
Introduction
Welcome to our developer tutorial on customizing the Q-Consultation video consultation app to perfectly align with your brand’s unique style and identity. Q-Consultation, an open-source software provided by QuickBlox, offers a comprehensive suite of features designed to enhance communication and collaboration in various industries, including healthcare, HR, and customer support.
Q-Consultation isn’t just your ordinary video consultation platform; it’s a versatile tool that combines video consultation, instant messaging, private virtual meeting rooms, and cutting-edge AI functionality such as answer assist and translation. With its robust feature set and seamless user experience, Q-Consultation has become a go-to solution for businesses and organizations looking to streamline their communication processes and deliver exceptional services to their clients and customers.
In this tutorial, we’ll walk you through the process of customizing the Q-Consultation app, including logo, color scheme, and so that you can create a cohesive and professional brand experience for your users.
Resources
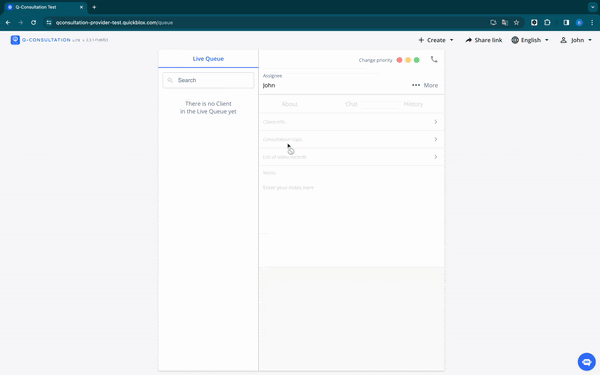
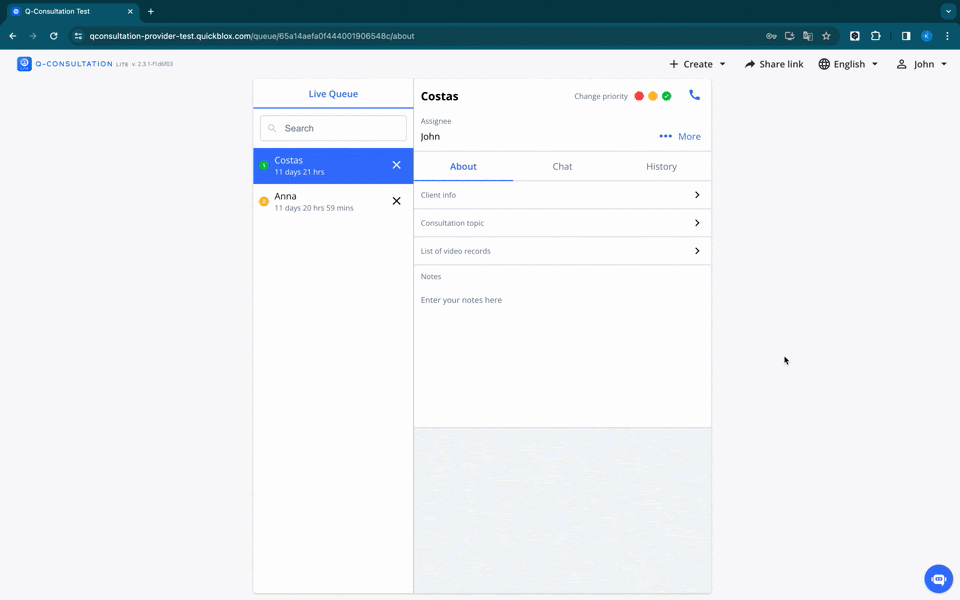
Q-Consultation application is a flexible tool that allows you to customize its functionality according to the needs of your application.
To facilitate the process of implementation and configuration of the application, our developers have created detailed documentation that you can review to better understand how to use Q-Consultation for your purposes. In this documentation, you will find detailed instructions on how to launch, configure, and integrate the application into your system.
Additionally, we provide access to the application’s source code, which is located in our repository. This allows you to delve deeper into the workings of the application.
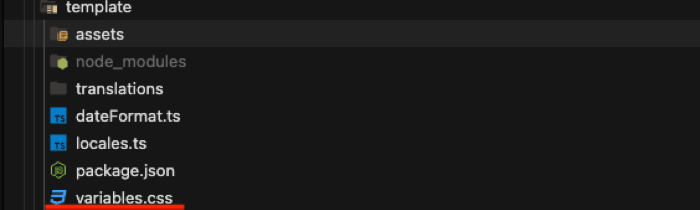
To simplify the customization of the application, we have developed a separate package with pre-set settings for languages and styles. This package can be easily adapted and configured for more precise customization of your application. This package is located at the following path: “q-consultation/packages/template” and is installed for both the client and the provider.
Changing the Logo
To change the logo, follow these steps:
- Navigate to the following path in your project: “/q-consultation/packages/template/assets/logo.svg”.
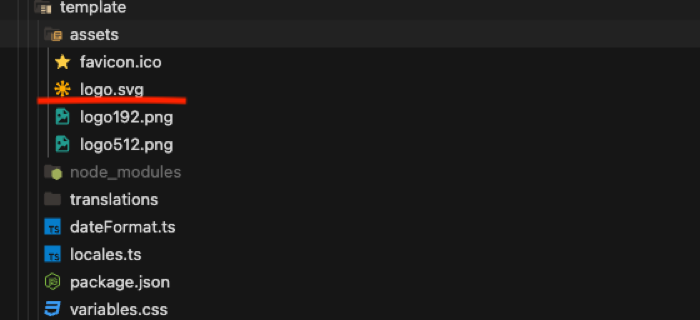
- Replace the “logo.svg” file with your own logo.
- In your project’s code, where the import is taking place, replace the line: Import LogoSvg from ‘@qc/template/assets/logo.svg’ with the path to your new logo.
<header className={cn('header', className, { 'header-auth': myAccount })}>
     <div className="header-nav header-nav-left" />
     <div className="logo">
       {minimalistic || isGuestAccess ? (
         &lLogoSvg className="icon" />
       ) : (
         <Link to={generatePath(ROOT_ROUTE)}>
           &lLogoSvg className="icon" />
         </Link>
       )}
       </div>
</header>
This way, you will be able to replace the logo in your project with your own.
Modifying the Color Scheme
The Q-Consultation application already comes with pre-set CSS variables for customizing styles, but you can make changes, add, or remove them as needed by following these steps:
- Navigate to the following path in your project: “q-consultation/packages/template/variables.css“.
- In the “variables.css” file, we have defined three sections with CSS variables, each serving a specific purpose:
The first section is responsible for font settings, such as font family, style, size, length, and width. These variables can be used to style text in the application.
 /* Globals */
 --font-family: 'Open Sans', -apple-system, 'Ubuntu', sans-serif;
 --font-size-xxs: 9px;
 --font-size-xs: 10px;
 --font-size-sm: 12px;
 --font-size-md: 13px;
 --font-size-lg: 14px;
 --font-size-xl: 16px;
 --font-size-xxl: 20px;
The second section contains a color palette that can be used as needed in the application. These variables provide access to a range of colors for design elements.
 /* Palettes */
 --secondary-50: #E7E7E7;
 --secondary-100: #C2C2C2;
 --secondary-200: #999999;
 --secondary-300: #707070;
 --secondary-400: #525252;
 --secondary-500: #333333;
 --secondary-600: #2E2E2E;
 --secondary-700: #272727;
 --secondary-800: #202020;
 --secondary-900: #141414;
 --secondary-A100: #9CBCFE;
 --secondary-A200: #578CFC;
 --secondary-A300: #3370FC;
 --secondary-A400: #1748FA;
The third section is responsible for defining the color of components in the application. These variables are used to set color schemes and styles for components in your project.
/* Components */
 --Main-elements: var(--primary-500);
 --Secondary-elements: var(--secondary-500);
 --Tertiary-elements: var(--primary-A100);
 --Alternative-elements: var(--secondary-200);
 --Divider: var(--primary-50);
 --Inactive: var(--secondary-100);
 --Hover: var(--primary-A200);
 --Primary-font: var(--secondary-300);
 --Tertiary-font: var(--primary-A100);
 --Low: var(--green);
 --Medium: var(--yellow);
 --High: var(--red);
You can create new CSS variables or modify existing ones according to your design preferences and the needs of your project.
- In the application’s file, which can be found at the path “q-consultation/apps/client/src/index.tsx” or “q-consultation/apps/provider/src/index.tsx” CSS variables from the “template” package are imported. You can use the created variables in any CSS files that the application contains, for example, like this:
.class-name {
  background-color: var(--Main-elements);
}
This will allow you to apply the chosen color scheme to the elements of your application.
Therefore, you will be able to customize the color scheme in your project using CSS variables for more flexible configuration.
Editing or Adding New Languages
In the Q-Consultation application, we use the i18next library to provide multilingual support and flexible translation customization.
With i18next, we can easily integrate translations into our application and customize them according to user needs. This allows us to create an application that can be used in different languages and easily adapt to various regional settings.
The flexibility of i18next also enables us to update and expand the set of translations as needed, making the localization process more convenient and efficient.
Q-Consultation comes with default languages pre-installed, such as Ukrainian, English, and Spanish. However, you can change the list of supported languages by following these steps:
- Open the file “q-consultation/packages/template/locales.ts” In this file, the available languages for your application are listed.
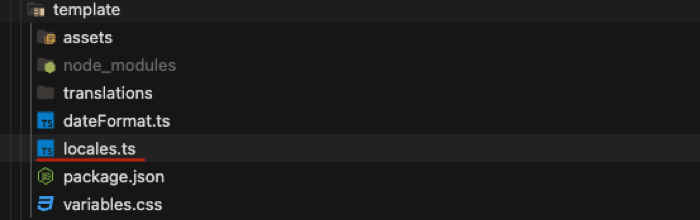
- Add new languages or modify existing ones in the following format:
{ label: 'Language Name', value: 'Language Code' }
For example, to add the French language:
{ label: 'French', value: 'fr' }
- After updating the “q-consultation/packages/template/locales.ts” file, navigate to the file “q-consultation/apps/provider/src/i18n.ts” or “q-consultation/apps/client/src/i18n.ts”. In this file, the i18n library is configured for your application.
import i18n from 'i18next'
import { initReactI18next } from 'react-i18next'
import translations from '@qc/template/translations'
import { getLocale } from './utils/locales'

const currentLocale = getLocale()

document.documentElement.lang = currentLocale

i18n.use(initReactI18next).init({
 resources: {
   en: {
     translation: translations.en,
   },
   es: {
     translation: translations.es,
   },
   uk: {
     translation: translations.uk,
   },
 },
 debug: __DEV__,
 supportedLngs: ['en', 'uk', 'es'],
 lng: currentLocale,
 fallbackLng: DEFAULT_LANGUAGE,
 defaultNS: 'translation',
 ns: ['translation'],
 load: 'languageOnly',
 interpolation: {
   escapeValue: false,
   skipOnVariables: false,
},
 returnNull: false,
})

i18n.on('languageChanged', (lang) => {
document.documentElement.lang = lang
 localStorage.setItem('lang', lang)
})
- In the “i18n.ts” file, make sure that the added languages are also listed in the “supportedLngs” key, for example:
supportedLngs: ['en', 'es', 'uk', 'fr'], // Added the new language "fr"
- When adding new languages to the application, it’s important to pay attention to date and time formats, as different languages may use different standards for representing dates and times. To ensure the correct display of dates and times in the selected language, we use the date-fns library.
To modify or add new languages and correctly configure date and time formats, you need to edit the “dateFormat.ts” file, which is located at the following path: “qconsultation/packages/template/dateFormat.ts”
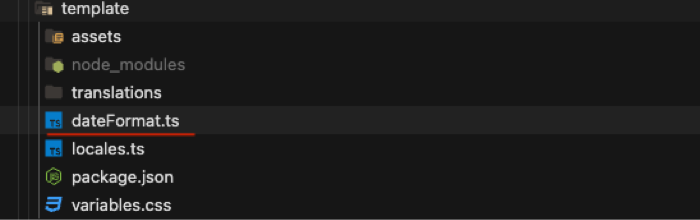
- You can configure date and time formats by adding or modifying them in the “dateFormat.ts” file, which is imported into the application.
const YOUR_FORMAT = {
	“language”: “format”
}
For example, to add the French language,
 const DATE_INPUT_FORMAT = {
 fr: 'dd/MM/yyyy',
             }
- The “dateFormat.ts” file is necessary for the proper functioning of the date-fns library, which ensures the correct translation of dates and times into the selected language in your application. This file contains date and time formatting settings that are used to display dates according to the selected language.
import { format } from 'date-fns'
            import { WEEK_DAY_FORMAT } from '@qc/template/dateFormat'

	 <span className="ws-day-week">
               {format(
                 day,
                 WEEK_DAY_FORMAT[i18n.language],
                 {
                   locale: currentDateLocale,
                 },
               )}
    </span>
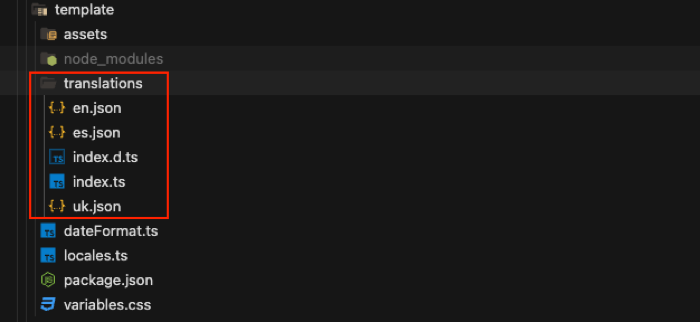
- If you need to modify or add translations for text elements, you can do so by navigating to “qconsultation/packages/template/translations“. Translations are loaded in the file “q-consultation/apps/provider/src/i18n.ts” and used within the “resources” key.
- After following these steps, your changes and additions to languages should be reflected in your Q-Consultation application.
Wrapping up
We hope this tutorial has been helpful by equipping you with the knowledge to customize the Q-Consultation video consultation app to match your brand style. By modifying elements such as the logo, color scheme, and language, you can create a cohesive brand experience for your users. Remember, the possibilities for customization are endless, allowing you to adapt the app as your brand evolves.
Have Questions? Need Support?
Join the QuickBlox Developer Discord Community, where you can share ideas, learn about our software, & get support.
Join QuickBlox Discord